How To Troubleshoot When Your Keurig's Add Water Light Won't Go Off
The beauty of a Keurig is its prompt response when you press that "brew" button and wait a minute for your cup of coffee, tea, or hot chocolate. Yet, sometimes these handy little coffee machines can display errors and require troubleshooting. Your Keurig helpfully reminds you to add water when you're about to brew, but if there's already water, you might be stuck on what to do next. Fear not, as we've got some tips on how to fix your Keurig, so you can get to enjoying your beverage of choice. Essentially, you'll need to troubleshoot and test several approaches to see if you can remedy the issue.
There are various possibilities that may cause your Keurig's "add water" light to not shut off. Possible reasons include: the Keurig doesn't have enough water to brew, you have a clogged filter, or the water reservoir isn't attached properly. The best way to go about fixing the issue is to start with the easiest solution, and then work your way through the list.
First steps to fix the add water feature on Keurig
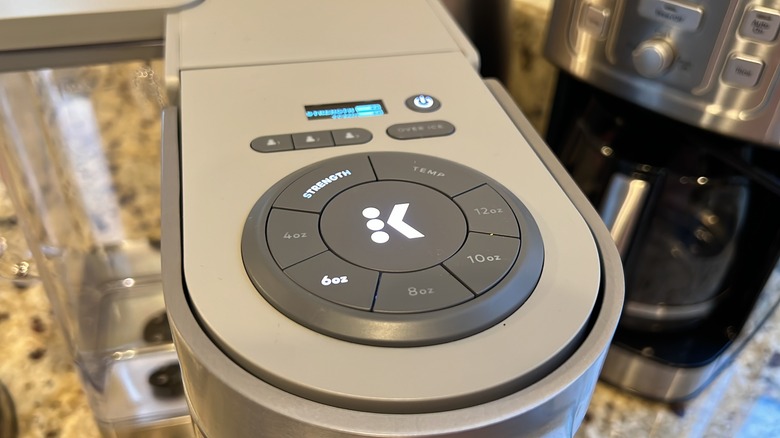
First off, you'll want to check and see if the Keurig has enough water to brew your drink. This may seem way too obvious, but it's entirely possible that you were so anxious to get your coffee going, you forgot you didn't replace the water after your previous cups. Glance at the water reservoir, and see if the water is below the minimum line. If it is, fill with filtered water, then try to brew again. If the "add water" light turns off, then you've found the issue. If not, check and see if your water tank is locked in properly. If it isn't, try taking it out and locking it back in.
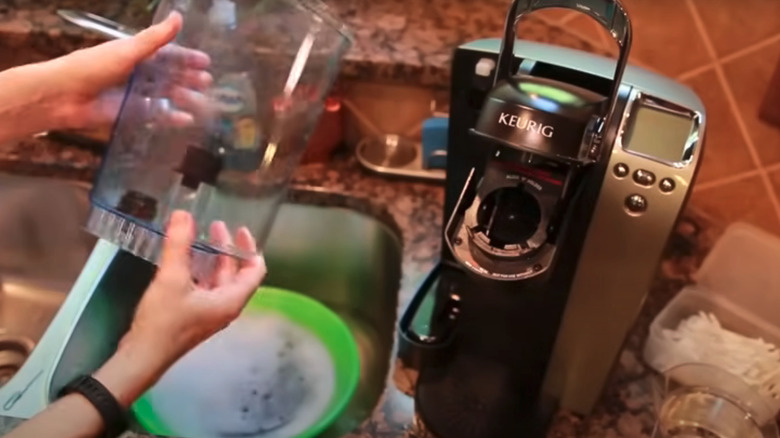
If both of these options don't work, detach the water tank and check the little plastic hole that serves as the air valve. You could have buildup or debris blocking the sensors so the Keurig doesn't recognize that yes, there is water. Try declogging the hole, and then wash the tank carefully with gentle dish soap and water. Dry with a soft cloth, then replace the reservoir into the Keurig base. Does the "add water" light come off? Great, you fixed it! If not, then it's time to try descaling the Keurig and see if that fixes the issue.
Descaling might fix add water error

Descaling a coffee maker means you remove mineral deposits and other buildup that accumulates in your machine. Too much buildup can affect water flow so your Keurig doesn't correctly use water when brewing. You can make a DIY descaling solution with vinegar and water if you don't have any Keurig-brand solution on hand. Many coffee aficionados state that this is the easiest way to clean your coffee machine.
To start, unplug the coffee maker, then remove the K-pod, and empty the water tank. Make a mixture of 50/50 parts distilled white vinegar and filtered water, then pour into the water reservoir. Turn on the Keurig and set your cup, and run a brew cycle without the K-pod. Let the solution sit for 10 minutes, then repeat with a new brew cycle. Finally, empty the water out, wash the reservoir carefully with soap and water, then run three more cycles of water to flush everything out. Your Keurig should be thoroughly cleaned now, and you can attempt to run a regular brew cycle with a K-pod. If none of these solutions work, you might need to contact Keurig.