Say Goodbye To Leaks With Our Guide To Replacing Your Toilet Cistern
Is your toilet cistern (also known as the "toilet tank") leaking water? If so, we've got some good and bad news. The seal between the toilet cistern and the bowl is a common reason your toilet won't stop leaking, but in some cases, the cistern itself can develop a small crack and allow water to leak out. The bad news is that in either scenario, it's best to replace the cistern with a new one to stop the leak as soon as possible to minimize the risk of water damage in your home. Now, you may not be excited about spending close to $100 on a replacement, but a leaking toilet tank is an emergency. As the water continues to accumulate on the floor, it will penetrate the floor assembly and leak from the ceiling below. Now, the good news: toilet cistern replacements are a straightforward task any DIYer can handle if they're equipped with the right tools and understand the steps.
Your tool needs are very basic. You'll pull off the replacement with only a wrench, plumber's tape, and a new cistern. Crucially, you must make sure that the new tank you buy is compatible with your toilet. As for the steps? We've got you covered below.
Toilet cistern replacement steps
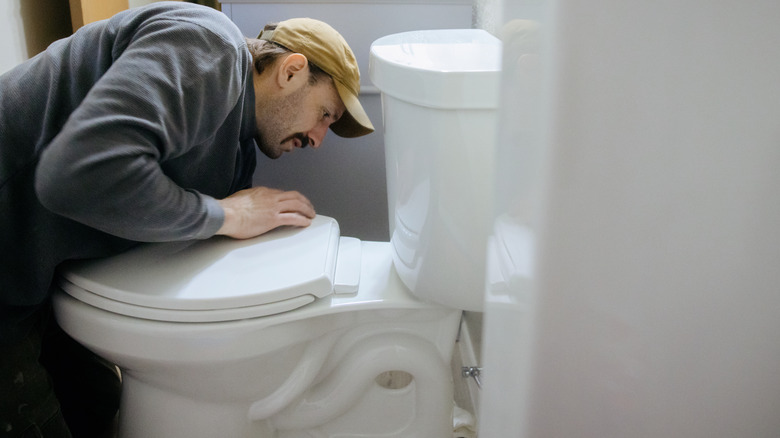
With the tools assembled, start by shutting off the water supply to the toilet tank. The valve is usually attached to the supply hose that leads from the pipe at the wall to the cistern. With the valve shut off, you can flush the toilet to empty the cistern and no new water will come rushing in. To be sure that it's completely empty, have a good look at what's going on inside the toilet tank and whether or not all the water is gone (you may want to lay down some towels under the toilet just in case). Great, now you've got an empty tank, so you won't spill water on your floor during the next step.
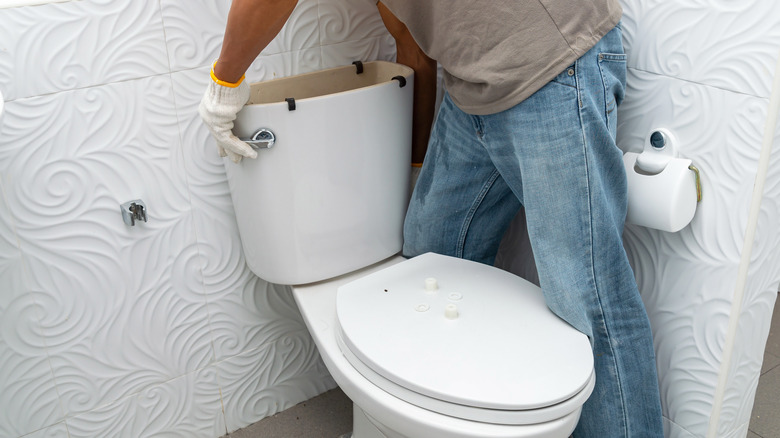
Next, use the wrench to loosen and remove the bolts that secure the water inlet pipe to the bottom of the toilet cistern. There should be a few bolts attaching the tank to the bowl; loosen and take them out, too. Now, carefully lift the cistern off the bowl and set it on the floor.
The new cistern is ready to grace your throne now. Start by fastening the water inlet pipe to the inside of the tank, right where it was in the old one. You'll need to use plumber's tape to seal this connection. Next, tighten the bolts that hold the cistern to the toilet bowl. That's it — now it's time to turn on the water supply valve and allow the tank to fill up with water. Make sure that you've connected and sealed the interface between the cistern, the bowl, and the water inlet hose by looking out for leaks as the tank fills up. If no leaks are present, then go ahead and use it as you normally would.