The Best Way To Install Dollar Tree Peel & Stick Tiles For An Affordable Backsplash
Looking for an inexpensive way to make your kitchen look more elegant with a simple backsplash? Dollar Tree has you covered. With several different types of peel-and-stick tiles perfect for your backsplash for $1.25 per sheet, you'll be able to redesign your kitchen for a fraction of the cost of real tile. While the peel-and-stick name may make it sound like you can simply throw these vinyl tiles onto the wall and be done, think again. Whether you're working with Tool Bench Hardware white wall tile or something a bit fancier like the mosaic wall tile, you'll need to plan for how much space you'll need to cover, as well as how to work around outlets and corners. The best way to install your peel-and-stick tiles is slowly and carefully to ensure they're positioned perfectly.
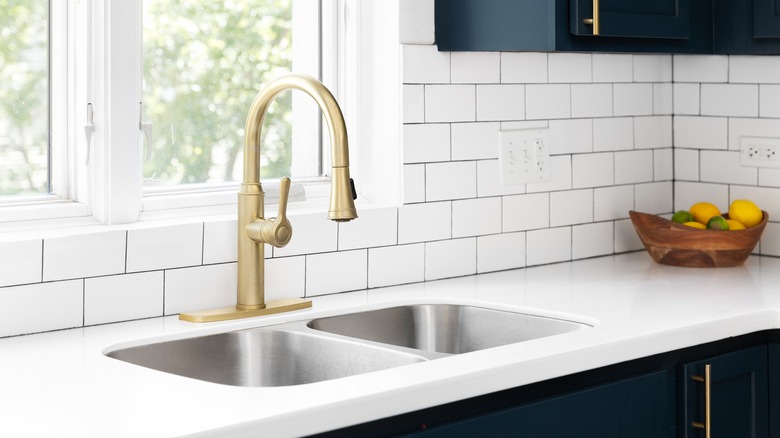
If you're thinking of using this backsplash above your stove, you may want to think twice before using peel-and-stick vinyl. A lot of moisture or heat could damage your faux tiles, and it's best not to place them too close to a heat source. Immediately before you're ready to start installing your backsplash, you'll need to clean your wall. This will ensure that dust or grease splatters don't interfere with the stickiness of your tiles. Without a thorough clean right before installation, your tiles could fall off more quickly or not properly adhere to the wall.
How to install Dollar Tree peel & stick tiles
Start by simply wiping down the area with a rag dampened with water and dish soap; then, leave your wall to dry. If you wait too long after washing the wall to install your backsplash, dust could settle on it again. As soon as the wall has dried, you can begin placing your tiles. This may work best if you start in a corner of the area you're covering, either near the top or bottom of the space. If you're concerned you'll have trouble keeping everything even, place a piece of painters tape along the wall to guide where the top or bottom of each tile should be. When you lay a tile, push on it to ensure it sticks well.
After you've placed your first tile, continue adding more next to it in a neat line. You can use scissors or a box cutter to make tiles smaller to fill in gaps, or to cut out a hole for your electrical outlets. Measure the area you need to cover and cut your tiles to match, then install these partial pieces similarly to the full size tiles. You might choose to remove outlet covers before placing the tile to hide the cut edges of your peel-and-stick. Once the tile is installed, just replace the outlet cover overtop. This DIY kitchen backsplash idea is easy and stylish, and is a renter- and budget-friendly option for customizing your space.