DIY Minimalist Nightstands Are Incredibly Cost-Efficient And Simple To Make
A well-curated bedroom suite offers all the functionality necessary to help us begin and end the day, with nightstands playing one of the most pivotal roles. A solid bedside surface offers plenty of space for your devices, alarm clock, morning coffee, and anything else you may need to keep within arm's reach. While buying new nightstands can get pricey, building your own is one of many inexpensive ways to refresh your bedroom and get the look and feel you desire. As TikToker @johndolechek shows in his video tutorial, all you need to build practical stands are some lumber, screws, wood glue, and basic tools.
You can buy wood at your local hardware store or save money by repurposing old pieces from past projects that you can cut to size. By getting wide-dimensional lumber (e.g., 2x18 boards), you won't have to worry about ripping boards to adjust your nightstand's depth. You'll only have to cut the lumber to the proper lengths to make your stand's side panels, top, and center shelves. The minimalist look is neat and versatile. There aren't individual legs to cause stability issues, and you don't have to fiddle with complicated drawers, making this homemade nightstand quick and easy to pull off. When finished, you can even install casters or a power strip for extra utility.
How to build a DIY minimalist nightstand
The best part about a DIY minimalist nightstand is its customizability. Find the right nightstand height by measuring from the floor to the top of your mattress. You can miter one end of each side panel at a 45-degree angle, like in Dolechek's version of the DIY, or simplify it by having the top piece sit atop the side panels. By laying the top panel flat, you'll only have to make easy 90-degree cuts for all pieces.
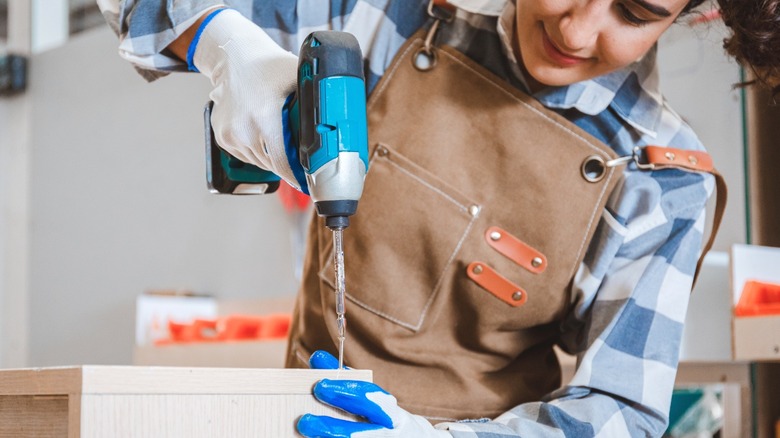
Cut the center shelf to the desired width with straight 90-degree cuts. Measure and mark the shelf's placement on both side panels to ensure it is level. For more storage space, feel free to add multiple shelves. When using pocket holes to attach shelves to the side panels, orient the shelf to hide the holes on the underside. If you can't do pocket screws, you can drill straight through the side panels and into the center shelf's ends. Drill pilot holes in the side panel, and use a countersink bit, like RYOBI's 5-Piece Countersink Drill Bit Set at Home Depot for $16, to widen the opening so the screw head can sink below the surface. Cover the heads with putty and sand it for a clean look after painting. If you aren't mitering the top and side panels, you can lay the top flat over the flat ends of the side panels. Fix it in place with hidden, easy-to-install fasteners like figure-8 or Z-clips. Finish by sanding the surfaces and applying your favorite paint or stain to match your decor!
