Wood Glue 101: When And How To Use It For The Best Results
Wood is an essential material for DIY projects around your home and garden. Whether you're building your own DIY shed, fixing a jewelry box, or doing a craft, wood glue is a must-have in your arsenal. Wood glue is designed for joining pieces of wood together and is known for its irrefutable bonding strength. The wood glue is often stronger than the wood itself, and when tested, the wood commonly breaks on the grain rather than the bonded joint. Depending on the project, you'll want to choose the right type of glue for your needs, properly prepare the wood surface you're going to glue, and follow some tips to help you get the best results.
A few factors determine the type of glue you'll need, including the type of wood you're working with, whether you're using the glue indoors or outdoors, and how quickly you need your project to dry. You need to check the glue for the wood grain compatibility. Soft, porous woods need a wood glue like polyvinyl acetate (PVA), which is the most common type of wood glue, and you can easily find it at most stores. For hard, oily wood, epoxy or polyurethane glue is going to work better because it creates a stronger connection and adheres better to those surfaces. Polyurethane glue is also ideal if your project is outdoors because it's waterproof, while PVA doesn't have any hazardous fumes and works perfect for indoor projects.
How long wood glue typically takes to dry varies depending on the type of wood, glue, and the environment. However, most types of wood glue are often dry within 30 minutes or so, given the right conditions. But some glues need about 24 hours to fully cure and secure the bond with the wood.
Tips for using wood glue
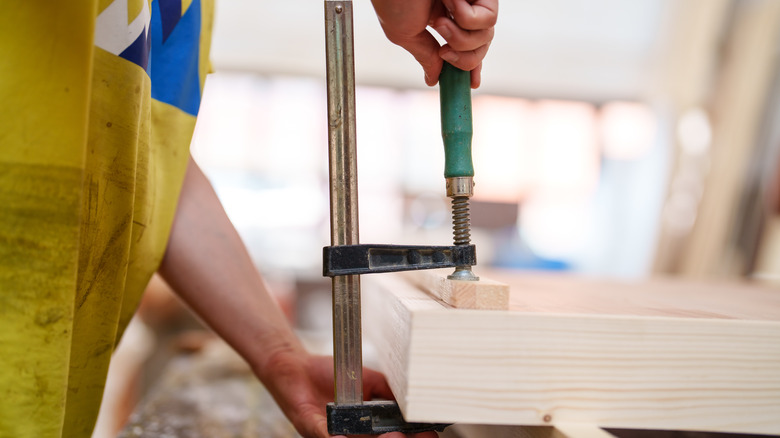
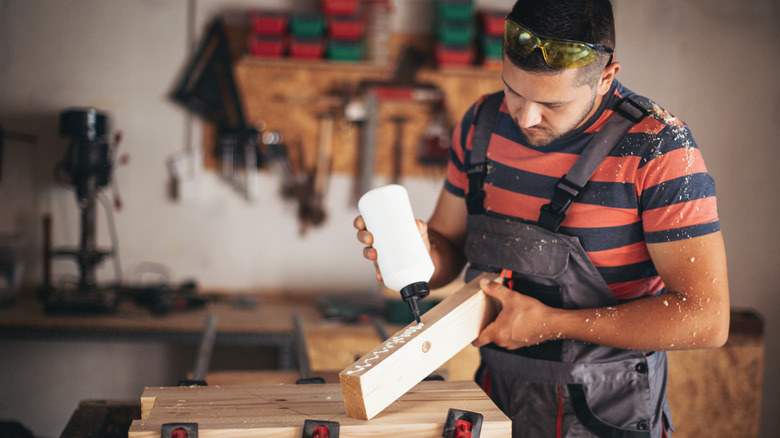
To achieve the best results when using wood glue, follow the manufacturer's instructions. And before you start gluing, you'll need to prep the surface of the wood. Thoroughly clean the wood of any debris, dirt, or dust. Wood glue works best on the face grain or edge grain of the board. You'll want to cover every part of the joining surface with glue — just avoid using too much. You can use a disposable brush, a silicone basting brush, or your finger to spread the glue. Once the surface is evenly coated, carefully align your wood pieces and clamp them together with multiple clamps with equal amounts of pressure for the best results.
When you use the end grain of a piece of wood for repairing a picture frame or decorative projects, all you have to do is use a double application of wood glue. Press the first application of wood into the end grain and give it a few minutes to soak in. Then secure your wood pieces on the second application. This provides the best results and a more secure bond for end grain pieces. To prevent your boards from slipping when you first press them together after gluing, use multiple clamps to provide even pressure. For cleaning up excess glue, you can sand or scrape off the glue once it's dried and cured. Use these tips to help you achieve the best results using wood glue on your next project.