A DIY Archway Is One Of The Best Ways To Make Your Closet Feel More Luxe
Closets are a welcome asset in any home. They provide us with space to store our belongings and come in clutch when we need to stash miscellaneous items that we'd prefer to keep out of sight (we're looking at you, tattered T-shirts and shoe boxes full of random ephemera). In most homes, though, they're often one of the most overlooked design areas that don't enjoy as much attention as some of the other spaces. Yet, with one relatively simple upgrade, you can completely transform your closet's plain and unremarkable doorway into a stylish focal point.
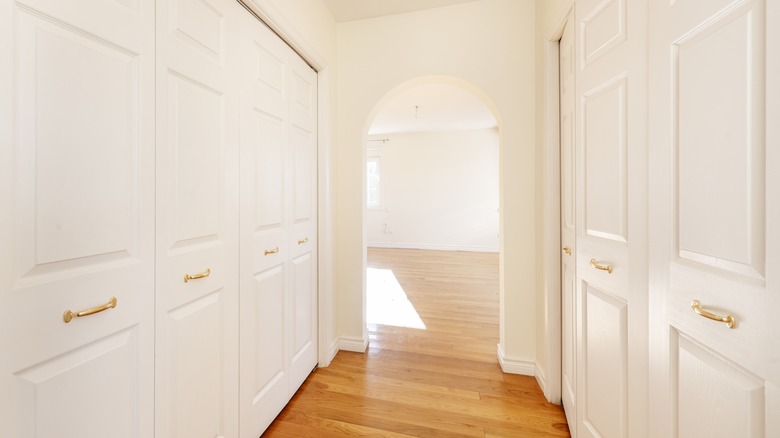
But how exactly do you take your closet door from builder-grade to custom-made? Well, take a cue from Instagram DIYer Jenna LeBlanc, known as jennasuedesign, who shared how she and her husband converted a rectangular doorway into an eye-catching archway. There's something about the softer, more romantic edges of an arch that instantly lend a high-end look to a space and can make your bedroom feel like a luxury hotel. According to LeBlanc, this project can be done in a weekend, but it does require a few power tools and a steady hand with a saw. If you're feeling inspired to DIY an archway in your own closet, here are a few tips on how to pull it off.
How to DIY a closet archway
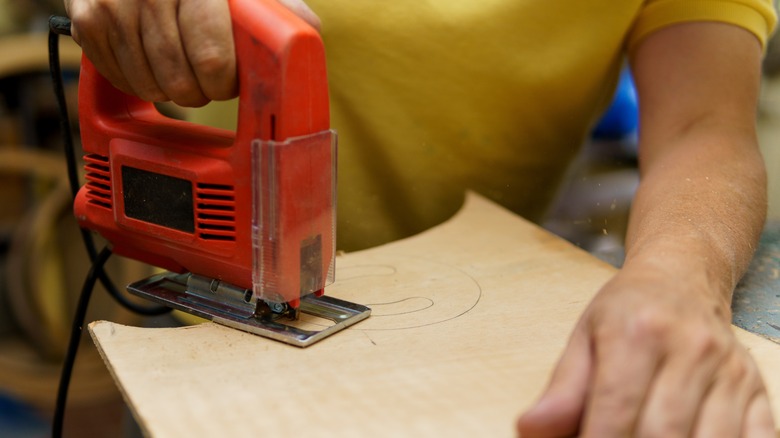
To get this project underway, you should start by removing the existing closet door, as well as the hinges and any trim pieces surrounding the doorway. Measure the width of the door frame and mark half of this distance on a piece of 1/2 inch plywood. Next, cut a piece of string to the same length that you marked on the plywood. Tie the string to a pencil, hold the end of the string on the plywood mark, and keep the string taut as you draw an arch onto the plywood. Use a jigsaw to cut out the plywood arch, and then repeat these steps to make a second arch.
Now that you have your two plywood arches, you'll need to trim a 2 by 4 down to 2 1/2 inches wide. No worries if you don't have a table saw — you can still cut down large pieces of wood without one. After trimming down the 2 by 4, cut it into small wood blocks, sandwich as many blocks as you can between the two plywood arches, and attach them to the arches with screws. You're now ready to attach your arch to the top and sides of your door frame using 3 inch nails. All that's left to do after that is cover the arch frame with drywall, patch the seams with joint compound, sand, and paint.
A few DIY tips to consider
When it comes to getting a seamless finish on your arch, there are a few things you need to know to hang drywall like a pro. First, to get the drywall to curve around the underside of the archway, Jenna Sue Design Co. recommends scoring it along the backside. Score it every inch or so from one end to the other, and you'll end up with a flexible piece of drywall that fits the curve of your arch perfectly. You'll also want to attach corner bead along the edges of your arch before you apply joint compound. This will create a more durable edge and also a smoother finish along the drywall seams.
Also, if you aren't confident or comfortable with using a saw to cut your own arch, you have the option of using a prefabricated arch kit. You can buy one online here for under $40, and it saves you the time and hassle of making your own. Whether you choose to use a kit or go full DIY, another thing to keep in mind when removing your closet door to create an arched doorway is that the contents of your closet will be visible. If you'd prefer to hide your belongings, you could install a curtain on the inside wall of the closet entrance, which you can easily close, and it may even enhance the luxe look of your archway.