Avoid These Mistakes When Installing A New Window In Your Shed
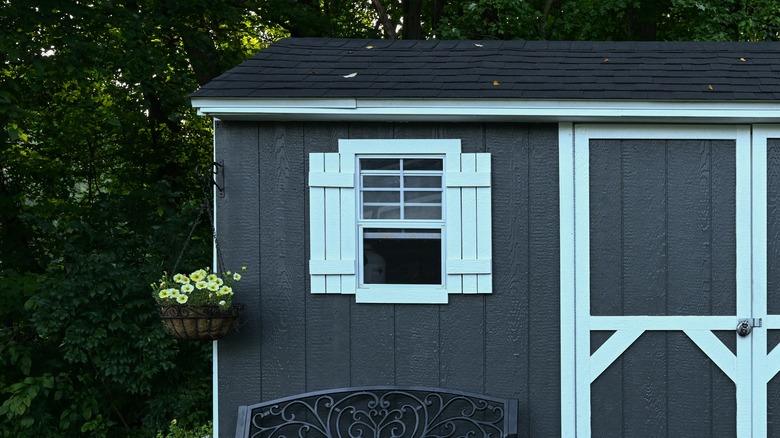
A window lets you make the most of your shed by allowing natural light into the space, giving you a means of retrieving the items stored there easily during the daytime. Whether you've decided to add a window to an existing shed or you're building your own DIY shed and are at the stage where you need to fit a window, it's important to follow the best practices and avoid crucial installation errors. One such common mistake is getting the wrong type of window for the job. If you're building a new shed and hasn't been clad, you should buy a "new construction" window instead of a "remodeling" window. A new construction window comes with a nailing flange around its sides, which makes it easy to fasten to the framing of the shed. If you get a remodeling window for a new shed, you won't have the nailing flange to enable quick and convenient attachment to the structure. Conversely, buying a new construction window is wasteful if your shed is already clad, as in some cases, you may not be able to nail the flange directly to the cladding material.
Another mistake is to apply silicone sealant to all four sides of the window opening. Doing so leaves absolutely no escape route for any water that may have gotten into the window assembly. On the other hand, not sealing the bottom edge allows trapped water to escape easily. Below, we'll walk you through the correct shed window installation steps — follow them, and you'll avoid making annoying and potentially costly DIY errors.
How to install a shed window correctly
If you're installing a new window while building the shed, begin by measuring the window opening accurately, then check your local hardware store for a new construction window that fits. The window dimensions should be roughly half an inch less than the window opening. Once you've bought the window assembly, apply a bead of silicone sealant to the top and sides of the window opening exterior. Leave the bottom unsealed so water that gets into the cavity has an easy, gravity-assisted path out. Stick a layer of sealing tape onto the window sill, being sure to cover the corners and the entirety of the sill plate. Next, insert it into the rough opening and shim it at the bottom. Adjust the shims as necessary until you're satisfied that the window is plumb and level. Finally, secure the window to the opening by driving 2½-inch roofing nails into the pre-drilled holes along the window's nailing flange.
If you're trying to transform your backyard shed by adding new windows, installation is a similar process to what we described above. Once you've bought a correctly sized remodeling window, apply a flashing membrane — like this product from W.R. Meadows — all around the rough opening. This step will create an effective seal around the window opening. Next, set the window assembly inside and shim it as needed. When it's plumb and level, screw it onto the frame according to the manufacturer's instructions (the screw locations should be identified on the window). Finally, apply silicone around the opening on the exterior, again leaving the bottom edge unsealed for rainwater egress.