The IKEA ALEX Hack That Instantly Makes Your Drawers Look More Luxe
Whoever said you need to spend a lot of money to make your space look good has never been to IKEA. Naturally, there are so many DIY IKEA hacks out there to make your home more functional, but you can also make your basic furniture look way more luxurious with a little extra ingenuity. Specifically, if you're looking for a way to give your IKEA Alex drawers a luxurious upgrade so it looks way more expensive than it is, look no further than this DIY project from Instagram user Haylee Griffin, aka @homewithhay. If you don't already have IKEA Alex drawers, you can purchase them for $90 a unit.
This project uses strips of wooden lattice, molding, or hobby board that are at least 1 inch wide and ¼ inch thick to cover the small gap at the top of each drawer, as well as paint, primer, new hardware for drawer knobs, 60- or 80-grit sandpaper, wood filler, and wood glue. Alternatively, you can opt for nails or heavy-duty construction glue if you prefer. Griffin noted in the comments of her post that she used a saw to cut her strips of wood, but you can also use a pair of miter shears. This project also uses two Alex drawer units and a large piece of butcher block on top to finish the desk, but you can place any sturdy surface you like on top. We always recommend protecting your space with a tarp and it might be necessary to disassemble your IKEA Alex drawer unit before doing anything first.
How to upgrade your IKEA Alex Drawer unit
Measure the dimensions of each drawer front for your strips of wood. You may use your saw or shears to cut each strip or take your measurements to your local hardware store to have them professionally cut. Cutting 45-degree angles on the edge of each strip will give the drawers a more professional appearance but you can also opt for straight cuts. Once cut, place your wooden pieces around the border of each drawer front and attach them with a nail gun or glue. Here, you have the option to sand the drawer front surface so the glue sticks better. Then, you can hide any joints or edges with wood filler after attaching. If you need to pre-drill holes into the center of the drawer front for hardware, you can do so now.
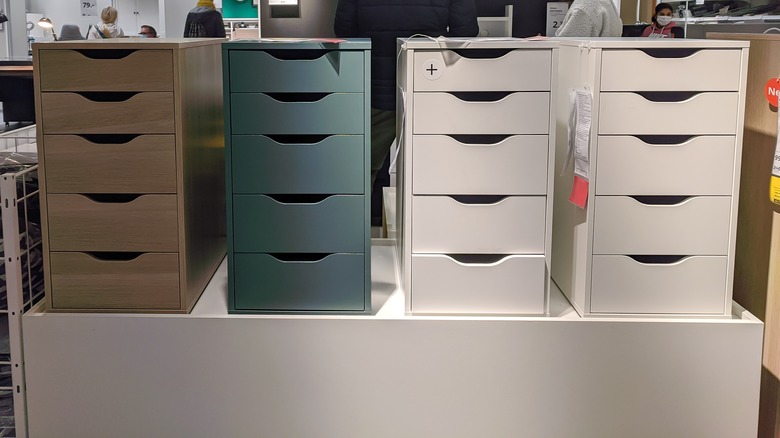
Sand the entire unit, then prime it with paint primer. Then, you can use any interior or furniture paint in your favorite color. Griffin used a lovely forest green color for her project, but you can make this any color you like. When your paint is all dry, attach drawer hardware and reassemble the drawer unit. If desired, upgrading your drawer hardware for a chic, new look that fits your personal aesthetic could truly pull this project together. Now you can enjoy getting work done in your luxe home office.