Use A Few Dollar Tree Items To Create Simple & Stylish Tiki Torches For Your Yard
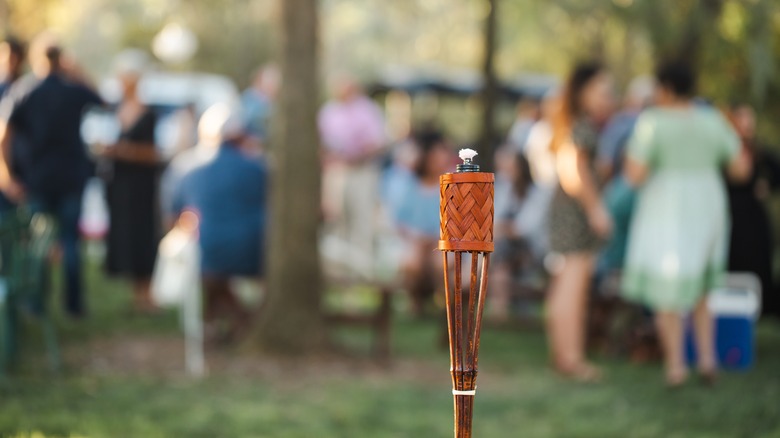
What if getting away to the tropics didn't have to include long flights and draining your savings? In fact, what if you could turn your backyard into a tropical oasis with just a few simple Dollar Tree items? It may not be Bora Bora, but by building your own Tiki torches, you can have the most relaxing respite with a price tag to match the low-stress vibes. All you need are a Dollar Tree pen or pencil basket and a wooden dowel, which you will connect to create DIY candle torches that can be placed anywhere in your back (or front) yard for a truly tropical decor – and you don't even have to go through customs to enjoy!
Add this simple DIY to your home decor ideas for a backyard upgrade because the finished product is too good to pass up! When making your plans for these, you want to ensure your local Dollar Tree has pen and pencil baskets and wooden dowels. If you can't find dowels at Dollar Tree, you can also try locating one at Walmart ($1.41) or a hardware store nearby. Make sure that these are tall enough to be visible around the yard and that the baskets will be far enough off the ground that children and pets can't get to the candles if you plan to use real ones.
Secure your Tiki torches in the ground or with buckets
You want to spray paint each item for your Tiki torch in the color of your choosing: this can be matte black, gold, white, beige, or any other shade that matches your yard's aesthetic. Let the paint dry fully before using a drill to make holes in both the bottom of your basket and one end of the wooden dowel. This is where you'll connect the two with a screw, so make sure to use a drill bit that is a good size for the diameter of the top of the dowel (you don't want this too big that it compromises the wooden piece). Attach the basket to your drilled-out dowel with your screw gun. Do this to each pair of baskets and dowels to make multiple Tiki torches.
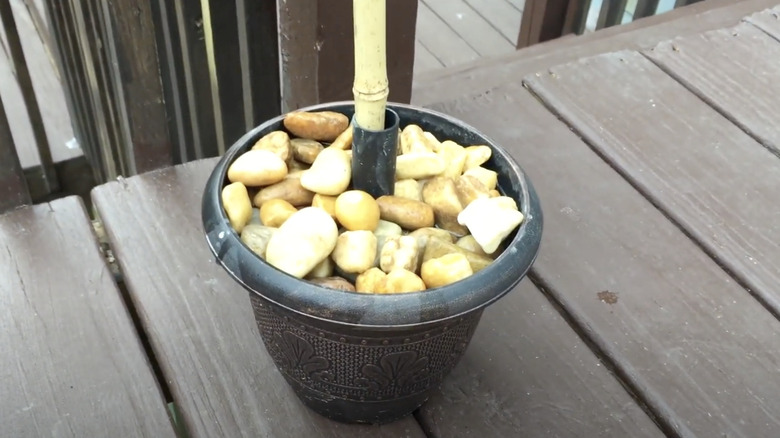
Now that you have your actual light holders, you can find areas around your yard to place them. If you have dirt, grass, or gravel areas, you can dig into them to "stake" these in. However, if you're working with a concrete patio area or wooden deck, you could use small buckets filled with soil or Quikrete and rocks to hold these in place. To match your project, consider spray painting the buckets, too. You can find pails like this Plastic Bucket at Dollar Tree (just remove the handle) if you don't have any around the house. This option will also help ensure your torches don't tip over during inclement weather.
Use weatherproof paint for added protection
While real candles work just fine inside the baskets, if you're concerned about safety with kids, pets, or weather, you can replace these with faux tea lights or slightly larger fake candles. The flickering will seem realistic enough behind the basket screen, and you'll save money on replacing actual candles if you spend a lot of time outside with your torches on. You can also try to find smaller citronella candles to double your Tiki torches as a DIY mosquito torch!
To ensure the paint lasts through the elements, use brands like Krylon or Rust-Oleum when spray painting to protect your materials and the overall finish. Waterproof spray paints are good for this craft since both are materials that err on the less-expensive side and, therefore, could be affected more easily by rain, snow, etc. If you live in an area with lots of weather changes, take these down until you're ready to use them to preserve them. Bring them out for BBQs and pool days to light up your backyard in the summer, or even use them during the cooler months for a little trip back to the tropics (just don't forget the blankets for warmth).

