DIY A Privacy Screen Planter To Elevate Your Outdoor Space
We may receive a commission on purchases made from links.
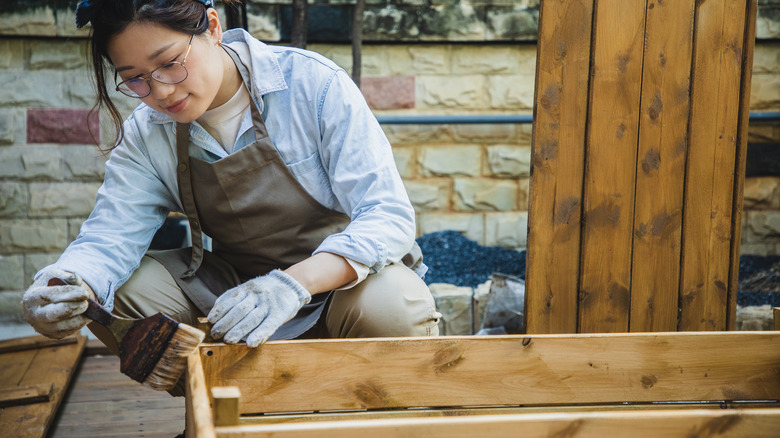
Anyone else's garden looking a little sad? Outdoor spaces are often the last places to be given attention, and we get it. Between nosy neighbors and expensive outdoor accessories, it's easier to leave the exterior as-is and focus on the interior instead. But guess where we all want to be when the weather's nice? Outside. If you're lucky enough to have a backyard, patio, or even a little balcony, we've got just the DIY to make your slice of the outdoors more enjoyable. Behold: a privacy screen planter that works triple duty. It's a barrier against prying eyes, a planter box for green friends, and the perfect decorative addition to maximize your outdoor living space in style.
Note that this privacy-wall-slash-planter measures 70 inches tall by 48 inches wide by 20½ inches deep — but you can definitely customize the size to fit your space. Now, for a quick breakdown of the lumber needed: four 1-inch by 8-inch 8-foot boards; one 2-inch by 2-inch by 8-foot board; eighteen 1-inch by 2-inch by 8-foot boards; four 1-inch by 4-inch by 8-foot boards; and one 1-inch x 6-inch x 8-foot board. Other tools you'll need include a saw to cut the pieces, 1¼-inch trim head screws (or wood glue) to assemble everything, a tape measure, and protection like safety goggles and masks. Here's a closer look at this DIY (which, by the way, makes for a great weekend project that you can finish in a few hours).
How to build a multipurpose privacy screen planter
The first step is to cut up the wooden planks. TikToker @therehablife starts with the 1-inch by 8-inch boards. You'll need to cut them up into four 48-inch long pieces; four 14¾-inch long pieces; and two 46¼-inch long pieces. Next, tackle the 2-inch by 2-inch board, dividing it into four 12¼-inch long pieces and three 14½-inch long pieces. Moreover, the eighteen 1-inch by 2-inch boards will each need to be cut in half, resulting in 36 pieces. Then, onto the 1-inch by 4-inch boards — cut these into two 48-inch long pieces; three 70-inch long pieces; two 25½-inch long pieces; and two ½-inch long pieces. Finally, chop the 1-inch by 6-inch board into two 48-inch long pieces.
Once that tricky part is done, it's time to assemble. Take two 48-inch long pieces and two 14¾-inch long pieces and assemble them to form a standing rectangle. Then, make another rectangle with the same measurements. Take the four 12 ¼-inch long wood pieces and secure them in each corner of one of your rectangles. Set the second rectangle on top of the first rectangle. There's your planter box — now it's time to make the base, using two 46¼-inch long pieces placed on top of three 14½-inch long pieces (these are spaced 2 feet apart) with an overhang at the edge. Don't forget to include drainage holes, plus line the planter's drainage holes with newspaper to prevent the potting soil from being flushed out.
How to build the wood slat wall (or cheat your way to this DIY)
Now for the privacy wall portion: build a frame with three 70-inch long pieces (at the top, middle, and bottom) and two 48-inch long pieces on the left and right sides. Take the remaining 36 1-inch x 2-inch slats and secure them on top of the framework. And that's it — all you need to do left is attach the privacy screen to the planter box.
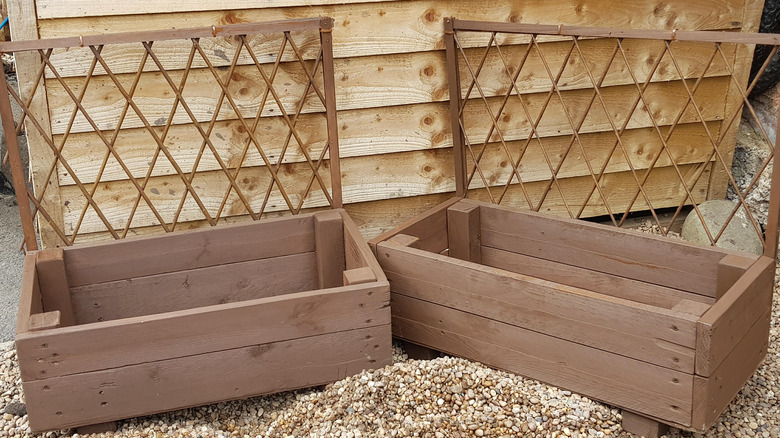
Of course, we get that DIYs can be intimidating when there's a lot of cutting, measuring, and assembling involved. If you aren't quite confident of your crafty thumb or can't be bothered to buy loads of wood boards, you could do a simpler DIY by attaching a premade trellis to the easy-to-make planter. Look for something like the $95 NÄMMARÖ Freestanding Privacy Screen at IKEA if you're working with floors that you can't dig into. On the other hand, the $50 Outdoor Essentials Diamond Lattice Trellis at Walmart is perfect for grassy areas. Last tip: Grow bamboo or other plants that are perfect for using with a trellis to create even more privacy while bringing ample greenery.

