Organize Your Home With This Clever & Customizable Milk Carton DIY
Did you know that milk and other dairy products are among the most frequently purchased grocery items in the U.S.? This means you probably have an extra milk carton or two lying around waiting to be brought to the curb on trash day. Instead of tossing them out, reuse the leftover materials into DIY storage boxes for organizing! This hack is an excellent way to not only repurpose your old milk cartons but also to get your space in order, whether that be by organizing a junk drawer or using the boxes as a way to store your jewelry and knick-knacks.
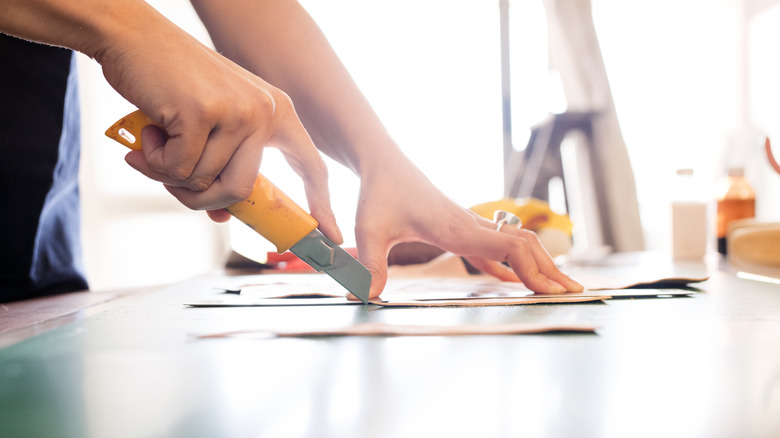
Using milk cartons for DIY isn't a new concept. Some people grab for these cardboard pieces to help their orchids bloom or even go outside the box and build a bird feeder. The possibilities are nearly endless. Thankfully, this repurposing hack doesn't take a lot of extra materials. All you need to collect is your cartons, a utility knife, a hot glue gun, a ruler, decorative craft paper, or fabric (this is up to your personal preference), and extra cardboard if you want to make a holder for the box drawers. You can also add extra embellishments, like washi tape, ribbon, stickers, or even fun pom poms and tassels to add a touch of personality to this DIY upcycling project.
How to make a storage container for organization from old milk cartons
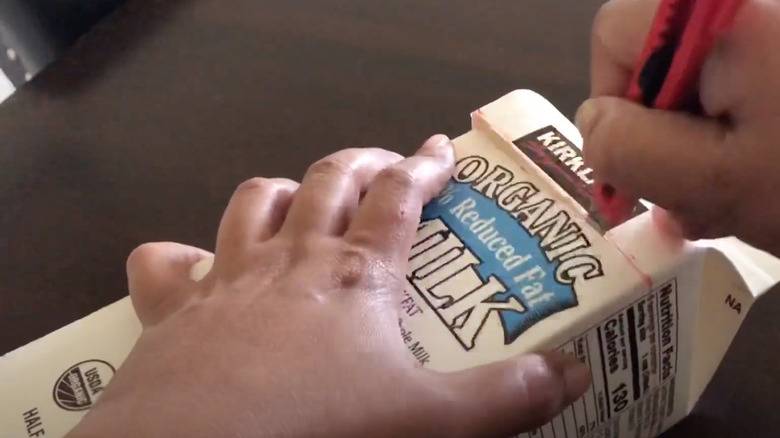
The first step of this customizable project is to wash the cartons and let them dry. Next, open the top of each container and remove the cap and spout using the utility knife if needed. Next, you're going to want to cut the carton lengthwise to remove the back face completely. It should look more like a rectangular box at this point. Use the glue gun to tuck in and secure any flaps. The portion you cut out can be used to add reinforcement in any weak areas. Now comes the fun part: you get to customize the storage box's design.
Use the ruler to measure how much fabric/craft paper you'll need to cover the box. Then, use the hot glue gun to secure the material around the box. Let it dry for a few hours before adding any extra embellishments. This is when you could build the optional holder for the boxes to give it a polished final appearance. Once decorated, this organizer is a great DIY to maximize storage in small spaces like offices and can add a pop of fun to your space. Be sure to select fabric or craft tape that not only complements your décor but also helps your personal design style.