Transform Wood Pallets Into A Stylish Outdoor Coffee Table For Your Backyard Space
Outdoor furniture pieces can be one of the best ways to make the spaces outside your home as cozy and inviting as the spaces inside. This includes seating arrangements and tables, which add a more outdoor living-room feel to places like your yard, porches, and patios. Outdoor furniture, however, can often be expensive to purchase from retailers, especially if you're looking for durable pieces that will last through the years. If you plan to go a more budget-friendly DIY route instead, you may not have considered one very excellent source of durable and inexpensive wood that allows you to build a great outdoor coffee table on a budget. Pallet wood can easily be constructed or assembled into a variety of outdoor coffee table designs from the simple to the complex.
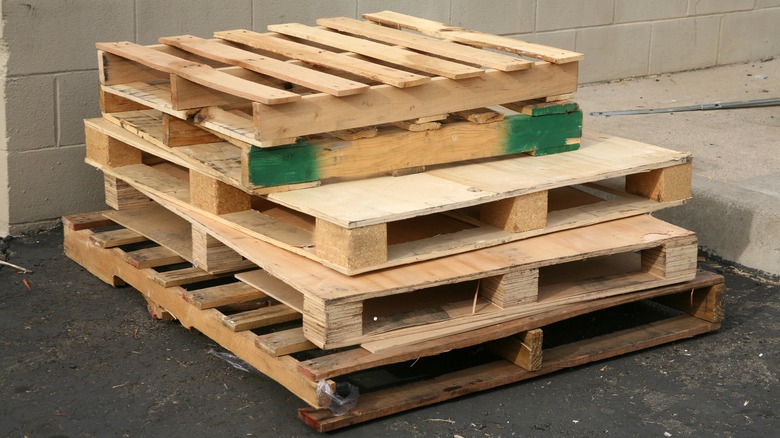
These pallets, which are meant to hold heavy weight loads without breaking, can be found in abundance in manufacturing, where they're often re-sold inexpensively on platforms like Facebook Marketplace or Craigslist. You can also sometimes find them entirely free around the dumpsters behind retailers and the kinds of places that buy things in bulk. You may even have some lying around your home from other pallet wood projects you've undertaken. For an easy coffee table for outdoors that doesn't require carpentry skills or tools, you can simply stack two or three pallets on top of each other. The wide square surface will be perfect for propping up your feet or setting a drink on while the pockets underneath can be great for storage. Alternatively, take things further with the ideas below.
Creating an outdoor coffee table from wood pallets
For an easy building project, remove the bottom layer of the palette and use just the top, attaching legs to the sides or corners. This allows you to cut down the width if you want a narrower table or take apart and reconfigure the top boards more closely together for a solid surface top. For the legs, use another pallet cut in half attached with screws to the sides, or add some 4-inch by 4-inch fence posts or cinder blocks at each corner. Or, use the salvaged wood from other pallets to create a box frame screwed together with pocket holes underneath. Adding wheels to the bottom of the pallets will make the piece moveable, which is great for entertaining or if you want to easily transport and store the table off-season.
Wood pallets are also a great source of inexpensive lumber if you want to design a coffee table from scratch that doesn't look like it's obviously upcycled palettes. Take apart the pallets entirely and use the pieces to build a simple platform with the boards fastened snugly across the top. If you want a more modern or industrial look, attach short metal hairpin legs, like the Thanaddo Hairpin Furniture Legs from Amazon for $30, on the bottom that screw directly into your tabletop. For a fun variation that gives you additional height when needed, you can try to make a stylish rustic floating-top coffee table.
Customizing an outdoor pallet table
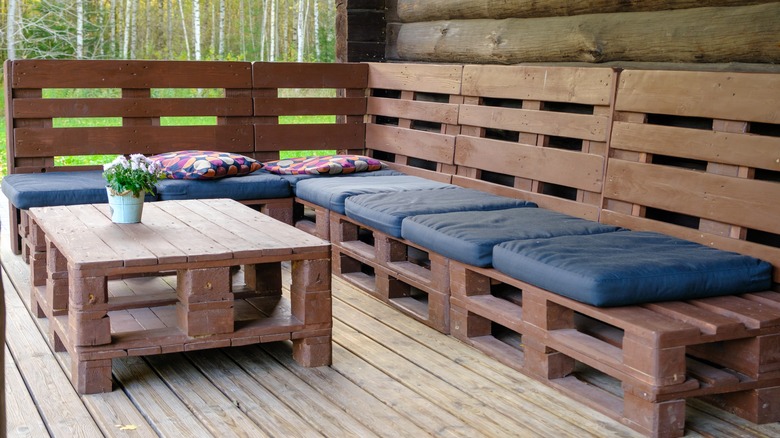
Most pallet table designs are very customizable to your outdoor aesthetics. For a casual boho or rustic look, leave the pallets in their natural wood tone and add a few coats of polyurethane to help keep the surface sealed against the weather. For a more polished and luxe look, sand the surface smooth and apply your favorite wood stain to match other outdoor pieces. Or prime and paint your pallet piece in a color of your choice and seal with a weatherproof coat. For a fun rainbow effect, paint each of the boards a different shade. Use your pallet table alone, or combine it with other affordable DIY wood pallet furniture, like sofas, daybeds, and chaise lounges.
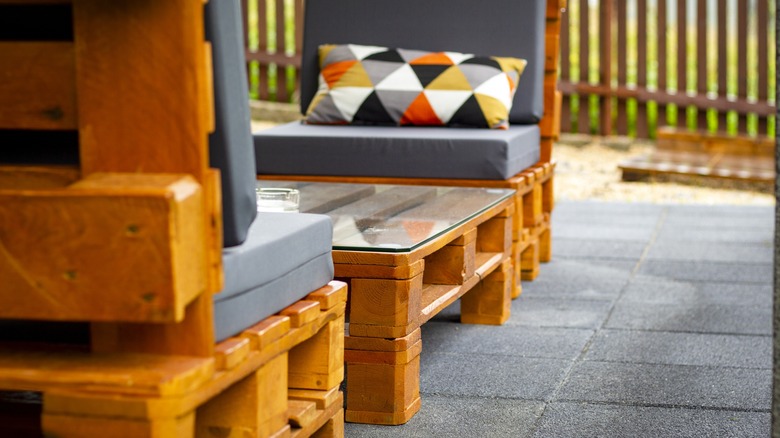
While the pallets give off a rustic or industrial vibe, you can also make them more detailed by adding some extra touches, like creating a herringbone effect across the top with slats of salvaged wood, or creating a box around the perimeter with a slightly recessed top. Or use narrow molding for a more finished look. You can even frame out a recess and cover the top with glass, creating an interior cavity perfect for adding fun things, like sand and shells, pretty pebbles and stones, or faux plants.


