How To Use Railroad Ties To Fix A Sloped Backyard
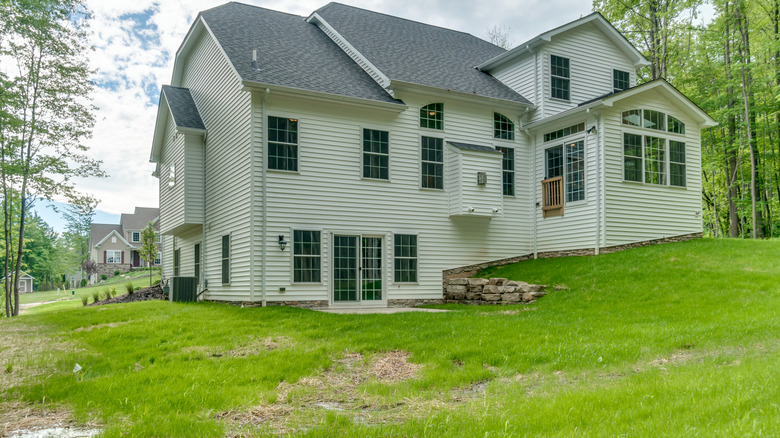
If you have an area in your backyard that suffers from erosion or that constantly collects water, you may have a problem with too much slope. Erosion causes a loss of topsoil, makes it difficult to grow grass or add other vegetation, or it creates muddy ruts that are dangerous for kids and pets playing. If you have constant standing water in the yard, it could kill grass and other plants while also serving as an area where insects like mosquitoes can breed and bother your family.
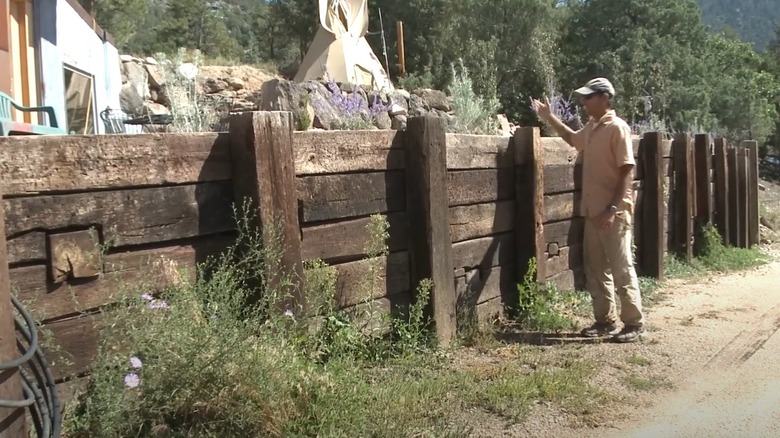
To put an end to these problems, you could build a retaining wall that replaces the slope, holding back soil to prevent erosion and changing the drainage pattern in the backyard. Certainly, stone retaining walls will look great in your backyard, but they can be extremely expensive. Making a stone retaining wall yourself can be very labor intensive, too.
If you want to save a bit of money and simplify the job, consider using railroad ties to create the retaining wall. Railroad ties could cost three to four times less per square foot compared to stone. The railroad tie retaining wall could last up to 40 years, giving you plenty of longevity. Learn more about what it takes to build a retaining wall from railroad ties.
How to build a short railroad tie retaining wall
If you only need to hold back a few feet of soil with the railroad tie retaining wall, you'll only need a few rows of materials. This is a relatively easy DIY retaining wall project that most people can do themselves.
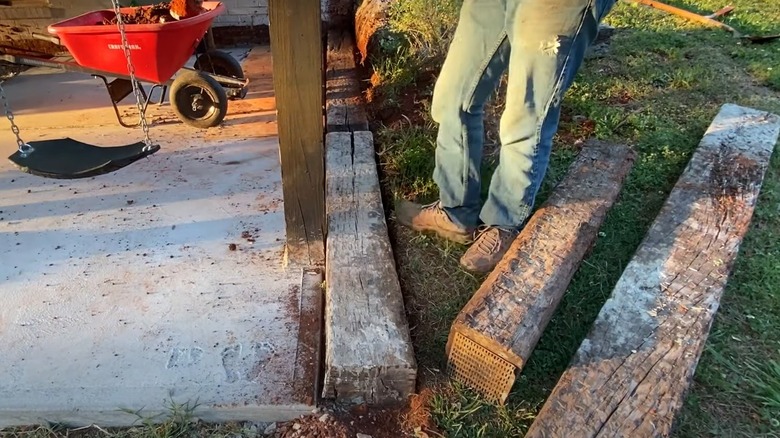
Start by prepping the area where the railroad ties wall will appear. Use a shovel to dig out and flatten the slope where you want to build the wall. Use a tamper to make the ground hard, providing a firm base for the railroad tie lumber. This preparation process minimizes the shifting of the soil over time. You then should add a layer of gravel over the top of the tamped down soil. Gravel helps to make the soil more compact while also aiding in the drainage of the soil in the area.
Add the first layer of railroad ties across the space you prepared. Use a large level to make sure that the base layer is as balanced as possible. Add gravel where needed to ensure an even starting row. Use a drill to create holes that extend through each tie on either end. Drive rebar up to 4 feet in length through the holes and into the ground to secure the tie. Add a few more rows of railroad ties. Stagger the ends of each railroad tie so that they do not line up from row to row. Drill through each tie and use rebar to connect one row to the row below it.
Steps for building a taller retaining wall with railroad ties
You can continue adding rows to the top of the retaining wall to make it taller. However, the taller you make the railroad tie retaining wall, the greater chance you'll make construction errors that may cause it to fail. Any retaining walls that go over 4 feet in height need some extra support in the design to maintain the stability of the structure. You may want to hire a pro to do the work if you must go higher than 4 feet.
To help hold the wall upright, you can use 4-by-4-foot vertical posts sunk into cement to provide extra support across the exterior of the structure. Another option is to add a deadman's railroad tie to the wall. Dig into the hill that the structure is supporting. Add a 3-to-4-foot length of railroad tie into the hill. Leave the end flush with the visible front of the wall. Attach it to the lower row with rebar. Bury the part of the tie that's in the hill with soil and gravel.
Once you finish building the wall, fill in behind it with gravel. You can put gravel behind the ties after every couple of rows to make the job easier, especially if you have an extremely tall railroad tie retaining wall. Tamp down the gravel to allow for proper drainage and to prevent erosion behind the railroad ties. You can cover the gravel with a couple inches of soil at the top if desired.


