Glam Up Your Living Room With This Budget-Friendly Dollar Tree Decorative Tray

Decorating a coffee table isn't as easy as it may sound, especially if you're going for a certain aesthetic. After all, it's not like you can plop down a few books, add a decorative garland or two on top, and call it a day. You need to place the TV remotes just so you can make some space for gorgeous candles and ensure the coasters stay in place. So, why not get a decorative tray to contain the chaos and ensure the table always looks its best? However, if you'd rather not pay a premium for this must-have for updating your living room, you can DIY a stunning tray using Dollar Tree supplies.
For starters, you'll need around three to four 2 x 18-inch wood planks. Priced at $1.25 each, they'll serve as the base for your tray. You can get one to two more pieces if you'd like a chunky tray, but don't go overboard or your DIY could land in eyesore territory. Regarding the handle of the tray, you have a couple of options. You could fashion two strips out of a $1.25 synthetic leather roll and attach them to the base using four (two on either end on both sides) Jot's standard metal thumb tacks — a 300-piece pack retails for $1.25. Or, you could get creative and adhere the tail of the $1.25 wooden toy snakes with glue. You'll also need a heavy-duty wood glue to stick the planks together and a wood stain (or spray or chalk paint) to update the simple wood pieces and make the end product look high-end.
Steps to DIY a decorative tray using Dollar Tree wood planks
Once you have the supplies, the first order of business is to neatly place the planks in a row and determine the tray's width. After you're satisfied, make things official by gluing them together. Push the planks together firmly after applying the glue to hold them in place. You could even wrap a few strips of painter's tape along the tray's width to hold it all together as it dries. Now, exercise patience and let the adhesive dry completely. How long wood glue typically takes to dry depends on the type of adhesive you're using.
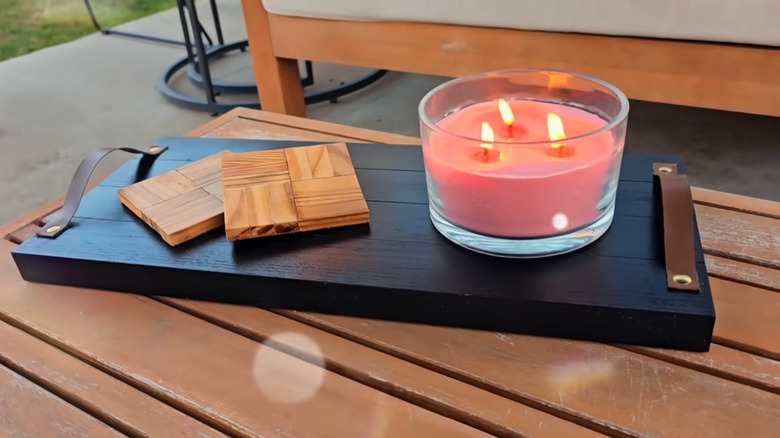
When the glue is sufficiently dry, stain or paint the base to help it achieve the desired look. Add the handles you want — be it the leather strips or the wooden snake tail. Jute-wrapped bamboo rings would also work and will give your decorative tray a more rustic look. Ready-made handles in a shade complementing the tray's hue are another good option. Voila! Your tray is ready for display. Put it on your coffee, entryway, or side table and deck it with decorative items. However, if you want to give it a glam upgrade, use sections of a peel-and-stick wallpaper (yes, Dollar Tree ones work, too) and stick them on the tray to give it the appearance you like. Similarly, you could add wooden plugs to the bottom with the help of hot glue to give your decorative tray cute legs to stand on.