How To Install A Budget-Friendly Chain Link Fence DIY Style
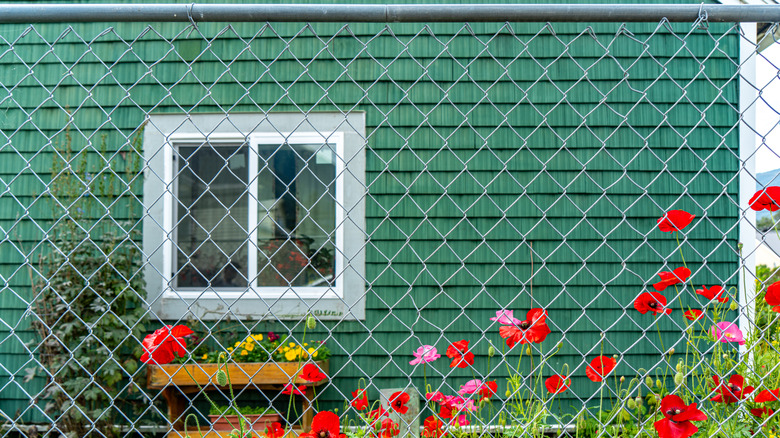
Whether you want to keep intruders out of your property or simply separate your space from the neighbor's, a chain link fence makes for a budget- and DIY-friendly physical boundary. Unlike their wooden counterparts, which can cost as much as $50 per linear foot, chain link fence costs span anywhere from $5 to $20 per foot. This means that a 100-foot chain link fence shouldn't cost more than $2,000 in materials, whereas a wooden equivalent would set you back over two times more, closer to $5,000. Installing a chain link is generally easy, too, and doesn't require any specialized carpentry knowledge. And although the material is see-through, there are affordable ways to cover the chain link fence to get more privacy.
That said, erecting a chain link fence — or any fence, for that matter — demands thorough preparation. That's because fences are subject to permitting and zoning regulations, and fence lines often run over utilities buried in the ground beneath. You'll have to do your due diligence and ensure that the fence complies with all local codes and bylaws, and doesn't get you in trouble with the utility provider. With the regulatory hurdles out of the way, the installation process is a bit long but very straightforward — you mark the fence line, dig the post holes, install the posts and hardware, then attach the chain link fabric. As long as you have basic DIY skills and a reliable helper or two, you'll have the job done in no time. Below, we'll show you how.
How to prepare for the chain link fence installation
First, there are rules you need to know and adhere to before building on your property. Most jurisdictions don't require permits for fences under 6 to 8 feet in height (chain link fences range in height between 3 and 12 feet). However, you should still check with the building department if your local requirements are different.
Even if your jurisdiction doesn't require permits for DIY fences that stay below 6 feet, you're not out of the proverbial bureaucratic woods. The local planning department will need to approve your project, too. There may be zoning restrictions on the location, type, and height of the fence, and you'll have to show the planning officials that your fence complies with them.
Another issue to consider is utilities. Firstly, you may have a utility easement on parts of your property. This means that a utility company has the right to use parts of your properties for their purposes (for example, to access a gas main buried underneath). The fence you're about to erect mustn't impede the utility company's access to their infrastructure. If you're unsure whether your property has a utility easement, check your property deed for this information. If you don't have a copy of the deed, check with the clerk at the local courthouse. Even if no utility easement exists, call the city or county and ask if there are any buried utilities (such as gas lines) where you're about to build the fence. It's better to dig around the utilities than to accidentally damage them during construction.
Steps for installing the chain link fence
First, use stakes and masonry string to create a fence line to mark its exact location. You can do this by inserting stakes at the corners of the fence (and every few feet in between if the fence is particularly long), then connecting all the stakes with the string. Make sure the string is nice and tight to identify the post locations accurately.
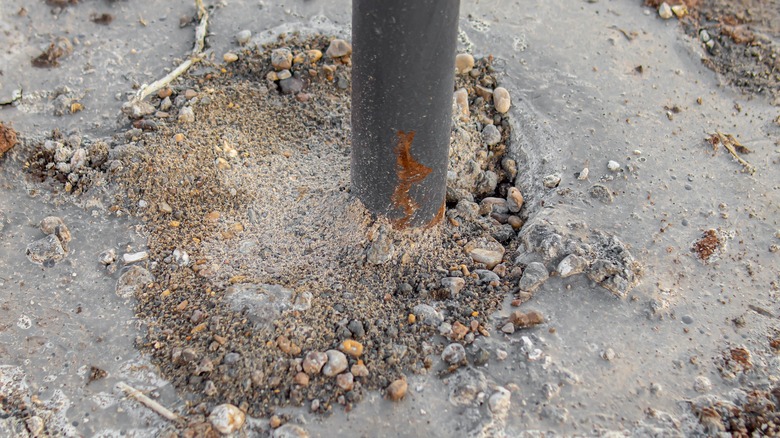
Use marking paint to show the post locations along the fence line. The maximum distance between posts is 10 feet for a chain link fence, and the spacing should be as even as possible if you want the fence to look clean and professional. Next, dig the holes for the terminal fence posts. The exact configuration of the holes will differ depending on the local topography, code requirements, and materials you're using. However, creating holes that are 30 inches deep and three times wider than the pole is the general guideline. Once you've set the terminal posts, connect them with a taut line at the top — this way, you'll know what height to aim for with the intermediate posts. You can use either dry pour or wet pour concrete to cast piers for the posts. Follow the instructions on the package to make sure the concrete mix cures properly, and don't do anything until it's cured.
Next, attach hardware, such as braces, tension bands, rail end cups, and loop tops. Then install the top railing and bottom tension wire along the entire length of the fence. Finally, with a partner, roll out the chain link fabric and secure it to the posts per the manufacturer's instructions.


