The Headache-Free Way To Recaulk Kitchen Counters
Recaulking your kitchen counters is a simple way to make a big change. You can replace stained, peeling caulk with nice, clean lines that tie together the entire look and feel of your kitchen in no time. It's also a great safety precaution — caulk can protect kitchens from mold and water damage by providing a seal over small cracks before they get wet. And you won't have to do this very regularly if you do it correctly, either: your kitchen's caulk should last for five years on average. But if the caulk is discolored or no longer fills the gaps, it's time to get to work. Keep your recaulking stress-free by using cleaning hacks like vinegar to remove old caulk, and the "wet finger" method when applying the new layer.
Find the perfect caulk for the job by matching it to the grout in your backsplash, or choose a color that you like against your countertops. Caulk is typically sold in shades of white, beige, and brown, and many companies sell caulk that matches their grout shades exactly for a more seamless look. You should also be sure to buy a silicone-based caulk because silicone is flexible to temperature changes and is water resistant, which is ideal for kitchens and bathrooms.
Prepare your counters for new caulk
Before you begin applying caulk, make sure that your counters are clean and that the old caulk has been removed. There are a few methods to effectively remove old caulk from your surfaces, like using a hair dryer or vinegar, paired with a utility knife or paint scraper. YouTuber @hairypotato4241 demonstrates how to use a hair dryer to warm up the caulk until it's pliable enough to be able to be removed from the area. You can also use vinegar or caulk remover to remove old caulk by applying it and letting it sit for several hours for another headache-free removal technique.
Once the caulk is loosened, it should come off easily, often in long strips. It's still a good idea to remove as much of the old caulk as possible, but if these methods are still leaving some residue behind, there's no need to strive for complete perfection on this step. You can continue to scrape old caulk off before applying the new caulk. Afterward, clean the entire space with a bleach solution like in the YouTube video, or use ethyl alcohol and ensure that the area is clean and dry before the application step.
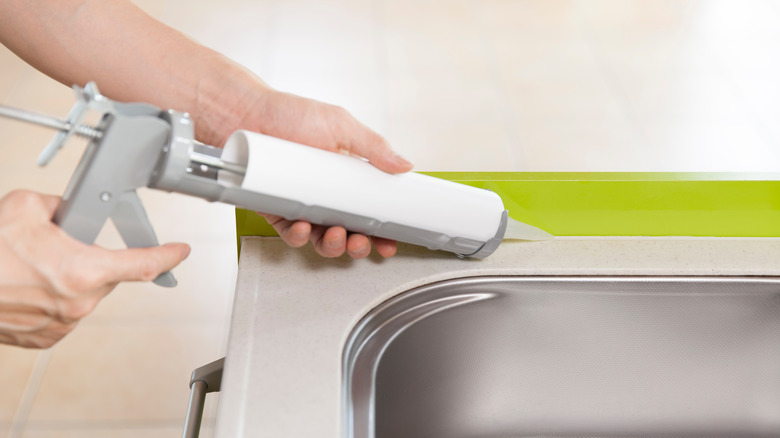
Applying the caulk
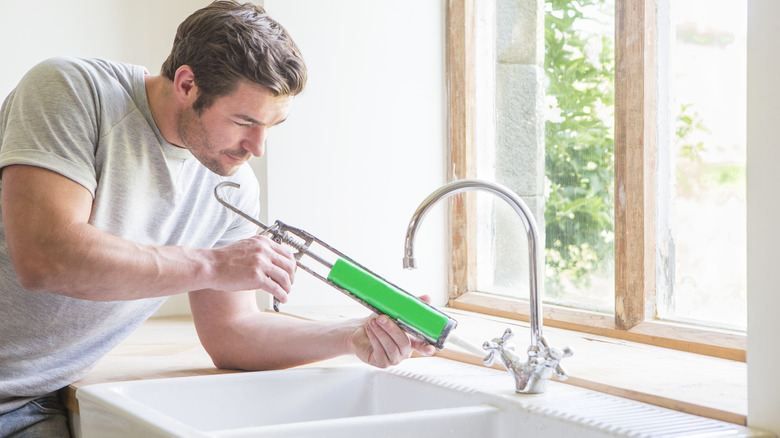
Once you've found the right caulk for your kitchen and prepared the counters, it's time to find a caulk gun (a simple model is about $5). You can easily use a caulking gun by sliding the caulk tube into the gun so that when you press the trigger, the caulk automatically dispenses. Cut a 45-degree angle into the top of the caulk and have a bowl of water and some paper towels ready. While some professionals use painter's tape to cover the countertops, you can keep your caulking experience hassle-free by simply using the wet finger method.
You'll want to create a bead of the caulk and drag it along the gap in the countertop. Then, dip a finger in the water and use it to smooth out the line. Use a wet towel to wipe away excess caulk. It's really that easy, and once you've done a few inches of caulk, you'll gain momentum and be able to complete the project quickly with no added stress. You can also apply this method to recaulk your own windows and bathroom, using leftover silicone caulk if your tube has some left. Once you see the difference that updated caulk makes in your kitchen, and the ease of recaulking, you'll likely want to make the same changes in other areas of your home.