Save That Old Bookcase And Reuse It To DIY A Stylish Storage Bench
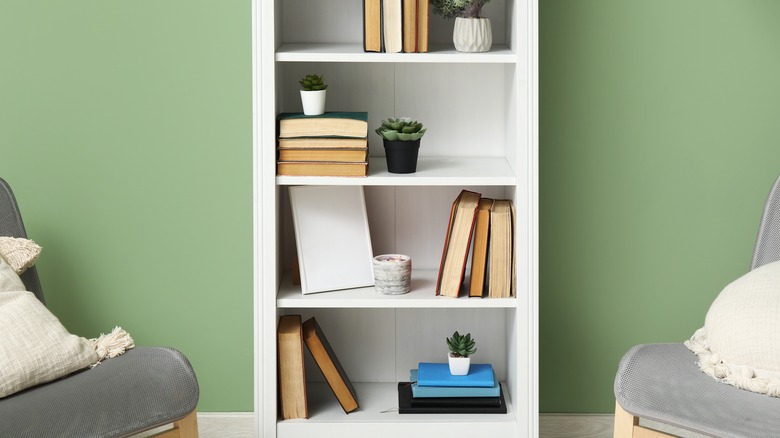
Ask a book lover to name the non-negotiable items on their dream library list, and sturdy bookshelves will likely feature at the top. This is because a bookcase isn't just a place to store books. It doubles as a showcase, helping you display faux plants, miniature book characters, elaborate artwork (Hogwarts Castle in a snow globe, anyone?), and other decor items in all their glory. Since this furniture item defines a room's personality, you don't want to keep a shelf you have fallen out of love with, especially if you have room for an upgrade. But hold on and consider this upcycle idea before tossing an old bookcase: turning it into a storage bench.
This repurposing DIY can be incredibly beneficial for you and the environment. On the one hand, this upgrade will save your bookshelf from a dreary life at the overflowing landfill. On the other, it's an incredibly easy DIY storage bench idea you can build right now without spending a lot of time, effort, or money. Win-win! The best part, though? You don't have to be a master DIY-er, a power tools savant, or an experienced sewer to achieve the desired results. You just need a cut-to-size MDF (or wooden) board, high density foam, batting, upholstery fabric, and staple gun. Once you add a comfy cushion on top of your old bookcase, you can reuse it as a stylish storage bench.
How to turn your old bookcase into a high-end storage bench
Before you undertake the DIY, measure the dimensions of the space you want to place your upgraded bookcase in to ensure there's enough room to house it comfortably. Moreover, check its sturdiness, or it won't be able to support your weight. A bookcase made of solid wood will work, while one made of flimsier materials won't (unless you fortify it with stronger material). Now it's time to empty and thoroughly clean your bookshelf (try this Swiffer pad trick). Once that's done, lay the bookcase on its side. In case the shelf is too heavy for one person to do it, do your back and arms a favor and ask for help.
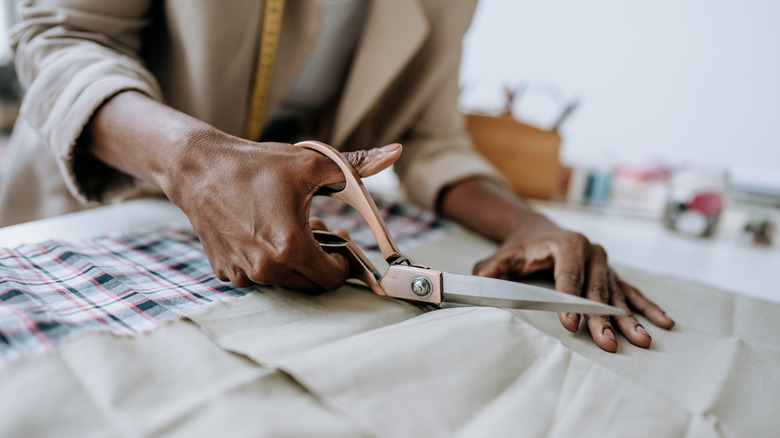
After you have the case positioned in its new spot, measure its length and width accurately, and cut the MDF board and foam to size. In case you don't have the requisite power tools at home or aren't comfortable using them, provide your local home goods store with the measurements and request them to cut it for you. You also don't want to skimp on the foam, as it'll determine the loft and comfort level of your bench seat. Get something in the 3- to 4-inch thick range for the most comfort. Next, measure and trim the batting material and upholstery fabric. Be sure to add a few extra inches all around for folding. Finally, stack the items, starting with the MDF board, followed by foam, batting, and fabric, and use a heavy-duty staple gun to put it all together. You can also use a spray adhesive instead.
Ways you can customize this seating bench DIY
While you can follow the YouTube video to a T to turn your old bookcase into a stylish storage bench, there are a few ways you can personalize it. For starters, you might want to sand the current paint off and apply a new shade to transform its appearance and ensure it complements the rest of the furniture in the room. Similarly, if you plan on using the decorative bench in your entryway, buy Capita legs from IKEA ($20), and attach them to the case's bottom to make it look high-end.
Regarding the cushion top, you might want to glue the MDF and foam to ensure they function as one. Similarly, use Velcro strips so the cushion doesn't slide around. Alternatively, you could fashion a wooden trim around the cushion to keep it in place. Even though this step is optional, it can enhance the bench's aesthetic. Additionally, choose the fabric color and pattern carefully so that it complements the old bookcase. Drape different types of fabric on top of the case to test them out before stapling in place. As for storage, place baskets in the empty shelving space. This way, the mess (toys, shoes, etc.) won't be visible. Or you can choose to display books, showpieces, and other decor items.