Mistakes Everyone Makes When Growing Ground Cover Plants
Ground-covering plants are a game changer for yards. They not only look great in gardens but also make excellent lawn replacements. Their wide spreads help to fill in bald spots and suppress weeds, and honestly, they look so much more interesting than grass that we can totally understand why someone would want to use ground cover throughout their yards or around trees and borders.
However, before you start pulling out patches of sod, take a minute to learn what you're getting yourself (and your yard) into. Successful ground-cover gardening requires a few tricks to ensure they thrive in your soil, especially if you want your plants to thrive for the long haul. Unfortunately, gardeners make a few common mistakes — underestimating climate needs, over-fertilizing, and ignoring soil requirements — even with the best intentions. Most of these problems require just a simple tweak to make things right. Here are the most common mistakes and the simple pivot you need to take to get your plants back on track.
Picking ground cover incompatible with your weather
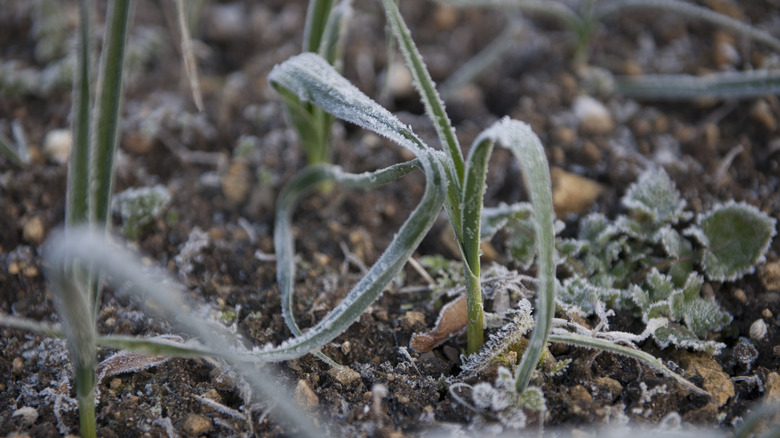
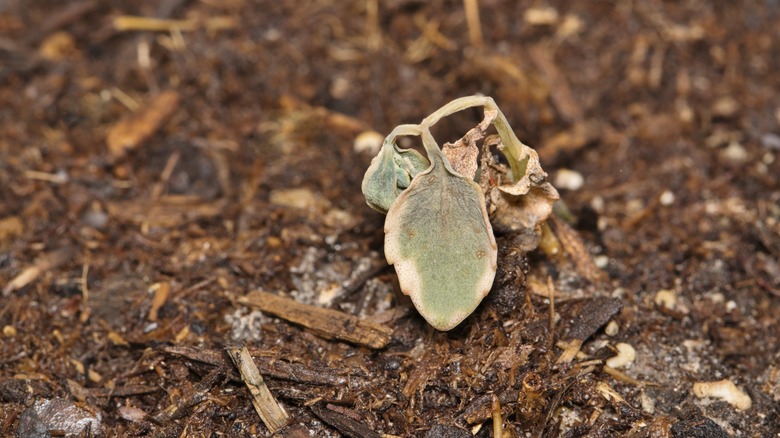
Most individuals would love a landscape full of gorgeous, exotic plants that make our home stand out. Unfortunately, the reality of the situation is that there are only so many plants that will work well in a given area. Let's say, for example, you live in Vermont and are planning to replace your grass lawn with a carpet of violets. While that would look lovely the first year, the truth is that violets are too delicate for Vermont's harsh winters and would quickly die out after the first frost, wasting your time, money, and energy.
The USDA Plant Hardiness Zone Map was created for situations like this to help gardeners research which plants will survive in their respective climates. The map is broken into 13 different zones separated by a factor of 10 degrees Fahrenheit. The zones are further broken down into A and B areas for five-degree Fahrenheit differences so that super-sensitive plants don't succumb to a slight change in weather that's too drastic for them to handle because the gardener was none the wiser. Most garden centers and big box stores will have the recommended hardiness zone listed on a plant's tag, so only opt for ground covers that the nursery recommends for your climate conditions.
Not testing the soil's pH level first
Did you know your soil has acidic qualities to it? It's the thing that determines hydrangea bloom colors (okay, soil acidity matters for more reasons than that, but it is a fun fact), and the acidity aids in how plants get nutrients from the soil. Soil acidity is measured by pH level tests with a scale of zero to 14; the lower the number, the higher the acidity, and vice versa for alkalinity. Accidentally planting a ground cover that needs a certain pH level that your soil can't provide means sad-looking plants that you'll need to replace, costing you more money and headaches in the long run.
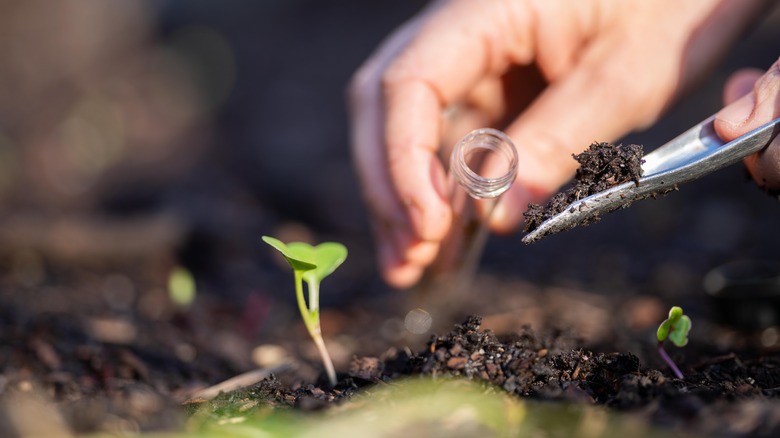
Luckily, this is easy to avoid; just get your soil's pH level tested before planting. Many universities have biology or agricultural departments that offer free or low-cost soil testing and will give you a kit with all the tools you need. Don't rely on tasting the soil to see if it's sweet or sour; this test is a myth and is not supported by experts to indicate the acidic or alkaline natures of soil. Once you get your soil's report back, you can either opt for plants that thrive in its natural pH level or use one of these ways to make your soil more acidic.
Unintentionally using invasive plants as ground cover
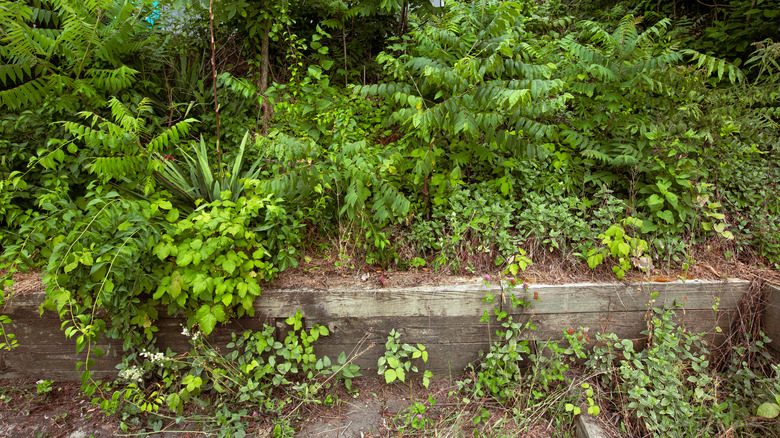
Novice landscape gardeners might not consider the long-term effects of their ground covers, especially if they're focused on getting something that's quick covering and inexpensive, like good old bugleweed. Bugleweed works like a charm, spreading fast in shady spots and forming a dense mat of pretty, purple flowers. But then, before you know it, it's overtaken your flower garden and has begun to creep over your sidewalk, too. Suddenly, you're dealing with an entirely new problem: your quick, affordable ground cover has turned into an invasive plant with an aggressive growth pattern that's straight out of some 1950s bad monster movie.
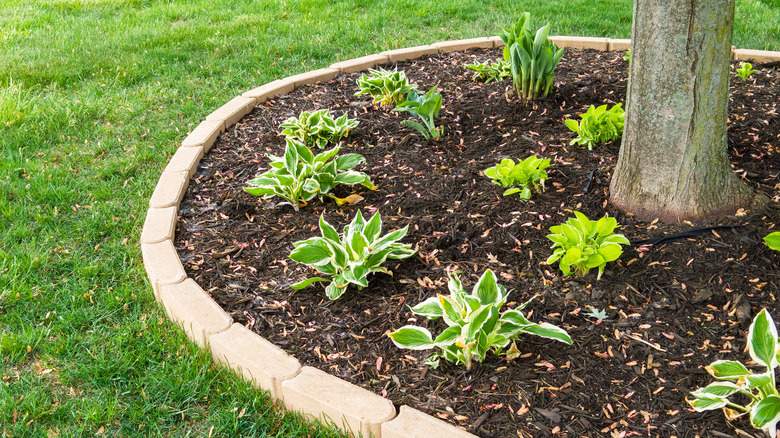
So what are your options? First, it's okay to plant aggressive growers; just be aware of what you're getting yourself into and have a plan for how you'll keep it controlled. Bugleweed, for example, shouldn't be planted near grassy areas because it'll overtake the grass easily. Instead, plant it on a bank or in shady areas where grass doesn't thrive, like under trees. Another option is to use ground covers that spread in a more controlled way, like hostas. Rather than spreading, hostas develop into bigger mounds that can be divided into smaller plants, making them much easier to handle.
Planting ground cover in an unfavorable location
We've already discussed the USDA Hardiness Zones, but there are also microclimates that need to be considered. Microclimates are areas that are significantly different from the surrounding area, like the shady side of a brick building or the temperature difference between the tops of two hills and their valley. Putting the wrong ground cover in these microclimates can mean a plant that would generally be okay in your zone gets scorched by too much sun or wilts in too much shade, costing you more anguish than necessary.
Take time to scope out the area you plan to cover with your upcoming plants. See if you notice differences in the area to plant compared to the rest of your property. Does it get significantly more sun or less? Adjust your plant selections based on how many hours of direct sun you notice the location receives. Is the area a wind tunnel between your and your neighbor's houses? That could be a big deal, especially if the plant grows taller flowers with weak stems that might snap under wind gusts, like baby's breath or yarrow.
Trying to plant ground cover in compacted soil
Have you ever had a spot in your yard where things just won't grow? It could be due to compacted soil, which happens when soil particles are pressed together, making it too dense to carry water and limiting space for air to circulate around roots. This occurs often in areas that were formerly sites where large construction equipment was used, its weight compressing the soil. If you've ever tried to dig into the dirt and felt like it was fighting back, it's most likely compacted, and planting in that area will kill your plants and destroy your planting tools, budget, and sanity.
Not all hope is lost if you have a yard that's full of densely compacted soil; you'll just need to aerate it first. Also, to keep it from getting compacted again, dig up a layer of dirt and add some chunky organic matter, like orchid bark, perlite, pumice, lava rock, and expandable clay balls, then mix it all up before planting. If that's not an option, you can always call in the pros to aerate your lawn or simply pick another spot to put your ground cover that's more pliable.
Fertilizing ground cover
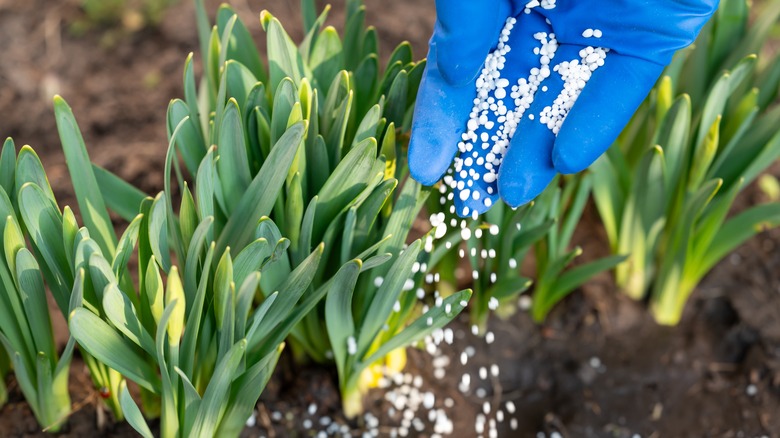
On the surface, fertilizing just seems like something you ought to do for plants, right? After all, who doesn't love a little energy boost here and there? Well, ground covers, apparently. Too much fertilizer can result in leggy ground cover or excess growth that looks sad and floppy. If you've got poor soil that's mostly sand and not much else, then your ground cover may benefit from modest fertilizing. Otherwise, the only results fertilizer might provide are wilty growth sans blooms and a stressed-out homeowner.
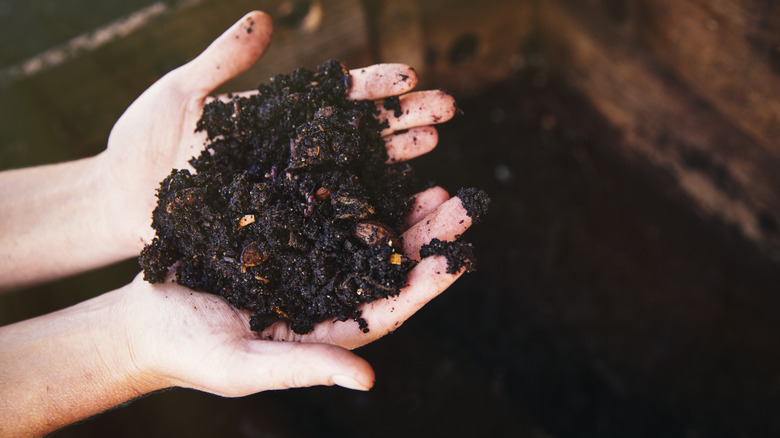
Consider avoiding the stressfest together and get a soil test first to see if your dirt is lacking in any nutrients. Who knows, you may have the most fertile soil possible, and fertilizing would only waste money. If your soil test comes back reporting deficiencies, now you've got a place to start. Perennials, which is most likely what you're planting, do best when they get fertilized just before spring to help them with new growth; you can back off the rest of the year. Generally speaking, you'll want a fertilizer that has a thirty to fifty percent slow release of nitrogen, one of the primary nutrients a plant needs. You could also opt for spreading compost or composted manure instead, as they're excellent sources of nutrients and help build your soil's organic material levels.
Not checking the moisture level of the soil
What does your yard look like after a good rain? Does it dry out or end up like a swampy, boggy mess? If it's the latter, then your ground cover plants are in for a bad time, especially if they're not plants that thrive in soggy soil. One big, painful mistake some landscapers make is not checking their soil's water levels and its ability to hold moisture. If a spot gets too dry, ground cover could dry out unless hand-watered, but if it's too wet, your plant could succumb to root rot. Not only will you end up losing your plant investment, but no one likes to clean up liquefied, soggy plant stems and leaves.
Dig your fingers into the dirt after a rainfall and see how moist the soil feels. Is there a reasonable level of moisture? Does it feel wet or not wet at all? Go back out a few hours later or the next day and check again. If things feel uniform, moisture-wise, then you've probably got a pretty good soil structure and can take your pick from whichever plants thrive in your USDA Zone. However, if your soil feels overly dry, you should plan to pick drought-resistant ground cover or add watering that area to your weekly gardening chores. If the area is still saturated, consider turning it into a rain garden, building it up with more soil, or adding a drainage system.
Adding mulch to established groundcover
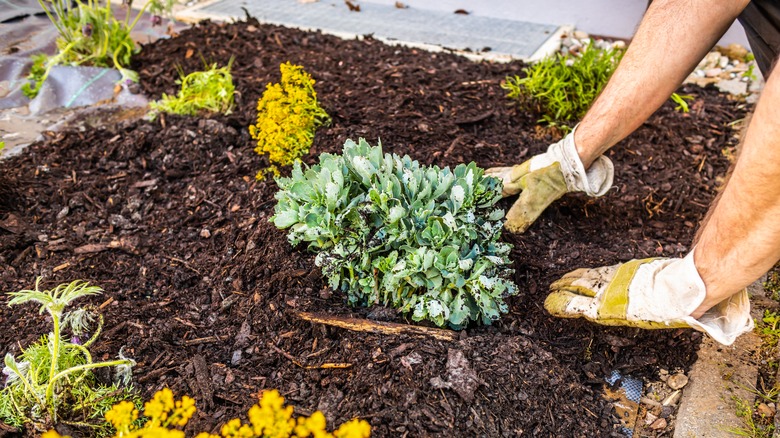
Mulching around established ground cover seems counterintuitive, yet landscapers do it often enough that we wanted to include it on this list. Maybe it's for aesthetics or to help with weed control, but there's a fine line for getting it right, which can be hard to master. Spreading too little mulch won't help your ground cover prevent weeds, while too much mulch can result in your plants having trouble developing solid roots. In the end, by making some adjustments, you can maximize the benefits of using mulch, plants, money, and time, making it a worthwhile investment.
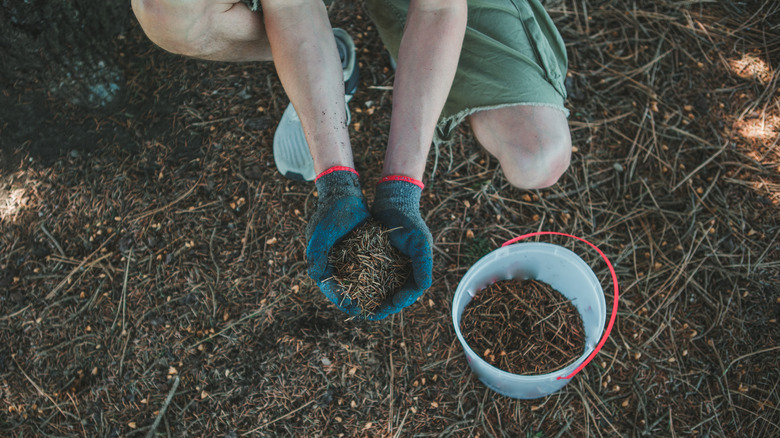
If your ground cover is young, then it's okay to use mulch between them the first year only as they get settled. Use two to three inches of pine bark fines, pine straw, hardwood bark, or melaleuca-made mulch. Cypress mulch is also available, but trees are sometimes cut down just for mulch, so it is better to opt for more sustainably sourced varieties. Remember, though, that this is completely optional and slightly redundant; ground covers don't need mulch and will eventually handle weed control on their own.
Neglecting weed control before and right after planting
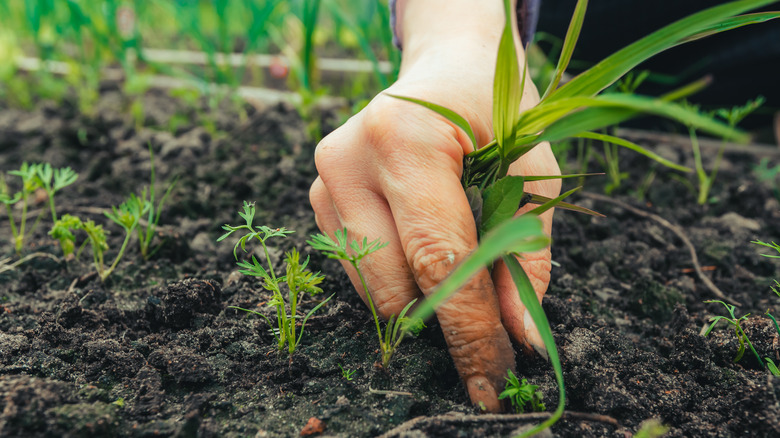
Speaking of weed control, let's talk about ground covers and weeds. Ground covers suppress weeds by spreading stems and leaves densely over an area so that weeds can't break through, making them an eco-friendly herbicide. But they only do this once they've got a foothold in the ground, which takes a while. In the meantime, you'll still need to pull weeds yourself. Letting the area go without intervention is a huge mistake that will make it hard for your ground cover to dominate the area, especially if you've got tough perennial weeds like Canada thistle or quack grass. Those things will laugh at a fledging groundcover and ruin your hard landscaping work if you let them.
Instead, take time to prepare the area ahead of time for your ground cover plants to thrive. There are many effective ways to kill weeds (and a few ways to avoid), but covering the area with black plastic bags to smother the weeds first is a great way to start. However, this requires a little pre-planning, so if you're more of the impulsive type of gardener, you might need to resort to hand-pulling for a while. Whatever method you opt for, don't hope your ground cover will take care of it for you; they need to get established first in their new living situation and, hopefully, by next year, will be ready for action.
Improperly planting ground cover
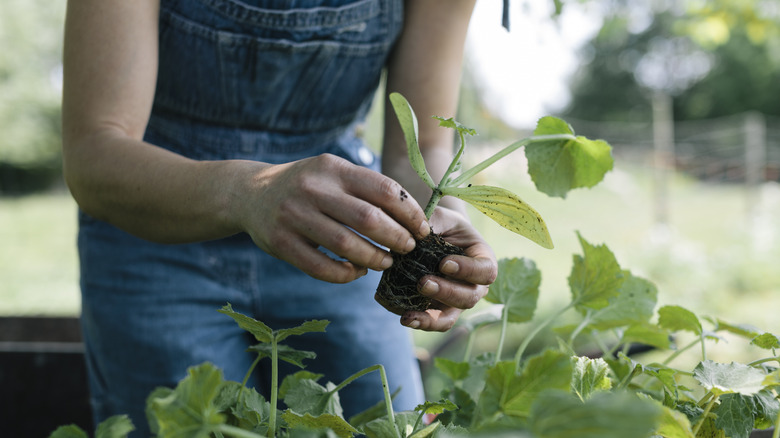
Have you ever pulled a plant out of those plastic nursery packs and seen its roots so tightly wound that it's like a shell around the soil? You might think that plopping that plant plug in the ground would make it happy and that it could unfurl those roots itself like it was doing a good stretch after a long nap. Unfortunately, that's not the case, and planting your ground cover starter plant the wrong way could kill it faster than you think.
We know this has become way more work than you thought, but it's not as bad as it sounds. To plant your ground cover correctly, start by loosening the roots. You might end up breaking some; that's okay. Roots need to be uncoiled and spread apart, or they'll strangle the plant's trunk as they grow, so dig in by all means. Next, dig a hole as deep as the pot the plant came in or slightly shallower if you add mulch. That's the depth your ground cover is used to being planted at, so going deeper than that could suffocate the roots, while shallow planting stresses the roots because they're now exposed to more temperature fluctuations. Basically, all you need to remember is this: your ground cover is happiest when planted as deep as its pot and as wide as its roots will go.
Not considering the plant's size at maturity
Baby ground cover plants are so cute, don't you think? They look so compact and pretty, especially when freshly planted and landscaped. But then they get into their awkward, leggy teenage years and start growing over each other, competing for resources. Suddenly, it's battle royale in your front yard, and you're left with ground cover that's half dead, half overgrown, and somehow, there are new weeds popping up just to mock you, too. The mistake? Planting your ground cover too closely without considering their mature sizes.
In the beginning, it's going to look sparse, but the benefits will greatly outweigh the aesthetics. Not only will spacing out your plants give them room to grow, but you'll also reduce the chances of diseases being able to spread throughout the population. If you want to break up the sparse areas, you can always plant tall growing flowers in the middle, like cosmos, salvia, or borage. These won't compete with your spreaders for resources and may have different flowering seasons than the ground cover, giving you more blooming flowers throughout the year.
Using too many chemicals
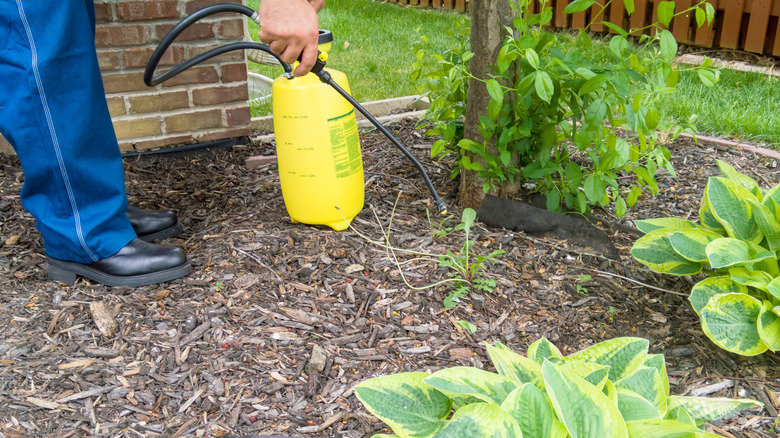
Some ground cover plants are relatively hardy, but even they have a limit. Unfortunately, few plants are hardy enough to withstand heavy chemical use. Gardeners may think they're helping out their ground cover plants with a little spray of insecticide, herbicide, fungicide, or pesticide, but the damage these compounds can inflict can often do more harm than good, especially if the plant is young or already sick. The result is a sad-looking, damaged plant that may cost you more to treat, or replace, if it can't be saved.
The result of over-treating plants is known as chemical injury or phototoxicity. The actual injury depends on variables around the chemical makeup, amount, and how it was applied to the plant, but suffice to say, the outcome is not good. Signs of phototoxicity include burned leaf tips, tip dieback, stunted growth, leaf twisting or cupping, yellowing or browning of leaves, blotches, speckles or spots on leaves, or plant death. What makes matters worse is that there's no cure for phototoxicity; you just have to let things run their course. If you've sprayed chemicals already and noticed signs of damage, do what you can to limit other stressors like over- or under-watering and fertilizing, etc., and give it time. If everything goes well, new growth should pop up unaffected.
Using ground cover that can't handle foot traffic
Ground covers aren't just for weed control; they also make great replacements for lawns. There are so many attractive options out there with bright, beautiful flowers that it's no surprise gardeners get caught up in the fantasy of what their lawn could look like, possibly overlooking the practicality in terms of walking. Some ground covers just aren't made to handle foot traffic. Their roots are too delicate to tolerate the soil compaction. The stems holding those bright, beautiful flowers get trampled down by pets, kids, and package delivery people too easily, taking your wildflower lawn dreams with them.
If you've already had this happen, your best bet for fixing it is to create paths with mulch or gravel so that the rest of your ground cover is protected with intentional walkways. If you haven't yet replaced your lawn, use ground-covering plants that can handle the foot traffic, like creeping thyme (which would also smell lovely), Irish moss, Dutch white clover, or verbena.
