This IKEA Bathroom Mirror Hack Adds The Perfect Finishing Touch To Any Space
We may receive a commission on purchases made from links.
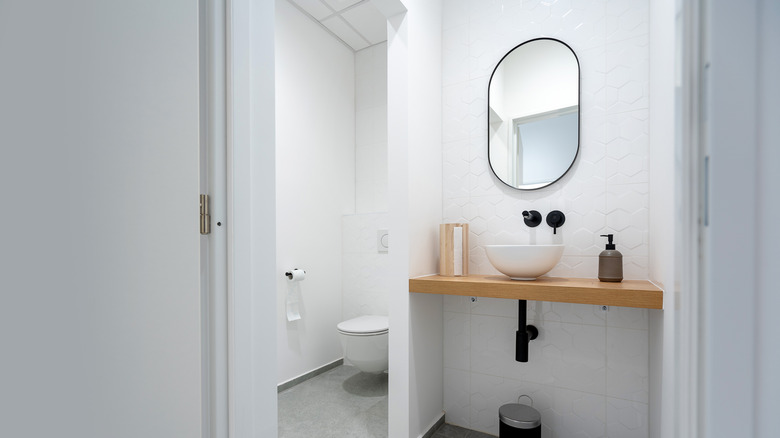
Do you love finding the perfect finishing touches that really just round out your home? Your bathroom is an oasis of calm and aesthetically pleasing design, but what if there was one simple addition that could take it to the next level? There are a variety of ways to upgrade your IKEA mirrors, but this hack is probably the simplest, and the best part is, you don't need to spend a fortune to accomplish this trend. All you need is strip lighting to accomplish one of the easiest bathroom mirror updates that makes budget-friendly IKEA mirrors look expensive. By adding this DIY LED lighting to the back of your IKEA LINDBYN detachable mirror ($99.99), it will completely transform your bathroom and give it a truly professional finish.
Mirror backlighting is great for several reasons. It can add depth and dimension, as well as make a room look larger. This discreet lighting also helps enhance natural lighting that filters into your bathroom through a window or the entry. The lower ambiance of the strip lighting can set a calming mood-soothing atmosphere. It can add practical illumination when using the mirror for cosmetic or daily routines, and it makes the room look more stylish and expensive without a big price tag. Light strips can brighten up your home in a variety of ways, but this DIY is definitely one of the most impressive results out of the list.
Add the strip lighting around the mirror's back border
To nail this trend, find strip lighting that will fit the circumference of your mirror. Try the bargain Zslaifu USB-powered light strips (3 feet each) for $5 each on Amazon or the remote-controlled 10-foot Onn LED light strip from Walmart for $4.88. You can also opt for multi-colored lighting, depending on whether you're going for a classic or a funky vibe. Cooler shades will create a cleaner backdrop for your bathroom, leaning toward a minimalistic ambiance that's "pure" and tidy. Warmer tones are known to be more soft and welcoming, and if you use your mirror for cosmetic or skin care routines, warm lighting might be better for these purposes. The shade of strip lighting you opt for also depends on your bathroom decor, color palette, layout, and your personal preferences. The simple border of the IKEA LINDBYN mirror is ideal for this addition, too, making it a quick DIY anyone can try.
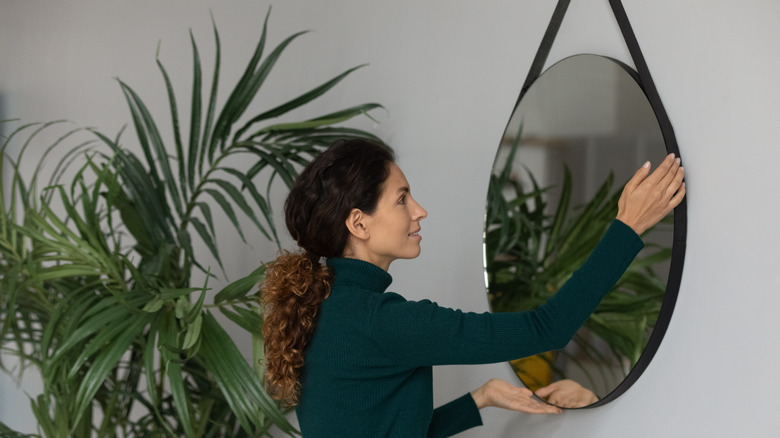
Once you choose your lighting strip, you can remove your mirror from the wall (or box if you've yet to take it out) and adhere the lights on the underside along the edges. Ensure the strip is close enough to the border of the mirror so the illumination will show up when the mirror is hung. You can always test this as you go by turning the lights on and holding the unit up against a wall to check the placement is correct. Most of these strips are self-adhesive, so you can stick them directly to the back of your mirror.
Hide your cords for a clean finish
Applying these LED strips is pretty easy. However, the biggest challenge with adding strip lighting to the back of your IKEA LINDBYN or similar mirrors is that if you choose a plug-in or USB-powered strip, you need to hide the wiring. If your LED strip has a clunky battery box, it could make the mirror hand unevenly, so try to avoid these.
To hide plugs and wiring, you can pull the cord from behind the mirror to the nearest outlet, then use a cable cover like the ZhiYo cord cover from Amazon ($8.99) to hide it. Some strip lighting, like this Home Depot option ($15), uses a USB cord, which could work if you have a plug on your wall near the mirror. If you choose to use an extension cord, it might be best to find an outlet that doesn't reside on top of your sink, which will make your cords more visible. Instead, try to run the cables to an outlet that is further down on your walls. Once your project is finished, enjoy the ambiance brought to your bathroom by this simple hack!