The DIY Project That A Coffee Lover Would Have No Problem Making
We may receive a commission on purchases made from links.
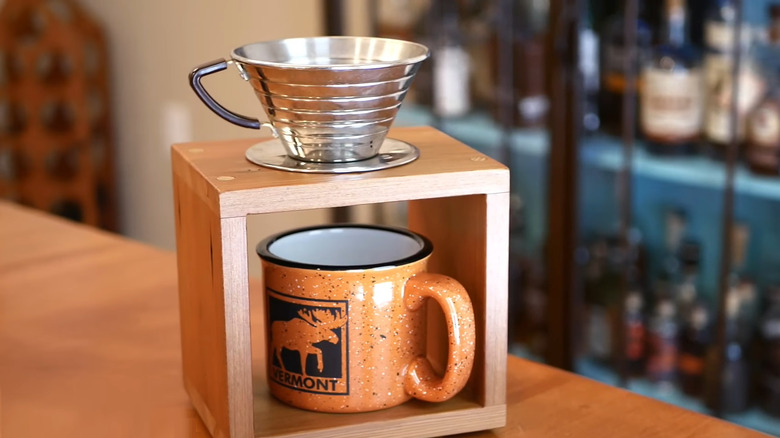
There's a dramatic element to pour-over coffee that's reminiscent of a Japanese tea ceremony. You may have concluded a meal at a fancy restaurant with a pour-over coffee performance right at your table. Imagine that the server places a wooden stand in front of you, a cup under a conical container of grounds, and pours a slow spiral of steaming water over the grounds, and you watch the inky liquid stream into your cup. While you don't need the added height from the stand in order to enjoy pour-over coffee, it provides a level of beauty that you wouldn't otherwise have. You can recreate the show at home with a DIY that only involves five or six pieces of wood and a few tools.
Stephen Johnson from Four Oaks Crafts put together a triangular stand using two cuts of wood and three dowels. It suspends a glass pour-over cone and filter above a cup, affording you a lovely view as your favorite beverage drips into your mug. Recreate this design or try a square version if you don't trust your woodworking skills enough to cut perfect triangles. Topped with a bit of stain, adding this stand to your cute coffee corner or home coffee bar will inspire your inner barista.
Gather your materials
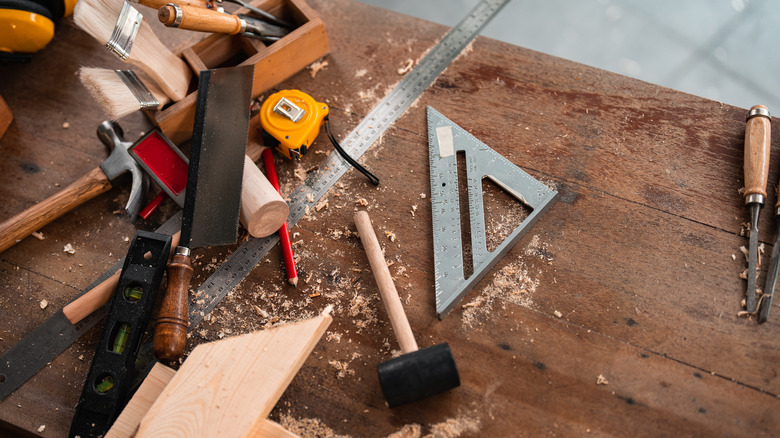
For this woodworking project even beginners can do, you'll need two squares of wood about 7 inches on each side and 1 inch thick, plus at least 3 feet of ¾ inch dowel. You will need a longer dowel if you want to fit taller mugs into the stand and/or if you opt for a square design. As for tools, grab a saw, a drill, and two drill bits at ¾ and 2 inches in diameter. You'll also need sandpaper, a measuring tape, a speed square for measuring angles, and wood glue. The most important item is the pour-over vessel itself. There are a wide variety of pour-over coffee makers available, but the simplest and most eco-friendly is a glass filter cone like this one from Fenteer on Amazon for $12.99 that doesn't require paper filters.
The kinds of saw, drill, and bits you use depend on your taste and what you have available. Stephen Johnson from Four Oaks Crafts used a miter saw and a drill press with Forstner bits for clean, smooth edges. You can use a hand-held circular saw, a jigsaw, or even an old-fashioned hand saw, especially if you make the square model. You can also use a hand-held power drill with another type of bit, but you will have to pay extra attention to drilling the hole perfectly vertically in the wooden triangles/squares so that the dowels will fit. A drill guide, available at most home improvement stores, is a good investment that can help you bore a straight hole.
Craft your stand
To cut your two 7-inch equilateral triangles, measure a 60-degree angle at one corner of your wood square, and mark and cut a line following the angle toward the midpoint of the opposite side of the piece. Repeat this from the corner at the other end of the side you just cut. Follow the same instructions to cut the second triangle.
If you don't have a speed square, 90-degree angles are much easier to cut. This way, you'll end up with a square stand. Mark and cut two 90-degree sides, 7 inches apart. Tape the two pieces together so that you can drill the holes for the dowels at the same time. With the ¾ inch bit, drill a hole in each corner, leaving about ½ inch from the edges. Find the center point of the piece that will be the top of your device, and drill the 2-inch hole for the coffee maker itself.
Before you cut your dowels, measure the tallest cup you'll be using with this coffee maker; make sure the dowels are long enough to fit the cup, plus an extra inch of margin that will fit into the holes in the wooden base and top. Cut three or four dowels to this size, depending on your design. Fit the dowels into the holes on both pieces of wood, and secure them with wood glue. Sand and stain your final product, and place the cone over the hole in the top of the coffee maker.


