Tips For Harvesting Iris Seeds To Plant And Grow For New Blooms
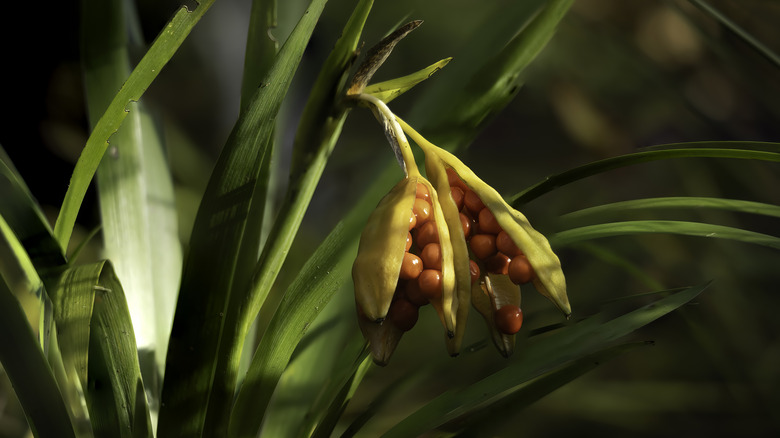
Harvesting iris seeds is a fun, fulfilling way to expand your iris collection. While irises typically reproduce on their own using rhizomes, gathering their seeds is as simple as picking them once they've ripened and begun to drop on their own. If you have lots of irises, it's not very efficient, but there are plenty of other tried-and-true methods for gathering large numbers of iris seeds from their spent blooms. If you only want to try growing a few iris seeds at first, you can simply gather them when they're ready and plant their seeds to start new plants. All you need to do is collect the round, bright orange seeds from the seed pods, store and let them dry, then plant them in your garden.
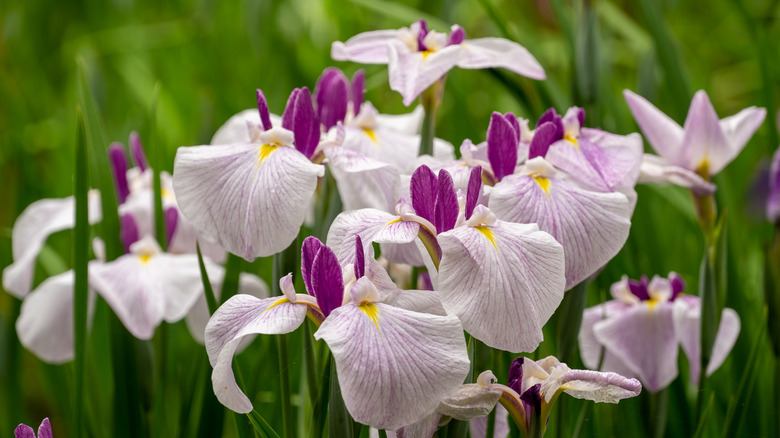
Allowing your irises to produce seeds also opens the door for genetic diversity. While the rhizomes of each plant are an exact copy of the mother plant, pollinated seeds are a genetic blend of different iris parents, much like these stunning types of irises that are hybrids created through cross-pollination. If you'd like to breed two of your irises together, you can try hand-pollinating them – but first, learn these tips for gathering and storing iris seeds.
How to gather and store iris seeds
It can take around two months for a pollinated iris flower to produce ripened seed pods. This means you'll need to skip deadheading your irises after their spring bloom in order to allow the seed pods a chance to fully grow and ripen. While this can hold back flower production, it's a worthy sacrifice to grow new irises. Once the seed pods have turned brown and begun to crack open, they're ready to harvest.
The paper bag method is a classic seed-harvesting method, wherein you simply cut the flower stalks, bundle them upside down into a large paper bag, and give them a good shake. Another great way to collect iris seeds is to hold a basket or bag underneath the flower stalks and shake them until they fall into your receptacle. Then, collect any remaining seeds in the pod, and if you'd like, add them to the pile.
Keep in mind that iris seeds are not viable until they've been allowed to dry out. Iris seeds contain a germination inhibitor to prevent them from starting as soon as they hit the soil, and the drying process removes this inhibitor so they can be germinated. You can either preserve them through cold moist seed stratification or store them in a cool, dry place such as a paper bag for cold dry seed stratification.
How and when to plant iris seeds
Planting iris seeds is very similar to planting rhizomes. Plant them in the fall about ¾ inches deep, where they can further chill to remove any remaining germination-inhibiting chemicals. Label where you've planted your iris seeds so that you remember where to look come spring.
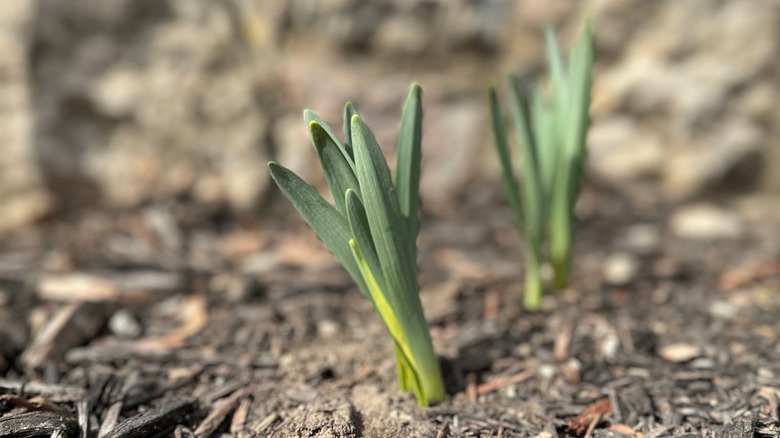
If you'd prefer not to grow your iris seeds directly into the ground, you can also opt for growing them in pots, as they typically perform well in planters above ground. If you don't have nursery pots lying around, you can try reusing these empty food containers to give your seedlings a temporary home before transplanting them in spring. However you choose to plant them, iris seeds will spring up when the weather begins to warm. While it's very unlikely you'll see blooms from them in their first year, the rhizomes should develop enough by the second year to offer your first glance at the new iris plants you successfully grew!


