Fill Small Cracks In Wood Countertops With A Wax Trick
We may receive a commission on purchases made from links.
Deep down, we all know there are things you should never do if you have butcher block countertops. And yet we often persist in plonking hot pans down on the wood without protection, scraping heavy ceramic planters across the surface, or not staying on top of much-needed solid wood counter maintenance. This results in scratches and cracks appearing on our prized kitchen work surfaces. Some people think blemishes on a wood countertop add character and that can certainly be the case if you're channeling a vintage-core or modern farmhouse interior aesthetic. But those who pride themselves on pristine surfaces likely won't gaze upon these imperfections as favorably.
It's a fact of life that wooden countertops scratch, and it's usually the fault of the user (read: us and our clumsy, utensil scraping, saucepan dropping ways). Small, even hairline cracks, on the other hand, come about due to the nature of the material itself. Real wood is porous, and when humidity in the air drops below 50%, often the result of winter heating, the wood contracts and expands, leading to brittleness, warping, and cracking.
In other words, some level of cracking is pretty much unavoidable in our modern, centrally heated and cooled homes. Sometimes, these cracks can resolve themselves as humidity levels rise once more — typically in the warmer summer months. Other times, they get worse. If you're looking for a simple way to protect your wood countertop, wax might just be the solution, at least where minor cracks and scratches are concerned.
How to use wax to fill cracks in wood countertops
Hard wax becomes pliable when heated. Paraffin wax, for example, melts at between 120 and 160 degrees Fahrenheit and beeswax at 145 degrees Fahrenheit. A surface crevice, no matter how small, in a wood countertop may harbor dirt and, worse, bacteria. The wax, when soft, fills that gap, and upon hardening again, locks out moisture and microscopic nasties too. Plus, certain kinds, like beeswax, might even have mild antibacterial properties. Use a wax in the same hue as your countertop and you'll instantly disguise the imperfection at the same time. Keep in mind, though, that this method only works for small, superficial cracks. If you're dealing with larger, repetitive injuries, or warping, it may be time to replace your countertop altogether.
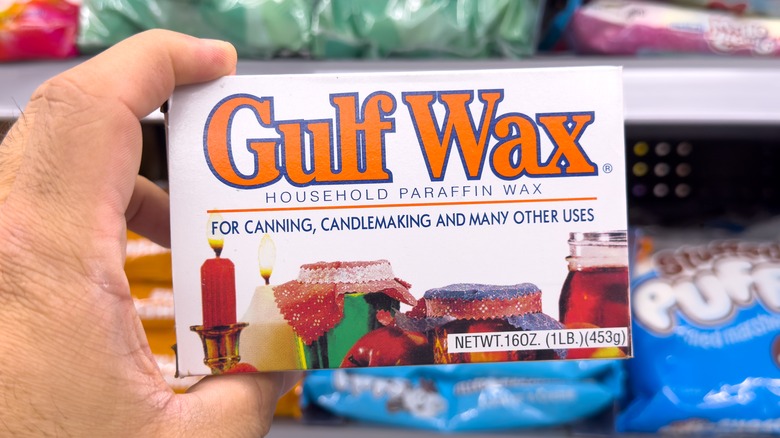
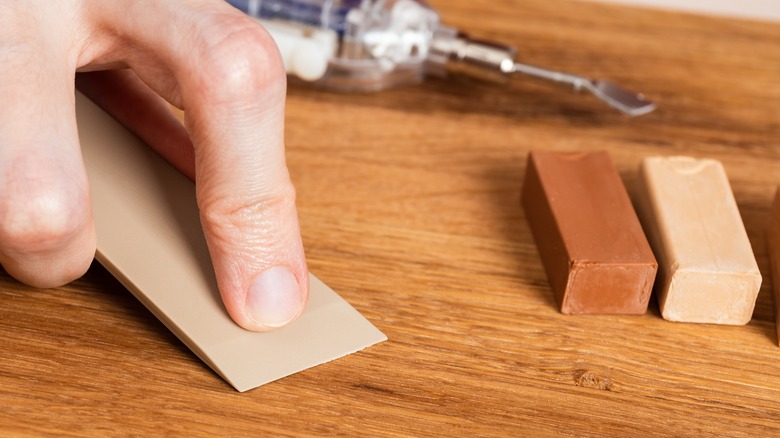
For deep scratches and small cracks, get yourself some furniture wax, carnauba wax, beeswax, paraffin wax, or even canning wax. Daddy Van's All Natural Beeswax Countertop Care contains both beeswax and carnauba wax — a 6-ounce tin sells for just over $15 on Amazon. Or head to Walmart and pick up a 1-pound block of Gulf paraffin canning wax for about $20. Scratches can also be remedied with a colored paraffin wax stick, wax furniture crayon, or a wax pencil again in a shade that matches the wood counter. For example, Menards sells Minwax Blend-Fil pencils in eight wood tones for under $5 each. Whichever choice you make, check the product is non-toxic and food safe before applying it to a surface you prepare food on.
How to wax away scratches and cracks in your butcher block
While you're at the hardware store, get some 80 to 120 grit sandpaper for sanding the area around the crack so the surface is level. You'll also need something to wipe or scrape the excess wax from the surface: Paper towels, a clean rag, a credit card, or a 5-in-1 painter's tool should do the trick. Then, clean your solid wood worktop with warm, soapy water and a rag. Let it dry completely. Hand sand the worktop (while wearing a face mask) and then vacuum away the dust.
If you bought solid wax, melt it according to the packet instructions, typically in the microwave or on the stovetop. Use a clean cloth to work the liquid wax into the crack, then leave it to solidify. When the wax is slightly pliable, wipe or scrape off the excess with your implement of choice. If the crack is no longer visible, use the cloth to give the surface one final polish. Repeat the filling process if you can still see the blemish.
Naturally, crayons or pencils are considerably easier to use. Simply soften the end with a cigarette lighter, color-in the scratch in the same direction until you can no longer see it, and wipe away any excess using a circular motion. If you've tried either of these techniques and can still see the scratch or crack, it might be time to turn to something more substantial like wood filler or to engage the services of a professional refinisher.


