How To Repair Dents Or Cracks In IKEA Furniture So It's Good As New
We may receive a commission on purchases made from links.
IKEA is a beloved source for budget-friendly, flat-pack furniture. And in many cases, the quality of IKEA furniture meets or exceeds expectations for its price. In fact, there are plenty of items that professional interior designers actually buy from IKEA for their own use. But inevitably, the materials that the Swedish home store uses to manufacture their furniture — which allow them to keep prices low — can become compromised. When that happens, whether due to an isolated accident or damage from wear and tear over time, rest assured there are ways to make repairs.
If you are repairing a piece of IKEA furniture, it's more than likely that you're repairing damaged particle board, which is a wood composite or engineered wood material. For the uninitiated: engineered wood is a category of building material that is composed of processed wood and other substances, like resins or plastics. Across their inventory, IKEA uses a mix of solid wood and wood composite materials in manufacturing. However, the majority of their pieces are made of particle board. You may have heard of medium-density fiberboard (MDF), which is another popular composite used in furniture manufacturing. But IKEA opts for particle board because it is lightweight and especially eco-friendly when it comes to production. With some easy-to-use tools like wood filler, sandpaper, and contact cement, it's more than possible to repair damage to IKEA furniture. If you've needed to repair a piece of your own but didn't know how, consider this your guide.
Choose a quick fix for minimal damage
IKEA's particle board furniture often has a painted veneer as its external layer. One of those easier repairs is to reattach a piece of veneer that has lifted over time. If you've found yourself with some lifted IKEA veneer, you just need contact cement to put it back in place. A small tube of DAP Weldwood contact cement costs just $3 from Michael's. Place a bit of glue under the lifted veneer, and use a heavy object or tension to hold the newly bonded pieces in place while they dry.
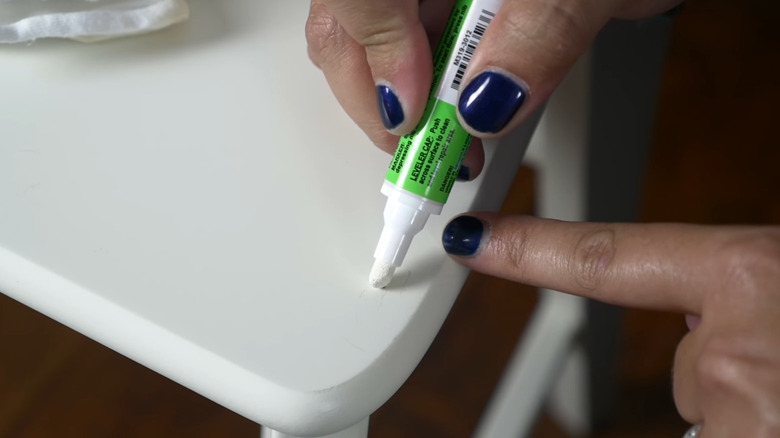
Small, shallow nicks or scratches to the veneer can also be taken care of quickly and affordably. There are several different one-step wood filler sticks on the market that you can purchase to fill in tiny blemishes in a pinch. These wax-based pencils fill the depth of the damage while also providing color coverage. Mohawk's Fil-Stik Putty Stick is a popular option available on Amazon that comes in a wide range of finishes, for about $8 per stick. The same brand also offers a 3-in-1 Repair Stick for $15 on Amazon, which includes a wood filler putty, a putty knife for smoothing, and a paint marker all in one. Just keep in mind that these quick fixes will work best on small spots and will still likely be somewhat visible up close. If a more flawless finish is what you're after, it will require a bit more time and effort.
Make larger repairs with more time and effort
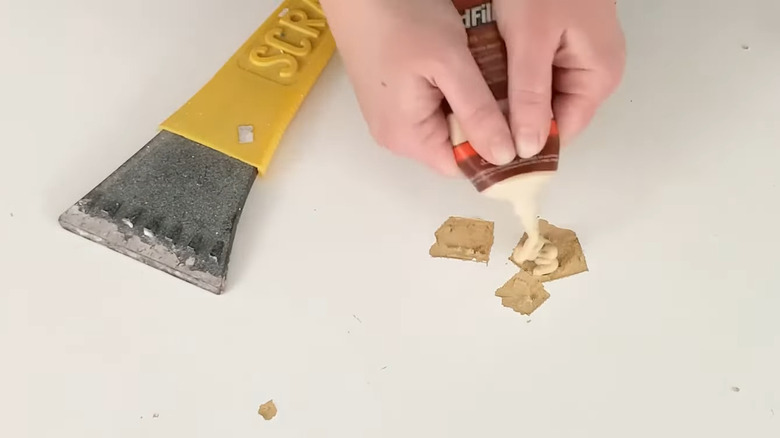
Address more extensive damage by first gathering supplies like wood filler, a putty knife, sandpaper, paint primer, paint, and a high density foam paint roller. Start by wiping down your furniture, removing any dust or residue. And if your furniture has water damage that has caused the veneer to bubble, cut those bits out using a utility knife. Then, start filling holes to create a level surface using a wood filler like Gorilla All-Purpose Wood Filler, which costs about $9 per tube on Amazon. Or, you can even use an easy DIY wood filler you can make at home. Smooth over the filled holes with a putty knife, and allow it to dry completely overnight.
Once dry, use sandpaper to even out filled spots, and follow by sanding the entire furniture surface, wiping away the dust when finished. Then, take a cue from the experts, who know that the trick to painting IKEA furniture's difficult surfaces lies in a high-quality paint primer. IKEA DIYers all over the internet sing the praises of the Zinsser B-I-N Shellac Based Primer, which costs about $24 per quart at The Home Depot. Apply an even primer coat on your furniture and allow it to dry. Follow up with a couple coats of paint using the high density foam roller brush, which provides a fine, flawless finish. You can use the same color paint your piece was before, or change it up by choosing a fresh new hue!


