Upcycle Tree Branches Into A Gorgeous Mason Jar Vase
If you're constantly saving craft ideas to your Pinterest board, knowing full well you won't ever make them, here's a project for you. This twig-covered mason jar vase doesn't require much of anything to make; it's nearly free, and it takes little time or skill to pull off. Here are two methods to create a twig-covered jar that can play more roles than just a vase. Using tree branches as decor can take many forms, and here, you'll repurpose them on a smaller scale.
This is yet another clever way to reuse old glass jars, since any wide-mouth glass container will work. What you'll need for this DIY is a wide-mouth jar, a collection of straight twigs, wire cutters or gardening shears to cut the branches, craft glue, and some ribbon, yarn, or twine. You may also want some heavy-grit sandpaper or a wood rasp or file to finish the cut edges of the twigs. This water-tight vessel can hold almost anything: pencils, toothbrushes, an LED candle, or virtually anything else you can think of.
Assemble your vase
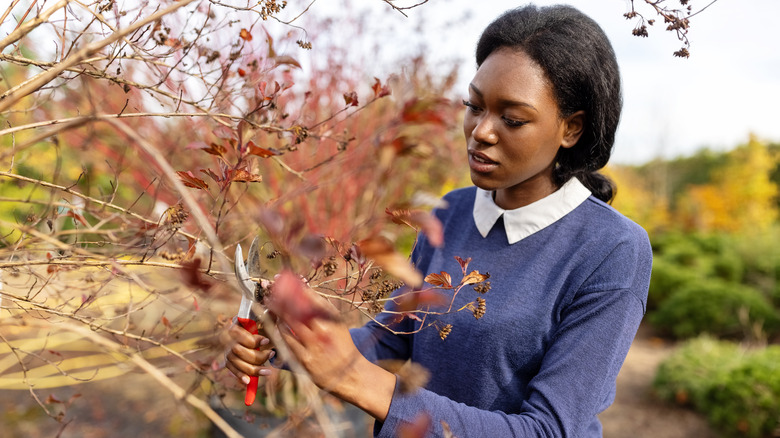
On the YouTube channel Cool2Craft, Tiffany Windsor shares a wealth of tips for creating your own trouble-free twig-covered jar. Start by sourcing a decent collection of branches that aren't much thicker than a standard Sharpie marker; you'll need to cut them with heavy shears or wire cutters rather than a saw. Note that collecting wood from national and state parks is usually prohibited, so limit your scavenging to your own yard, or Bureau of Land Management land. Alternately, get permission from someone else to collect twigs on their property.
Start by adding several thick bands of glue around the jar, and let it set for about 10 minutes. This way, the glue has time to bond to the jar but is still tacky enough to hold the twigs. Prepare your wood cuts while the glue sets. Turn your jar on its side on a piece of paper, and mark the top and the bottom of the jar on the paper; this will be a quick reference for your twigs' size. Cut a generous collection of sticks. It's wise to cut more twigs than you think you'll need, since you'll be fitting them next to each other and filling spaces of different sizes as you go. Adhere the sticks vertically to the jar, with the jar standing. Wrap the jar with ribbon or twine, tie it, and let it dry.
Upgrade your design
If you'd like a more polished version of Tiffany Windsor's rustic vase, the crafters on Garden Answers' YouTube channel came up with a design that is only a bit more involved than Tiffany's. Filled with seasonal flowers and plant cuttings, your twig vase will be perfect for a simple rustic centerpiece that's sure to impress your guests. Garden Answers' project involves connecting the twigs to each other with twists of twine and gluing them onto a piece of burlap before attaching the piece to the jar.
Measure around your jar and cut a piece of burlap that matches its height and circumference. Cut twigs to match the height of the jar, and make sure the cut ends that will touch the tabletop are even so that the vase will sit flat. Wrap the twine once around one twig between 1 and 2 inches from one of the cut ends. Connect another twig by setting it vertically next to the first twig and wrapping it the same way with twine.
Continue until you have connected enough twigs into a mat that matches the size of the burlap piece. Repeat the same wrapping technique with the twine a couple of inches from the other cut end of the twigs. Glue the connected twigs to the burlap, then to the circumference of your jar. You may want to tie an extra bit of temporary twine around the jar to hold the materials in place as they dry.