Can You Safely Move A Shed To A New Location Or Should You Call A Professional?
We may receive a commission on purchases made from links.
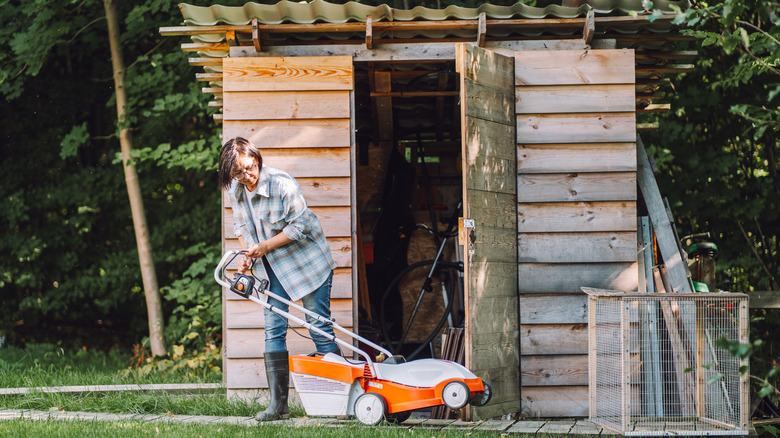
Whether you think you'll make the most of your shed in a new location in the yard, or are contemplating taking it with you to a new property, you may rightly want to save money by transporting it yourself. After all, sheds are generally light, simple structures that are often not permanently secured to the ground — qualities that all lend themselves well to a seemingly simple DIY transfer. Well, you'll be glad to learn that, in many cases, you don't need professional assistance to move a shed. For example, if the shed can be moved without being dismantled, and you won't need a forklift to lift it off the ground, you can likely get the job done yourself. On the other hand, large sheds, those that require a forklift for transport, or structures that must be disassembled prior to the location change typically demand professional involvement.
Now, even if your shed is a good candidate for a DIY transfer, don't think that you'll have it in the new spot with little prep work and no one giving you a hand. Shed transfers demand meticulous planning and execution, and you'll find the process much easier if you enlist a few people to help you out — DIY shed transfers are not a one-person job! Below, we explain how to get your shed ready for the move, and how to transfer it safely to its new home.
How to prepare a shed for DIY relocation
Begin by planning the route and deciding how it will fit at the new location. Measure the length, width, and height of the shed, then see how the footprint will align with the dimensions of the intended location. Take clearances into account, too — you'll need some space between the shed and any adjacent fences or other structures to install the shed in its new location and use it afterward. Also, see if the grade at the intended new spot is level enough. If it's not, the storage shed may need a foundation. Consider removing the topsoil and preparing a new gravel foundation for the shed, then compacting it using a tamper tool.
Next, survey the route from the shed's current spot to the new one. Again, make sure the shed won't run into any obstacles during the transfer, and that you (and whoever is giving you a hand) will have enough room to move around as needed. The final preparation step is to empty the shed. As enticing as it may feel to do so, don't try moving the structure with all its contents inside, as they may fall during transit and damage the shed or injure you. Now is also a great time to check for any items that may come loose during the move. These may include unsecured siding boards, doors, or window shutters. Secure these before starting the transfer.
How to move the shed by yourself
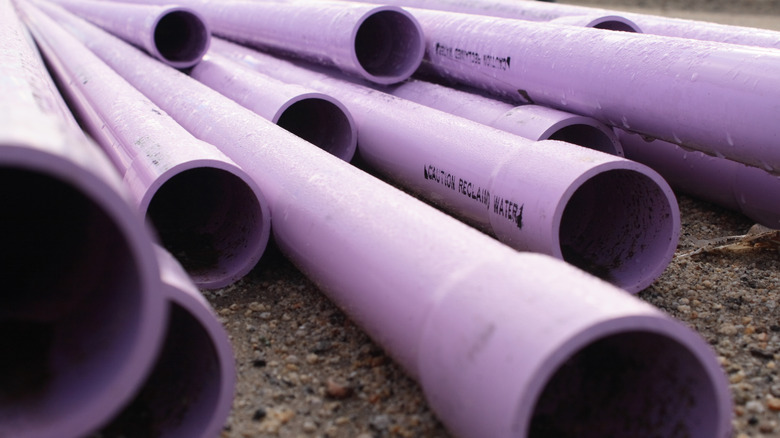
With the prep work out of the way, it's time to start moving the shed. If the move takes place entirely on your property, simple old PVC or metal pipes can serve as rollers to help you transport it. However, you'll need to lift the structure off the ground and place it onto the rollers first. This feat is much easier than it seems at a glance, but you'll need a hydraulic jack to help with the lifting. You may already have one kicking around in your car; if you don't, you can grab one at Home Depot for under $35. With the jack, raise a corner of the shed and slide blocks or bricks underneath, then repeat the same procedure for each corner until the structure is entirely elevated above the ground. Then, place the pipes beneath the shed, spreading them out evenly from one end to the other. Now, slowly and gently push the shed to the new location along the planned path. Someone will need to guide the shed and keep it stable, while others push it and continuously move pipes to the front.
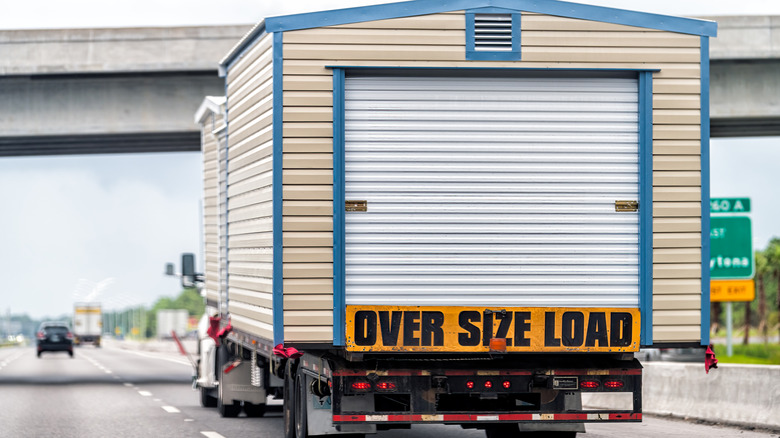
If you're moving the shed to a different property, you can follow the same preparation steps we described above. However, when the time comes to move it, you'll want to lift it onto a trailer or the bed of a truck. Strap the shed so that it remains secure during the trip, and drive slowly and carefully to the new place.


