You Can Turn Your Empty Jars Into Whimsical Mushroom Decor And Here's How
If your collection of mason jars and other empty containers that you'll find a use for "someday" is beginning to overflow, then you're in luck, because someday is today. Your mason jars and empty pasta sauce bottles can finally live out their (and your) cottagecore and whimsigoth dreams with a brilliant and easy craft. With just a bit of oven-ready clay and sealant, you can turn your jars into adorable and practical mushroom house storage containers.
These mushroom jars are the ultimate in cottagecore decor, allowing you to create a mushroom-themed holder for your jewelry, dried herbs, or anything else you want to store. If you opt to keep the lid off of your jar, you can even use it as a vase, though you'd be sacrificing the top of your mushroom. These jars will also complement any existing mushroom decorations, like lights that make your home feel like the forest floor. Of course, while you're filling the inside of your newly decorated jar, you can also imagine the diminutive magical creatures who might make use of the mushroom domicile you've created.
Creating your own mushroom house jar
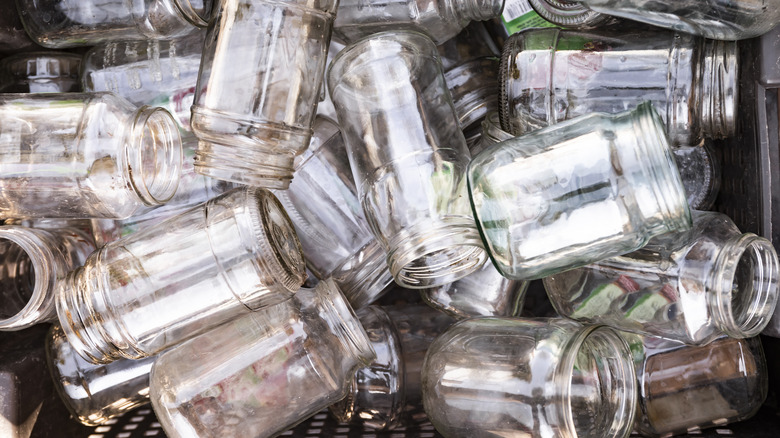
This mushroom jar project is a clever way to reuse old glass jars around the house. As you go through your mason jar collection, pick one that needs a bit of an upgrade. But also choose a jar designed to withstand heat; most canning jars can be placed in a gradually heated oven up to 275 degrees Fahrenheit. Make sure the jar and its lid are clean and dry, and then get out your oven bake clay and pick the color for the mushroom jar's base. You may want to look at some reference photos of different types of mushrooms and their stem colors to decide on the best shade for your mushroom house jar. Grays, creams, and tans are all good options.
Roll and work your clay to help condition it and then roll it out relatively thinly and begin draping it around your glass jar. Be sure to check your clay's instructions and follow them carefully, especially when deciding on the thickness of the clay. Once the jar is fully covered, you can carefully remove sections of the clay to create doors and windows. Add other color clay in those spots such as brown or red, or even a mix of tan and brown for the door. You can add on stones, vines, or other clay details to the jar as well. Make sure to avoid covering the threads at the top of the jar if you want to be able to secure the lid on.
Baking and sealing your mushroom house
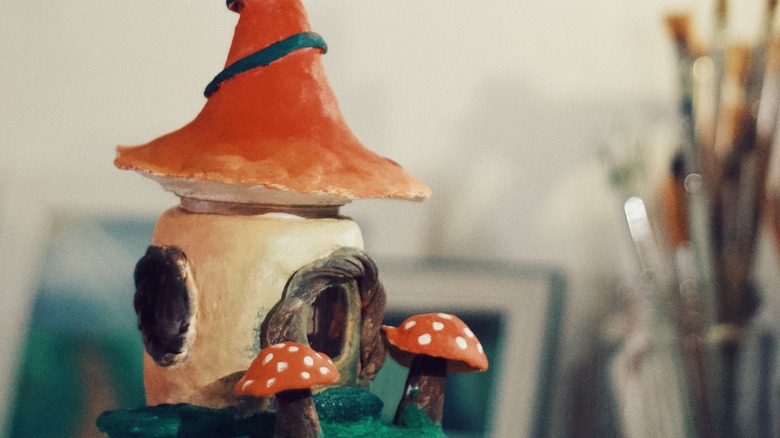
Next, begin work on the lid. This is the cap of the mushroom. You can opt to put a ball of aluminum foil on the top of the lid to help create the mushroom shape and to avoid wasting clay, but the foil should be completely surrounded by clay to ensure everything sticks to the top of the lid. Consider using reference photos for constructing your mushroom's cap and don't forget to add the gills to the underside.
Once your jar and lid are completely covered and you're happy with how your mushroom house looks, you're ready to bake it in the oven. Be sure to follow the instructions on your clay for cook times and temperatures. After the mushroom jar has been baked and cooled, you can add further details including painting on spots and flowers, and even adding shelf fungus. Once the final details are done, cover your masterpiece with a combination sealer and finish. When it's dry, your mushroom house jar is ready to be filled with your treasures.