You Don't Have To Remove Kitchen Cabinet Doors To Give Them A Perfect Paint Job
While most folks recommend removing cabinet doors before painting them, if you're looking for a shortcut that requires less prep work, you can indeed give them a makeover without doing so. But, you need to make sure you have the right tools for the job — namely a flat artist's brush, a 2-inch nylon angled brush, and a foam roller. Get in the frame of mind to paint with caution and diligence, as these will be required to avoid sloppiness.
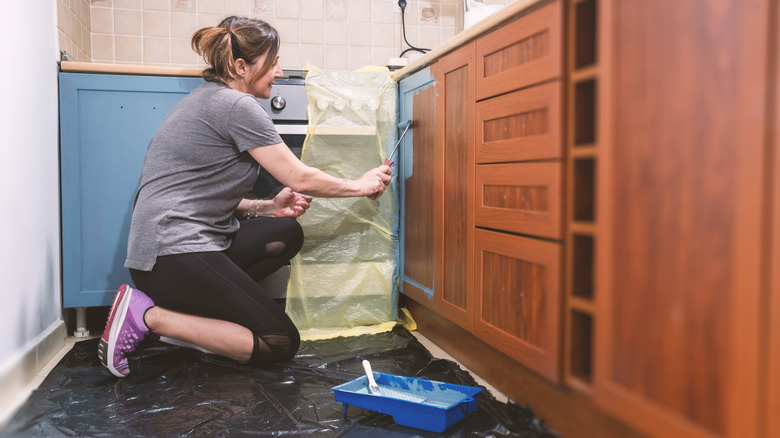
Use a tarp or drop cloth to protect your work area, then start by unscrewing all of the hardware, like handles and knobs. Remove door stoppers, if there are any, and decide if you want to paint over the hinges. If not, use painter's tape to keep them protected during the painting process. At this point, the steps become the same as if you had removed the doors. Clean the cabinets with a grease remover before using 120- or 220-grit sandpaper to eliminate any imperfections. If you spot deeper chips, professional painter Jan Walter told us he recommends evening out kitchen cabinet chips before painting with a wood filler or spackle. Then, once you've chosen a stunning color that reigns supreme, it's time to pick up your brushes. Here's how to execute a perfect paint job while your kitchen cabinet doors remain attached.
How to paint cabinets without removing them
It may be an unconventional approach, but it is indeed possible to give cabinet doors a perfect paint job without removing them. It's always a good idea to start with a primer, although latex-covered cabinets can be painted over as-is. Either way, working on the backs of the doors first is a great idea, as this will give you some practice with your brushes.
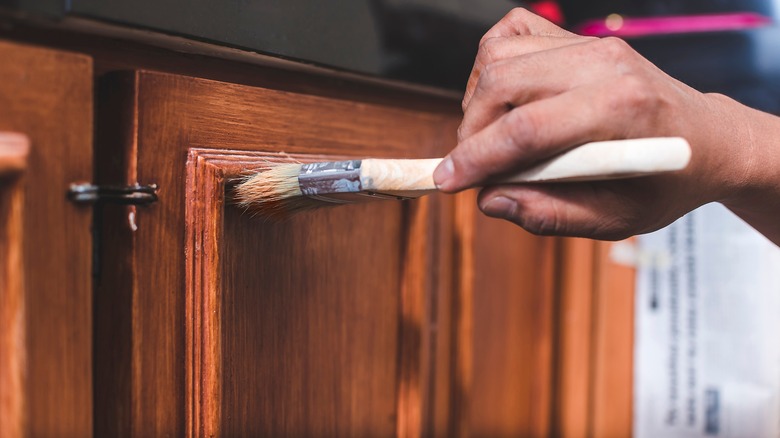
Start with the larger brush to coat the back of each door with an even, thin layer of paint. Always apply the strokes in one direction, then swap to the flat artists' brush to paint in the small areas, like in corners and around hinges. Alternatively, you can use a roller instead of the big brush. Start with your fine artist's brush and cover all of the nooks and crannies, then run over the rest of the door with the roller to blend it all together. You can also use a brush to fully coat each door before smoothing it all out with the roller.
Once the backs are done, use the same process on the fronts and repeat as needed until the old color no longer shines through. Remember to allow your cabinets to dry fully between each coat, leaving them open at such an angle that they won't touch anything else. Once they've dried, replace the hardware and admire your handiwork.