Upcycle Your Old Coffee Canister To Tidy Up Toys And Trinkets
We may receive a commission on purchases made from links.
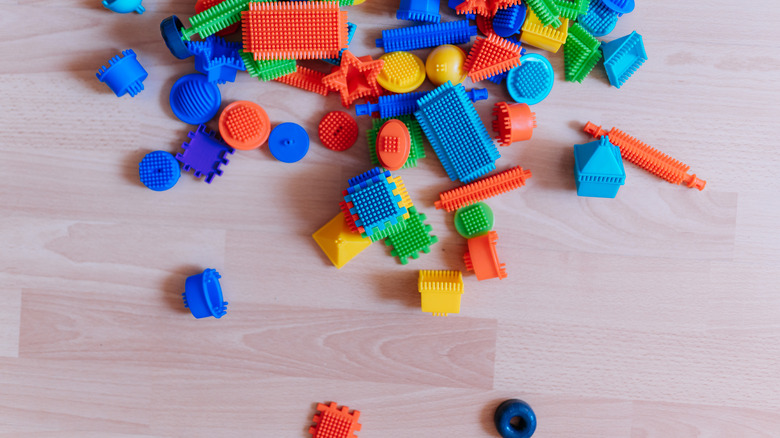
Do you ever look for storage around the house, only to come up empty on drawers and pantry space? Whether you're trying to maximize storage in a smaller home, or you just need a way to declutter and store your kids' toys that ensures they are out from under your feet and creating less mess, upcyling old coffee canisters and turning them into organizers for toys and other trinkets is not only sustainable, but also a great way to tidy away smaller items without spending a ton of money. All you need are a few empty coffee canisters, chalk markers or a label maker, and some time to clean out the interior of the cans, and you'll have upcycled storage bins that can fit a whole variety of child-sized items.
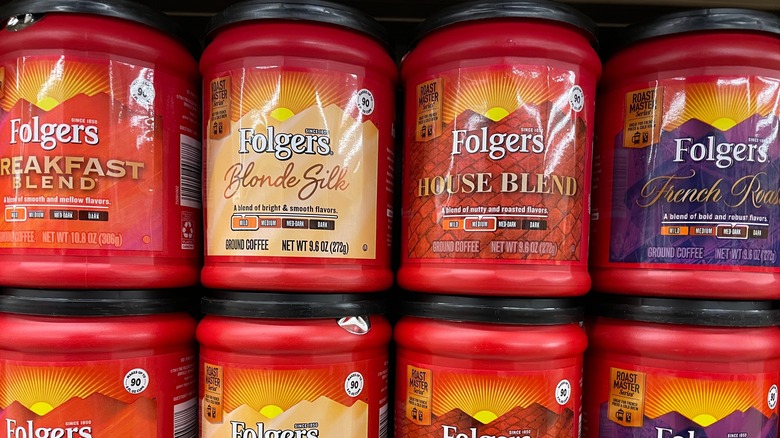
To recreate this clever storage hack, begin by actively saving your coffee ground canisters whenever you empty one out. Wash them thoroughly to ensure that the grounds and the associated aroma have fully dissipated. Wipe down the interior with Clorox wipes or rinse with warm, soapy water when removing leftover debris, then decide which small items you plan to fill each canister with. You can remove the plastic label that wraps around the outside too so you're left with just the plastic tub, which is also how you'll create space to add a notation of what is inside.
Wash and decorate coffee canisters for upgraded and sustainable storage
You can get creative with the label making process, either by utilizing a label maker you already own, or by purchasing chalk markers that can write on the darker plastic to notate what resides in each canister (pick a pack up on Amazon for around $8). First, decide if you want to paint the tubs. You can do this with Acrylic paint, which sticks to plastic well and will disguise their original purpose as a grocery item. While this step isn't imperative, it can help if you plan to keep these canisters where people can see them, either on shelves or inside open pantries.
If you don't mind their original color, simply use your chalk markers to write what you want to keep in each canister, getting creative with the font, drawings, and even by creating borders if you want to decorate the canisters more. A label maker can also help you notate what is kept inside each tub. You can even use masking tape to write what is inside, although this will look less stylized, while investing in more decorative options will keep your cupboards, shelves, or closets on the more aesthetic side, so consider this when planning where to store the canisters.
How to get really creative with your labels
The great part about turning these empty tubs into storage is that you can get as creative with the project as you want. Rather than just using chalk pen or tape, you can glue strips of fabric or canvas around the canister instead, which you can then layer with thick, solid ribbon before adding lettering with marker, pen, or even stickers. Because fabric can be tricky to keep in place, use Gorilla Glue to adhere both the material and the stickers down if you opt for this. Alternatively, you can buy vinyl lettering off Amazon and adhere this to the side of the canister to get a clean, tidy label that doesn't require the neatest handwriting.
Add this by rubbing the vinyl with a credit card, using a ruler to keep the strip even. White letters will work best on black or red canisters, but you can play with shades to find what works. Fill up your canisters and watch as clutter disappears in the most budget-friendly and sustainable way. If you have the time, you can clean your kids' toys before adding them to the canisters with wet wipes to sanitize and organize in one session. You can even use these for other small items around the house, too. Add this clever hack to your list of toy storage ideas, so you never have to deal with messy playrooms or bedrooms again.

