Save Money By Growing Aster From Seed For A Gorgeous Fall Garden On A Budget
As the days become chillier, it's tempting to go to the garden shop and purchase fall flowering plants to bring some autumn color to your yard. While these flowers can be gorgeous, they can also quickly get expensive. An excellent alternative is to instead start fall flowering asters from seed. Asters generally refer not only to the stunning flowers in the aster genus, but also their closely related North American relatives in the Symphyotrichum and Eurybia genera. These fall blooming beauties are a must-have for keeping your garden colorful and lively, even as the days begin to cool and shorten. Regardless of the exact species, or even genus, of asters you prefer, many grow easily from seeds, meaning you don't have to break the bank to fill your autumn gardens with color.
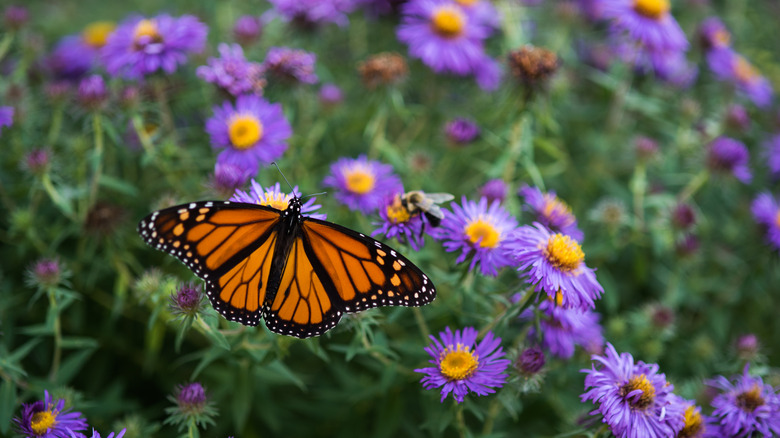
While the hardiness of specific species varies, many asters thrive in zones 4 through 8, and are excellent options for gardeners in large swathes of North America. Many asters are relatively fast growing for perennials and some can even bloom the same year they are planted. Just be sure to pick asters that grow well in your region and, ideally, are native, as many of the native species are important for native pollinators, including butterflies and many types of bees.
Growing asters from seed
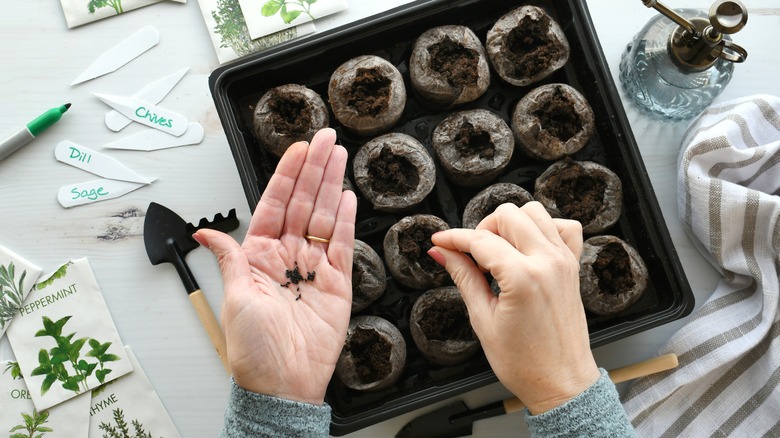
Many aster seeds, including New England asters (Symphyotrichum novae-angliae), germinate best with cold stratification or scarification, so for these varieties it is best to put them in the refrigerator in a bag with a moist paper towel for around two months before planting, or carefully nick the seeds with a knife to scarify them. This helps break down the seed's outer coating and tells the seed to break dormancy, mimicking processes that would naturally happen outdoors during the cold and wet winter months. About two months before your last frost, you can plant your aster seeds into seed-starting trays with moist potting soil. You can save additional money by using empty food containers as DIY seed starting trays. Just be sure your seeds aren't planted too deeply as some varieties need light to germinate. Keep your seedlings watered and provide them with plenty of light. Then, once all danger of frost has passed, your young aster plants should be ready to be hardened off and transplanted outside.
Aster seeds can also be directly sown after your last frost. For species that require it, you should still scarify or cold-stratify the seeds first to ensure the best germination rates and avoid wasting money on seeds that don't sprout. Just as if you were starting them indoors, you should make sure the seeds are kept moist and aren't buried so deeply that they can't get the necessary light.
Caring for asters in the garden
Different asters have different soil and light requirements, so be sure to check your exact species when deciding where to put them in the garden. The gorgeous New England aster thrives in full to part sun, while others, like white star aster (Eurybia divaricata), prefer shade. Many asters prefer well-draining but moist soil, but again, this can vary by species.
Asters come in a variety of heights, from the petite bushy aster (Aster dumosus), which rarely grows past two feet, to New England asters, which can easily reach 4 feet in height, so be sure to check your plants' expected mature size when deciding where to place them in the garden and be prepared to stake larger plants if necessary. With the variety of colors asters come in, you can easily create a beautiful and budget-friendly autumn garden with just these plants. Asters and mums are also a classic combination for fall gardens and planters.


