Don't Throw Out Burnt & Dirty Oven Mitts. Here's How To Save Them Instead
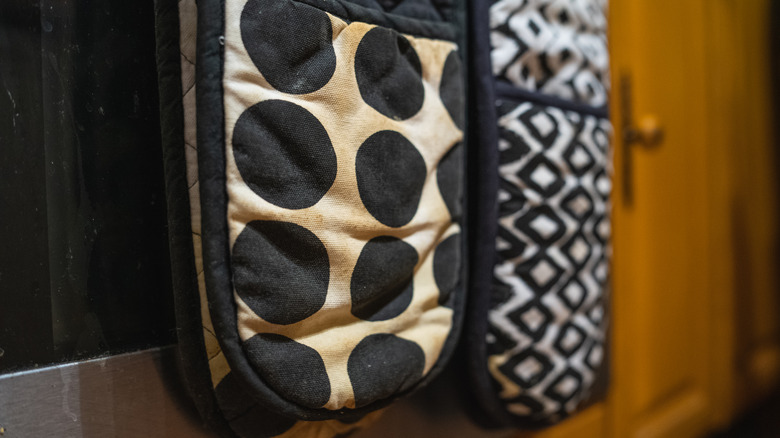
All kitchen tools are helpful in some way, but oven mitts are a lifesaver when it comes to protecting us from serious burns. Without them, we couldn't transfer hot pans in and out of the oven or place them on our countertops without risk of damage. But what does one do when their well-loved oven mitts get left too close to the burner and end up burnt? If you have a sewing machine and a bit of scrap fabric, you can repair those oven mitts for another year or two of use. It's a fairly easy sewing project requiring only basic knowledge of the craft, which is ideal for beginners.
If you think it might be easier just to toss the oven mitts into the trash, consider that the EPA determined US landfills received over 146 million tons of waste in 2018 alone. Upcycling items around the house for reuse instead of throwing them away is a great way to make the most of your purchases and take small steps to help the environment. Here's a simple overview of how quick and easy it is to repair your burnt oven mitts to get more use out of them.
How to DIY repair burnt oven mitts
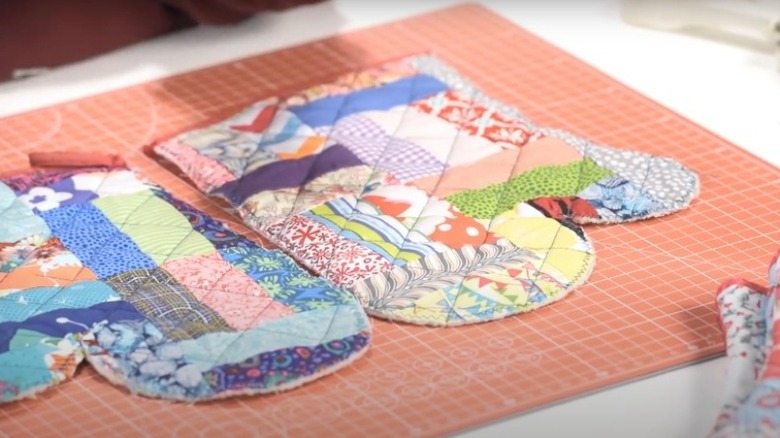
The first step to repairing dirty oven gloves is to wash them, either by hand or by themselves, on a gentle cycle. It's okay if there's still staining or burnt sections after washing, as the main goal is to remove any bits of food waste or buildup. Next, gather your materials for this project, including scrap fabric pieces larger than the mitt you're fixing, a seam ripper, a sewing machine, scissors, and pins. To get started with the actual repair, remove the seams around the glove so they are fully separated, with two half-pieces (per mitt) lying flat on your workspace.
Next, lay your new fabric over the mitt and use pins to secure it in place. Now, you can use the sewing machine to quilt the two fabrics together, working with the "wrong" side of the glove facing up. All that's left to do is trim the fabric to the shape and sew the two mitt halves back together! Sewing patterns are also available for those who prefer working from a template. However, if you have experience sewing and upcycling scrap fabric, this DIY repair should be fairly easy to complete.
Even more ways to reuse dirty oven mitts
Just because you opt for a new set of oven mitts over repairing the burnt ones doesn't mean you have to throw the dirty ones away! There are countless DIY projects where you can repurpose damaged oven mitts with just a few materials. One of the easiest modifications for burnt oven mitts is to use undamaged portions to create a coaster that will protect your surfaces from moisture damage. All you have to do is cut whatever shape coaster you want from the oven mitt, making sure it's large enough for a glass or mug to sit on with a bit of overlap. Similar to this hack, you can create a square trivet with the portions of an old oven mitt that are still in good condition.
If you're feeling exceptionally crafty, you can try creating your own DIY oven mitts from scratch. This is another DIY project requiring a sewing machine, as well as fabric, bias tape, and some type of insulated batting for protection up to 400 degrees Fahrenheit. You should also have scissors and pins handy nearby. Then, use an existing pair of mitts as a guide or use a pattern to cut your fabric, and you're ready to start sewing. Whether you want to use your repurposed oven mitts as outdoor decorations or as an upcycle project to add color to your kitchen, the durable nature of these gloves makes them ideal for even the toughest tasks.