A Simple IKEA Hack Turns A Utility Cart Into A Garden Caddy On The Go
We may receive a commission on purchases made from links.
IKEA is bursting with DIY potential. While the retailer's products are (of course) functional as-is, many bestsellers can often be made even better with a simple DIY. Indeed, handy IKEA hacks can help elevate every room in your home, from increasing storage space and keeping your pantry organized to making the perfect headboard for less. There are also plenty of ways to hack IKEA goodies outdoors, and one of our favorites involves turning the ever-popular $40 RÅSKOG utility cart into the ideal garden caddy. To do this, you'll include a pegboard on the side, then add all your gardening essentials to the cart and store it in an easy location for transport around the garden.
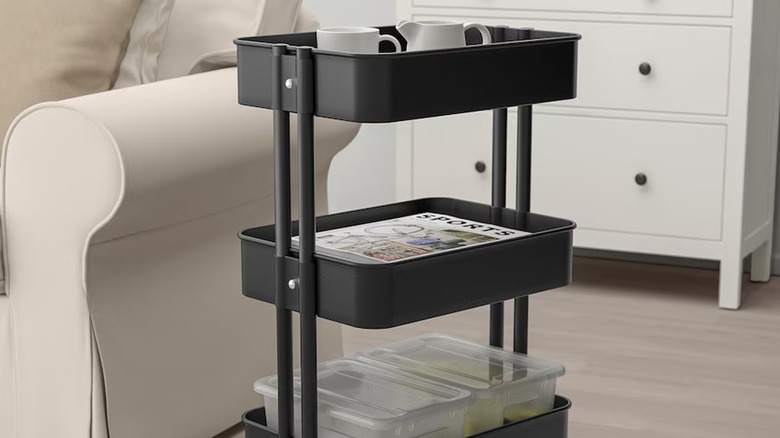
With its three ample tiers and roller wheels, the RÅSKOG is an organizational dream. There's enough room to hold all of your gardening essentials, but you can easily upgrade it by adding extra storage to the outside with a $28 SKÅDIS pegboard attached with metal straps and screws. It's a simple DIY that takes just a few minutes, but the result is an affordable garden caddy that's bursting with space. While a top-rated garden cart on Amazon can set you back over $120, this DIY will cost you under $70. Not to mention that many ready made options are often wagon-shaped, offering less room for neat storage than RÅSKOG's multiple levels. However, keep in mind that a garden cart will be most useful for those with concrete garden paths and not dirt or gravel paths.
How to DIY your own IKEA garden caddy
Start by choosing the RÅSKOG utility cart that best suits your aesthetic (it's available in yellow, white, and black, or you could paint it) and a matching SKÅDIS pegboard. Align the board with one of the smaller sides of the cart and place ¾-inch two-hole straps (a four-pack costs $2 at Home Depot) around the metallic beams right above the second tier. Screw them in place from the front of the pegboard using ½-inch flat head screws and bolts. Repeat with more straps above the first tier, ensuring the board is screwed in safely and not moving from side to side.
Alternatively, you can use SKÅDIS connectors. These are designed to attach the pegboard to a desk but can be used in the exact same way on the bottom of the cart. Lay the cart down on the floor so that the pegboard lies flat on top of it, and screw the connectors in place underneath the first tier. To ensure that the board doesn't topple over when you stand the cart back up, loop a zip tie through the board's holes and around the metal side beam of the cart above the second tier.
S-hooks can now be used to hang tools and other essentials on the pegboard. Meanwhile, baskets can help organize the three-tiered caddy itself. You can also attach a second pegboard on the opposite side, if you'd like even more hanging storage.