Turn Your Backyard Into An Oasis With A DIY That Makes Nature Even More Serene
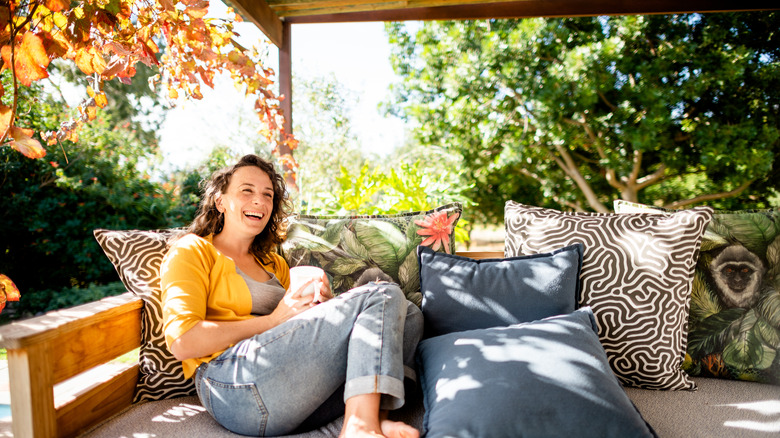
For many homeowners, the backyard is a place of peace and serenity. Unlike the front yard, it's away from the hustle and bustle of traffic and nosy neighbors, and it tends to be a great place to relax or spend time with family and friends. The backyard is also ideal for enjoying natural surroundings — whether that be birdwatching or simply listening to the leaves rustle in the trees. It's also a great place to grow a healthy garden that's full of your favorite plants and veggies. If you like to spend time sitting on your back porch or patio, it's useful to have a roof to protect you from the elements and provide shade during sunny days. Unfortunately, a roof can also cover up your home's beautiful exterior as well as some of the natural surroundings that make your backyard feel so special.
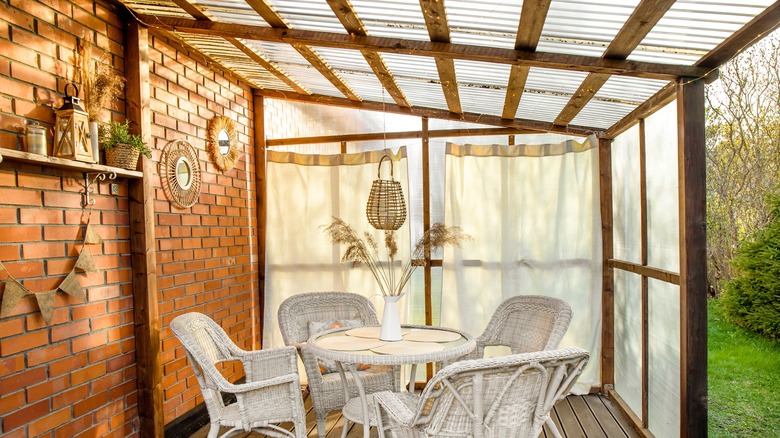
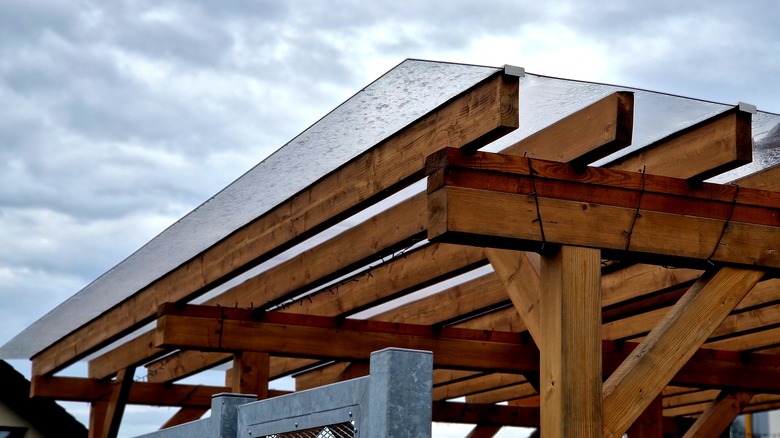
A great compromise is a simple DIY project: installing a clear polycarbonate roof or awning. A polycarbonate roof or awning will offer a more natural and comfortable feel to your backyard and allow you to see a bit more of the open sky, the tops of trees, and potentially even some birds who decide to perch on top of it. It can turn your backyard into an oasis that makes your backyard feel even more serene. A polycarbonate roof can be a great addition to a porch or pergola or when building a backyard garden room, so follow our tips to install your very own.
Installing a clear polycarbonate roof
Because of how lightweight it is, polycarbonate is pretty easy to install — it's most likely possible to handle the task yourself. Polycarbonate tends to come in the form of sheets and is available at any hardware store, including Lowe's and Home Depot. For your installation, you'll need a drill, tape measure, circular saw or jigsaw, a ladder, screws, washers, and appropriate safety gear, including safety glasses and gloves.
When installing a polycarbonate roof, plan the project carefully and ensure the sheets are the perfect size for your patio or porch. Measure your project area by using a tape measure. Then, check the dimensions of the polycarbonate panels you'll use and purchase the appropriate quantity. Remember to allow at least 50mm extra for the gutter installation. Before installing the roof, pre-drill holes for the screws, and consider whether you want to cut the sheets to ensure the right sizing.
Next, you'll need to seal the edges of the sheets with polycarbonate tape before positioning them onto the purlins, the horizontal beams that will support the panels. Remember that it's possible to scratch these panels if you're not careful, so take extra care when handling and installing them. You can then secure the sheets using screws and washers. Seal the joints using a silicone sealant where the sheets overlap and install flashing over the roof ridge and joints for water protection. Once you're done, inspect everything to ensure the previous steps have been completed properly.
Pros and cons of polycarbonate panels
When deciding whether polycarbonate roofing is right for your home, there are pros and cons to consider. On the positive side, the material is extremely durable while also being incredibly lightweight. This is one of the reasons why polycarbonate roofs are so easy to install as a DIY project. In addition to this, these roofs do a great job of blocking UV rays while still allowing sunlight to stream through. They provide a bit of privacy and a high level of protection.
On the negative side, clear polycarbonate panels aren't scratch-resistant, and denting is possible. However, they won't fade or suffer from cracking and warping like many other materials will. Although they offer some insulation, they don't insulate as well as other materials. There are a lot of other outdoor patio ideas you can use to revamp your space as well, so you should consider various options. However, despite these drawbacks, polycarbonate roofing can be well worth it if you want to maximize natural light while getting some extra protection from the elements.


