This Creative DIY Turns A Plastic Drawer Into An Eye-Catching Dresser On A Budget
We may receive a commission on purchases made from links.
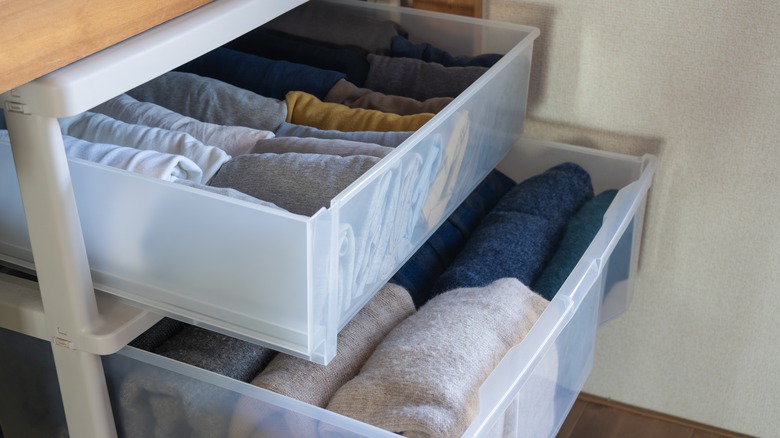
While plastic dressers are super convenient for adding more storage space, they can be an eyesore when used as a bedroom dresser. Luckily, you can give your inexpensive plastic storage drawers a fancy upgrade with this easy DIY. By painting your affordable storage solution or covering it with decorative paper, you'll be able to craft a custom, gorgeous dresser that perfectly fits the style of your bedroom. This hack is very versatile, as you can style it however you like, and there are a variety of accent options you can add to make the plastic drawers look even more like an actual dresser.
This project works well with wider sets of attached plastic drawers, such as the three-drawer plastic storage chests (two for $56 at Target); however, if you have a narrower set, you can screw two of them together to make a regular-size dresser. Though there are several different ways to complete this DIY, they are all relatively easy. With just some basic plastic drawers, you can give your bedroom a budget-friendly, no-reno makeover.
Transforming plastic drawers into a dresser
If you have two smaller sets of drawers you'd like to connect, start by removing all the drawers and screwing the frames together. You'll notice that the framing on most of these inexpensive storage pieces tends to stick out pst the drawers' edge on the sides. Measure this area and cut two pieces of poster board ($1.25 at Dollar Tree) to the same dimensions. This will cover the strange structure, making it appear more like a traditional dresser. Use hot glue or super glue to secure these in place. Now, paint your dresser. Darker options like brown or gray may work better. Remove the drawers and spray paint the entire frame, as well as the outside of the drawers.
Once the paint has dried, drill two small holes into each drawer to attach your cabinet handles (10 for $17 on Amazon). You may also want to attach legs to your dresser before you start decorating it further. Four metal furniture legs can be found on Amazon for about $12 and can be screwed into the bottom corners of your dresser frame. Place your drawers back into the frame and decorate your dresser. You might paint Dollar Tree dowel rods to match your handles and legs and glue them around the poster board to accent the sides of your dresser. Adhesive wall decals can also be used to dress up your DIY furniture, like the line wall stickers ($10 for 120 on Amazon).
Alternative ways to DIY an eye-catching dresser
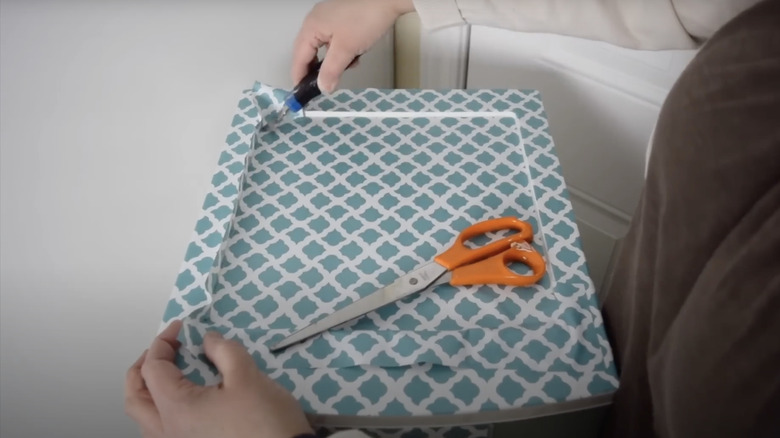
For those who would prefer their dresser to have more of a design than a solid color with accents, paper is a great option, though you'll likely still want to cover the sides of your drawers with poster board or cardboard. Wrapping paper with a nice design is the most budget-friendly option, though you may choose to use leftover scrapbook paper. However, contact paper may be your best choice to get the smoothest look and the most stylish option. You can also opt to paint either the frame or the drawers and use paper on the rest.
If you love the look of a wood dresser, the TANONE brown wood peel-and-stick wallpaper for $6 on Amazon is a great choice. Alternatively, the gray wood shiplap contact paper ($5 on Amazon) is good if you prefer lighter colors. To get a more elegant aesthetic, try something like the white marble contact paper for $7 on Amazon. Lay the paper over your dresser's top, sides, and drawers to ensure you have enough. Peel the backing off the paper, stick it to your dresser, and cut off any excess. With wrapping or scrapbook paper, simply glue it into place. Accents like decals, handles, and legs can be added to this DIY version to give it the most eye-catching appearance. Once your DIY storage solution is finished, all that's left to do is find the best way to organize your dresser drawers.