How To DIY Barn Doors For A Cabinet Upgrade Anywhere In The House
We may receive a commission on purchases made from links.
There's nothing like changing things up at home for a fresh look. Chances are, you're constantly in the middle of remodeling part of your house, rearranging a room, or repurposing furniture. If you're looking for a new project to take on, here's an idea for you: Upgrade your traditional cabinets with barn doors anywhere in your house. This is a fairly simple idea, yet it can make a huge impact on the space in your home. To do this, you'll use the cabinets you already have or build a cabinet from scratch, sand and paint them, attach the sliding barn door hardware, and add the finishing touches. This is a wonderful, clever cabinet upgrade. To get started, you can purchase a sliding barn door cabinet hardware kit on Amazon for around $40.
Sliding barn door hardware allows the cabinet doors to slide smoothly, making them easy and quiet to open. Whether you prefer a more rustic look or a farmhouse design, they permit your imagination to run wild for how you can incorporate your style. Barn door cabinets are aesthetically pleasing and functional if you want a multipurpose piece of furniture. The hardware for these types of cabinets can be inexpensive, making this a budget-friendly DIY project. If you're ready to start redesigning, make sure you have what you need, including the wood for the cabinets, sliding barn door hardware, screws, measuring tape, wood filler, paint, drill, a circular or table saw, as well as protective equipment such as gloves and goggles.
Prepare and install your barn door cabinets
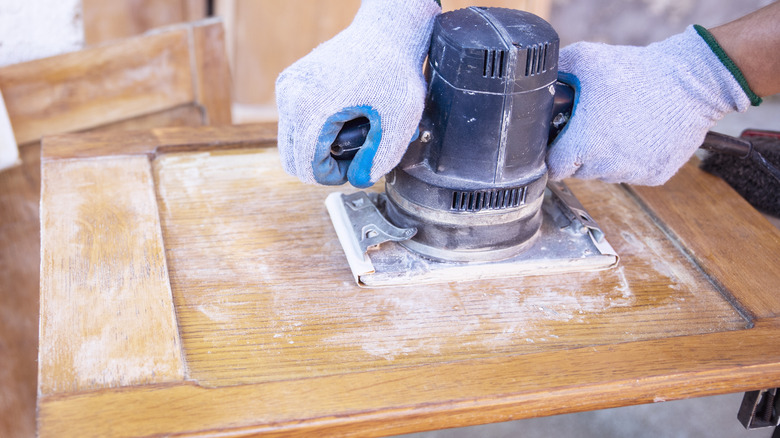
You can use the cabinets you already have for sliding barn doors, or you can build your own cabinet doors from scratch before you start. To update the cabinets you already have, first clean out the cabinet and remove the doors and the hardware. You'll want to fill any holes with wood filler and repair noticeable damage before cleaning and preparing the area. Cover any surfaces in your work area that you don't want to get sandy or get paint on. Once the doors and your area are ready, use medium grit sandpaper to sand the entire door, including the edges, corners, and crannies. After it's sanded, you'll need to apply primer first , let it dry, and then paint your cabinet doors.
As soon as your cabinet doors are dry, it's time to assemble the sliding barn door hardware. Precisely measure and mark your cabinet doors to decide where to place the hinges and slides. Level and align the hinge component with your markings before securing it in place on the cabinet. Then, attach the slides. Barn door hardware varies, so make sure to follow the instruction manual it comes with. Finally, install your doors on the hinges and test out your new barn door cabinets.
Finishing touches for your DIY cabinets

The best place in your home for barn doors isn't just a doorway. That's why one of the great things about this project is that you can DIY barn doors to any of the cabinets in your house. Barn door cabinets work well on an entertainment center, your laundry room to cover up your washing machine, the bathroom, on the island in your kitchen, or as a multipurpose cabinet. And don't feel like you have to limit yourself there. Customize this project with sliding barn door hardware of different styles and colors to fit the look of the room. When it comes to painting, make sure you choose the best finish for the job — matte for a flat look, glossy for shiny and reflective, or satin, which has a balance of both.
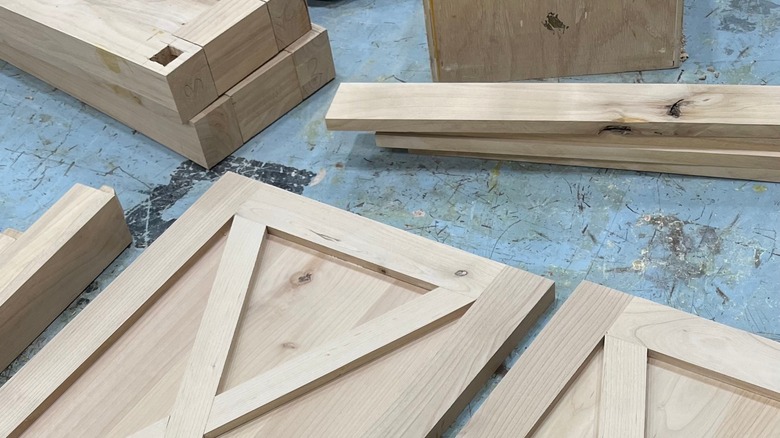
If your existing cabinet doors are flat, you can change the whole vibe of the space and make them a little different from typical cabinet barn door designs by adding some trim to them. Shaker-style cabinet doors provide symmetry and work well for a simple, elegant look. Fluted cabinet doors add dimension and look amazing in any space. Whether you're going for a farmhouse style or have a more contemporary design, sliding barn door cabinets will complement any area of your home.