DIY A Backyard Makeover With This Stylish Concrete Stepping Stone Idea
We may receive a commission on purchases made from links.
If your backyard is overdue for a new aesthetic, you're tired of walking on gravel, or both, adding stepping stones to the space is an easy, effective outdoor upgrade. But unless you want to settle for the rudimentary, run-of-the-mill pavers like these ones HomeDepot sells, you'll find that these stones can cost a lot of money — as much as $400 and more for a set. Here's a bit of good news: a bag of concrete mix costs just $5. With a few of these bags, along with some DIY molds and a trowel, you can make your own stylish concrete stepping stones and give your backyard an incredible makeover for a fraction of the cost. Making the stones on your own also gives you the creative freedom to add your preferred color or texture to the stones' surface.
The trickiest part of pouring DIY concrete stepping stones is getting the concrete mix right. To help you avoid mistakes, we will explain the correct ratios and mixing procedures below. We'll also show you a quick and beginner-friendly way of mixing concrete that doesn't involve worrying about sourcing the cement and aggregate and getting the proportions right. With these key steps out of the way, you'll find that pouring and finishing this simple paver DIY is a breeze.
How to choose and mix your own concrete
Concrete is a mixture that comprises cement, gravel, sand, water, and other optional additives that help maintain concrete quality during transport. Since you'll be mixing the concrete at home, you don't need to worry about the additives. However, you should get the right proportions of all the mixed ingredients to ensure the concrete cures properly and is strong enough once it sets.
Typical ingredient ratios are one part Portland cement (like Quikrete available from Lowe's), two parts sand, and four parts gravel mixed with water. Since the stepping stones will not be subjected to heavy traffic or excessive loads, you can use small-sized aggregate. ¼-inch gravel (also called "crushed stone") is a popular choice for concrete used on the patio, which is a similar application to the stepping stones. If you don't want to have to buy all the ingredients separately, or get the ratios wrong, you can opt for a commercially sold concrete mix. For example, Ready-To-Use Quikrete, which you can find at Lowe's, already contains all the dry components and only needs water.
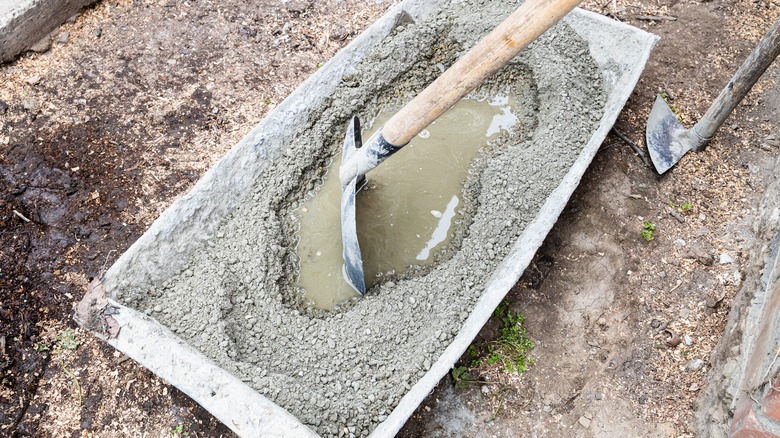
Once you've placed all the ingredients together into a large-enough container, mix them with a shovel, and check if any components should be added. To do this, use the shovel to draw a line in the concrete. If the line retains its shape, the concrete is ready. If it quickly collapses, add more cement or sand. If it crumbles and looks too dry, add a bit of water.
How to pour and finish the stepping stones
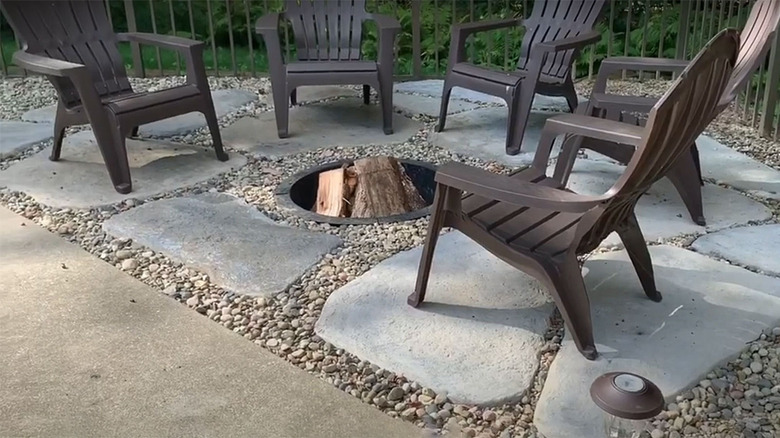
If you want the stepping stones to sit above the grade, you can start by clearing the area and setting up the molds. An easy way to make a DIY mold is to repurpose old vertical blinds. Just cut them to the right dimensions, and attach the two ends with tape. Thanks to their flexibility, you can shape them into any form you like on the ground. Get creative and set them into any configuration you like — the concrete, once poured, will settle in the forms and assume their shape. To hold the molds in place, use U-shaped yard stakes like Orbit's loop stakes from Home Depot. The next step is to pour the concrete into the molds and spread it with a trowel. Now is the time to get creative and whimsical with your garden stepping stones! For example, you can add some color to the mix as you're troweling its surface, or make the surface textured by smearing it with a wrinkled plastic bag. The only limit is your imagination.
However, if you want the stepping stones to sit flush with the grade, you'll have to dig shallow holes in which to pour the mix. In this scenario, you can still use forms for more precision, or just pour the concrete into the holes you've dug. Either way works, and you can trowel and color the stones the same way. To protect the stones, you should seal the concrete once it cures (after a day or two).