Create A Stylish Trivet Out Of Mason Jar Lids To Protect Your Kitchen Countertops
We may receive a commission on purchases made from links.
Protecting your countertops comes down to more than just proper cleaning and maintenance; Items that save the surfaces from heat will also help you ensure your counters last, so it's never unwise to have a trivet or two for your pots and pans. For those who might call these by another name, trivets are the protective pads or blocks you can place between your hot cooking items and table tops or other surfaces in your cooking and eating areas. These can come in a variety of materials, but did you know you can make your own with just a few mason jar lids and glue? If you have excess lids taking up space, this DIY is a great way to turn them into something useful and decorative!
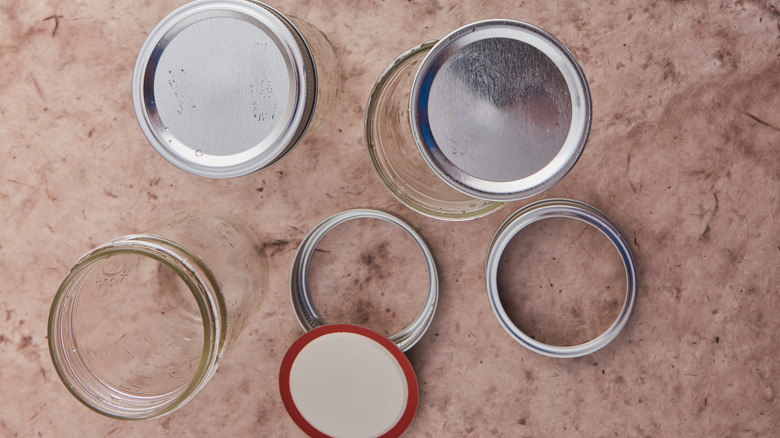
You can customize your trivet any way you choose, but the size and shape will depend on how many lids you want to use. If you're starting with zero supplies, you can purchase a pack of mason jars from Walmart or Ace Hardware and take the lids from these. With the leftover jars, consider making organizers for your kitchen clutter, save counter space by using them as drawer storage, or repurpose them for your home and garden so nothing goes to waste. You will also need a hot glue gun or super glue handy, as well as some fabric or corkboard. Without further ado, let's get crafting!
Cover your lids in fabric to create decorative trivets
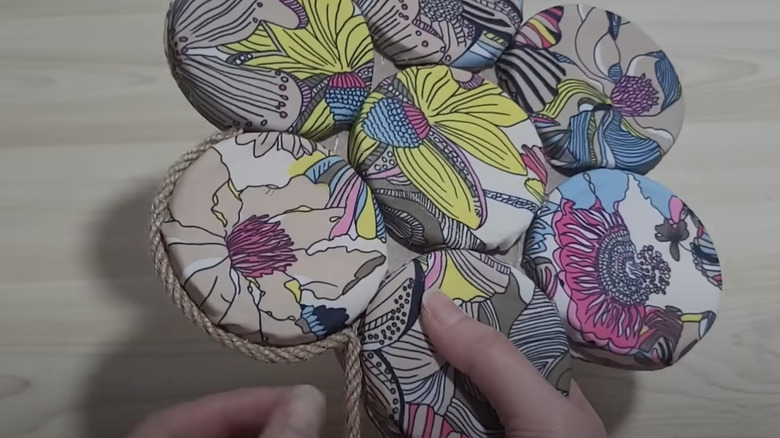
Gluing pretty fabric over each jar lid is how you will create a decorative trivet to match your kitchen's aesthetic. Just lay the spool or piece you purchased out on a flat surface and cut out squares of the fabric that are large enough to wrap around the individual lids to the inside. Pull the fabric tight so the top looks neat and tidy, and use your glue to secure it. If you opt to use fabric, you can also consider using old pieces of clothing with a nice pattern or color. Once wrapped, easy shapes to create with your lid include a "flower" shape that will need six lids in total. You can also glue four lids together to make a square, but keep the size of your pans and pots in mind so the trivet will support those and protect your surfaces.
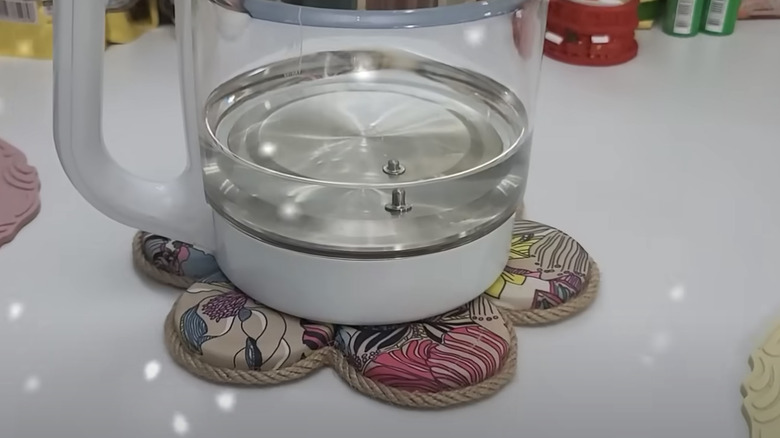
Once your lids have dried, you can glue them together in your pattern. For baking tray trivets, use more lids for a rectangle shape or glue two flower shapes together to accommodate longer trays. To decorate the edges, use slim pieces of ribbon, twine, or rope, or you can leave them as is. For added insulation, cut out a piece of cardboard in the same shape as your trivet and glue it to the bottom of the unit.
How to upgrade this trick with cork
Instead of fabric, using cork on top of your lids has numerous benefits. This material is known for its thermal insulating properties, meaning when you add a hot pot, pan, or tray, it absorbs the heat without passing it onto the object above or below it. Cork is also resistant to bacteria and mold, so even if it comes into contact with moisture, the Suberin found in cork will withstand the deteriorating and unhealthy qualities of mildew.
When creating your trivet, cork might require a little more finesse, as you will need to cut it to fit the circles with an X-acto knife or similar tool. You can purchase a large piece of self-adhesive corkboard online on Amazon and skip the glue, too! Lay your lids on the cork board and draw around each one with a pen or marker, then cut these circles out with your knife. If the edges are a little jagged, you can use a sanding sponge to even them out. Once the cork is secured with glue or the adhesive on the back, choose cloth, ribbon, or canvas strips that can cover the metal and cork edges to disguise them. Glue this, then glue your shape together. You can even place cork down before the fabric to combine these methods!