Essential Tips To Consider When Adding Can Lights To Your Living Room
Can lights (also known as recessed lights) have long been a popular choice for overhead lighting. But even if your home didn't come with them already built-in, DIYing recessed lighting is easier than ever, thanks to the availability of versatile LED lights that can be installed in a wide range of layouts. If you're planning to add can lights to your living room, it's important to plan the layout carefully to create the type of lighting effect that you want, and to avoid shadows or overly bright areas.
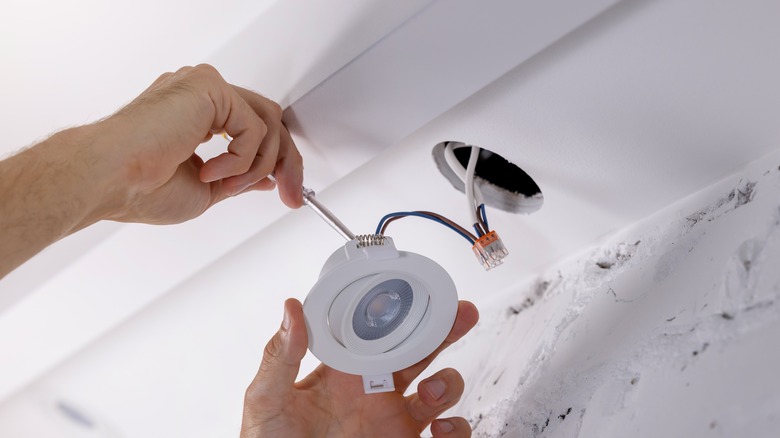
Recessed lights are a unique alternative to other overhead lights, because they're installed into the ceiling. The light is flush with the ceiling's surface and has no visible wires. This creates a neat, clean look, and the lighting can be less harsh on the eyes if you install a dimmer switch. At the same time, can lights illuminate the space enough to make it look more expansive and spacious. All of this means can lights are perfect for your living room. To get the most out of recessed lighting in your living space, consider these essential tips.
Creating a recessed lighting layout
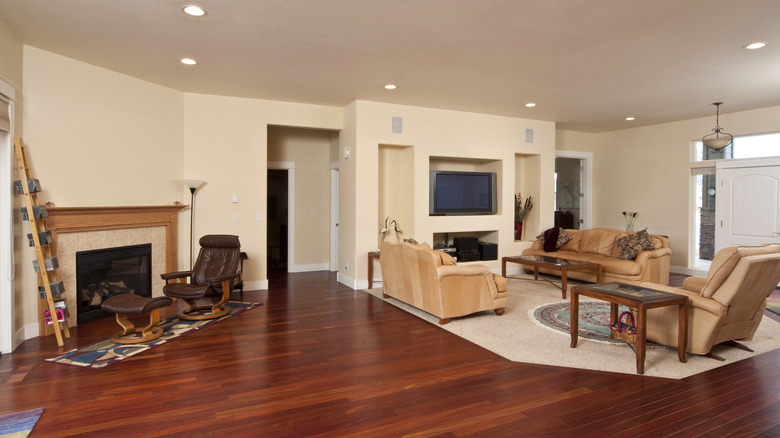
Recessed lights can serve several different purposes, and their effect largely depends on the placement and brightness level. For a living room, can lights are most often used for general lighting, evenly illuminating the space for day-to-day life. But you can also use them for task lighting (for reading or working), or accent lighting (to highlight a specific element, like a fireplace or art installation). When you're deciding what you want to achieve with your recessed lights and choosing where to place them, don't forget to take other lighting sources into consideration, including chandeliers, bright windows, lamps, and TVs.
Your recessed lighting layout should be custom to your living room and purposes. For general lighting, an even grid is the way to go to avoid any dark gaps. Rather than trying to calculate this in your head, it's best to do it the old-fashioned way with pen and paper, sketching out your room dimensions to plan out the lighting grid.
Determine how much space to put between each light by measuring the height of the ceiling, then dividing that by two. For example, a 12-foot ceiling should have 6 feet between each can light. Avoid placing lights within 3 feet of a wall, or you may create shadows that will make the room look less spacious. By measuring how far apart the lights should be, you'll also determine how many lights you can fit onto the ceiling in total.
Small decisions that make a big difference
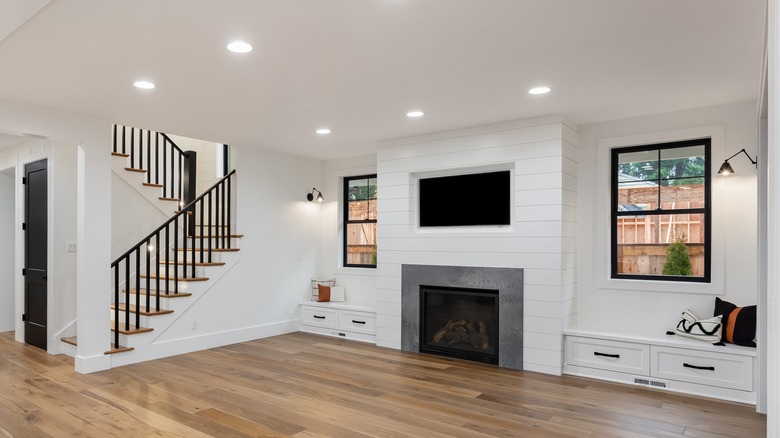
Your lighting layout should take into account the size of your room, any focal points that you want to make sure to illuminate, and any spots that you don't want a direct light over, like the TV. It doesn't have to be a perfect grid if that doesn't work for your purposes and space.
You can adapt the grid to create task or accent lights. In some cases, you may need the lights closer than 3 feet to the wall for those purposes. For task lighting, measure the height from the ceiling to the surface that you want the light to shine on, and divide it by four. This is how far to place the lights from the wall. For accent lighting, place the light between 1 1/2 and 3 feet from the wall.
Aside from the layout, you also need to choose your lighting trim, size, and bulb type. You can match the trim and size to your living room decor, but these choices are also more than just aesthetic — they'll affect the level of brightness and the mood of the living room. For example, some trims are better for focusing the light in a specific direction, while others are better at providing as much bright light as possible. Your choice of bulb will determine the color temperature and brightness of each light. By installing dimmer switches, you can also have some flexibility to get the perfect level of brightness at different times of day.