Simple Tips To Declutter Your Kitchen Without Going Overboard
We may receive a commission on purchases made from links.
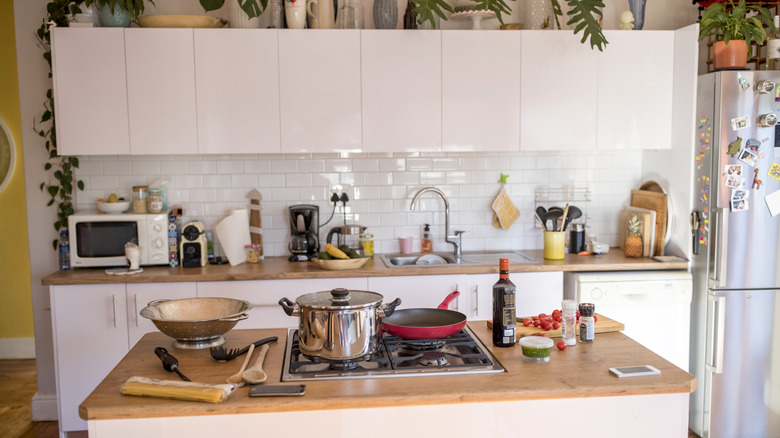
When was the last time you reached for the spatula to flip a pancake and found it without rummaging through all your drawers? Maybe only after you deep cleaned your kitchen? Such moments might be few and far between, unlike your pancake's oil splatters. The struggle to keep our home's workhorse functional and organized is real, but luckily, decluttering your kitchen doesn't have to be overwhelming. Just take it one section (read: cabinet) at a time and decide what you should prune back in order to make the clutter more manageable. After all, the fewer things you own, the less you have to keep track of and organize. However, that doesn't mean you have to live a brutally minimalist life. Instead, just cut back on the obvious excess.
Decluttering is an exercise in creating and retaining a spotless kitchen. To decide what to cut back on, it's essential to understand the reasons behind the jumble and jettison them one by one. For instance, if you find yourself constantly moving small appliances from your counter tops to make space for food prep of baking, it's a sign that your kitchen holds more items than the available space. That means tough decisions are in order. Perhaps you can find just one appliance that combines multiple functions and takes up less space. If your kitchen is in desperate need of pruning but you still like the bulk of your belongings, here is how to declutter it without going overboard.
Get a handle on your junk
Kitchens often double as a "drop-off point." Mail, school bags, pens, loose coins, candles, cookbooks, and other miscellaneous items crowd the countertop (or the junk drawer), depriving the kitchen of all breathing room. If this happens in your home, treat this area as the starting point for decluttering. Move the stray items back to their allotted homes and delineate boundaries for what sits in the junk drawer. For example, you might want to keep spare batteries handy for gadgets but not loose buttons. Arrange the requisite items in an upcycled ice tray or a small bowl to easily locate items in the drawer.
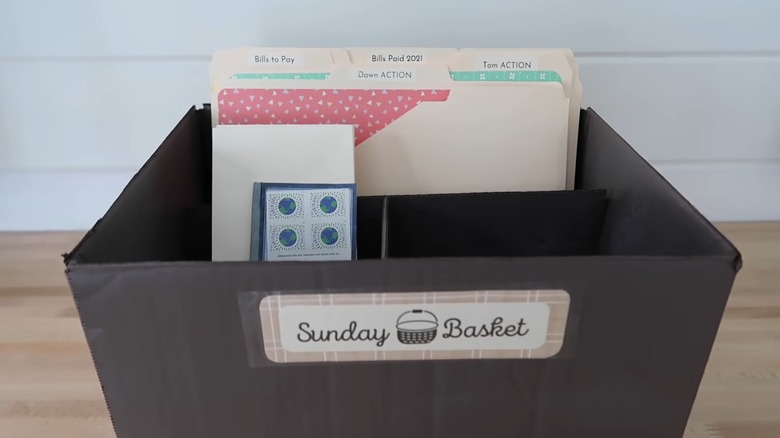
This brings us to the elephant in the room: paper clutter, including pointless receipts, belated party invites, and random fliers. If you don't have the mental energy and time to deal with the clutter and want them off your counters, give them new real estate, such as an action basket or a wall-hanging file folder. Ideally, you could label different files for particular purposes, such as due bills, archives, or calendar items, to streamline the process. But if it's too much hassle, lump them together and earmark a day weekly to sift through and trash the unnecessary papers.
Vacate the countertop of kitchen appliances
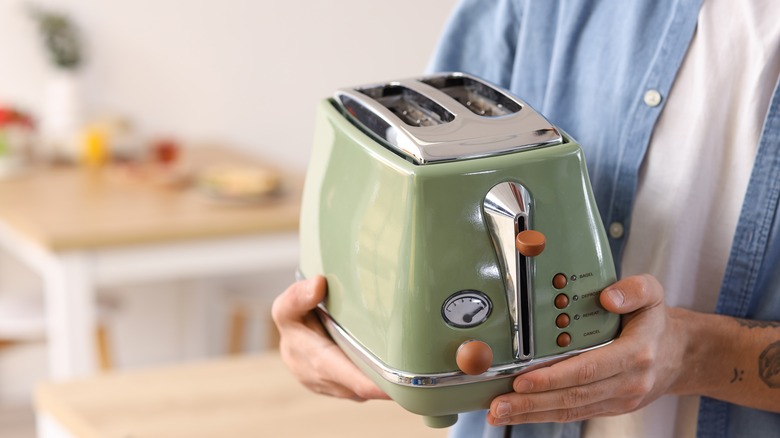
That crepe maker, corn roaster, waffle iron, or any other single-purpose impulse buy might be your prized possession, but your kitchen top would hardly agree. All it does is create chromatic clutter that your eyes could do without. But how do you prune your collection? To make the decision easier about which items to keep and which to let go, focus on usage frequency. For instance, if the bread machine is only ever put to work around Thanksgiving, move it to the pantry, attic, living room buffet, or relegate it to the highest, hardest-to-reach kitchen cabinets. Similarly, donate the items you haven't used in years; you won't miss them unless they have sentimental value. On the other hand, daily-use items such as toasters, kettles, and coffee makers can be retained on a shelf. Take them out and plug them in only when you need them.
However, adhere to the zoning spirit and keep all the appliances together, including their attachments, so you won't have to rack your brain where they are every time you need them. Alternatively, you can hang smaller gadgets against the backsplash to have them on hand but off the counter. When space is premium, also consider exploring multi-use appliances. A classic example is to swap out the coffee grinder and frother for an all-purpose coffee machine.
Cut back on food storage containers
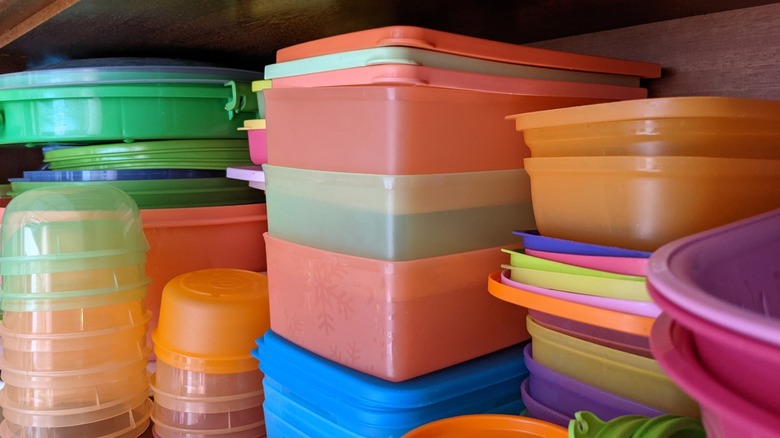
Have you ever found yourself busily stuffing food containers with leftovers, but coming up short on their lids? We've all been there, but decluttering your kitchen should help solve this problem. Start by taking stock of the Tupperware that doesn't have matching tops (or is in bad condition) and recycle it. Or, even better, look into clever ways to reuse your plastic containers in your home and garden. Ideally, you should save the ones you genuinely like and use frequently and remove the rest, but make your call depending on the space available. After all, you might want to retain the vintage pieces your grandma entrusted you with.
After you're armed with matching pairs, you've got two options. First, stick to the previous routine of keeping lids and containers separate but consigning the former to a lid organizer. You may also store the lids vertically in a single container in an ascending or descending order to save space and improve matchability. The second option is to place the lids on the food containers and stack them on top of each other. However, this option will only work if you have space to spare. That way, you wouldn't ever be rooting around for the right-size lid.
Get picky over your utensils and flatware
If you think kitchen appliances are the space-hoggers in your kitchen, think again. The cooking utensils and silverware you've accumulated over the years are enough to make your drawers appear busy and overflowing. A simple solution is to pare them down. First, tackle your cooking utensils. Take them all out and sort them by duplicates. This will give you an idea of where you have your excess. Then, keep only one or two of your best duplicates. That means if you have four whisks, keep the stainless steel one you reach for time and time again and toss the cheap plastic ones. Once your duplicates are weeded out, take a hard look at the ones that are left. Do you have a lobster cracker but never buy seafood? Or do you have a lemon squeezer but you have been squeezing lemons by hand just fine? Consider donating them to only make room for the tools you use.
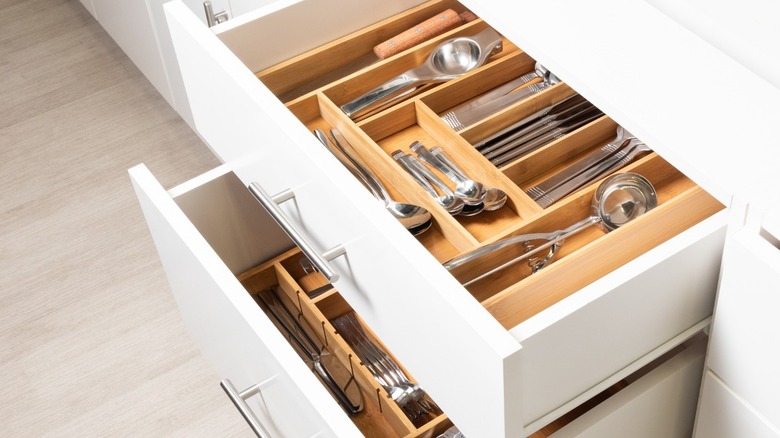
Next, tackle your silverware. Remove them from the drawers and group them by sets. If one set has several pieces missing, consider donating it. If another is relatively scratched or faded, pack that one away as well. If you're up for it, try keeping only one matching set and getting rid of the rest to tidy up your flatware drawer. Once you've edited down your options, corral them using drawer dividers to keep things sorted. Earmark different sections for spatulas, spoons, and other silverware, or hang them using hooks or magnetic knife strips for better accessibility.
Weed out your cracked and old water bottles
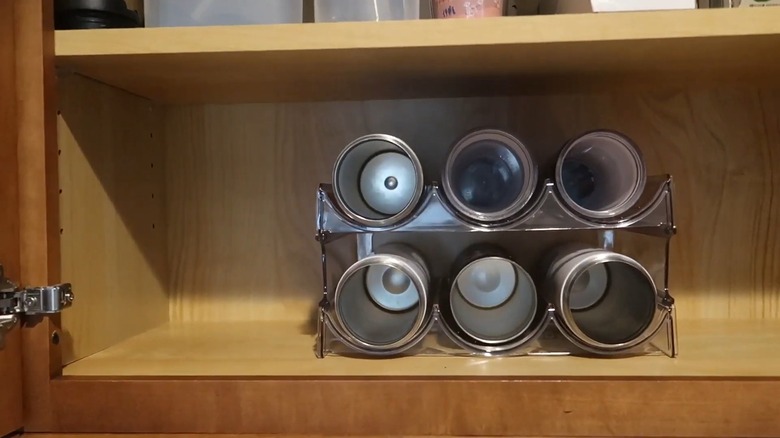
Another item that's adding to the clutter in your kitchen? Reusable water bottles. Don't look at your Stanley water bottles longingly. You know you've got far more than you could possibly use at a given time. Not to mention the disfigured and cracked spares taking up cabinet space because letting go isn't your forte. So, ditch the "what ifs," play favorites, and dispense with the rest; plenty of charities will gladly take them off your hands. Remember to clean and sanitize them before donating. Only hold on to the ones of the highest quality that fit within the cabinet's confines.
To organize the bottles that made the cut, invest in turntables with a lip to prevent the bottles from falling over. An example is the Amolliar turntable on Amazon, which is made to hold condiment bottles. You can even consider using a wine holder, the dollar tree item that makes water bottle cabinets clutter a thing of the past. If you don't have the cabinet space, pack them away into drawers. You can store them vertically if you have a deep enough one, but if not, add a drawer liner to create some grip and store them horizontally next to each other. If you don't want them rolling around, you can also place a row of individual wine holders into the drawer to keep them put, such as the Heshebuy holders on Amazon.
Remove duplicate cookware and pieces you never use
Your cookware needs as much decluttering treatment as your serverware. To save space in your kitchen, use the decluttering tip of parting with duplicates. If you have three sauce pans, keep only your best one. And before you say, "But I need them all," know that there is a high likelihood that you don't. Toss anything that's warped, scratched, or chipped — especially if it's nonstick, as that can become toxic. Get rid of the pieces that can be substituted for each other during cooking. For example, if you have both medium and large frying pans but don't have much space, consider cutting back on the smaller ones. Also donate any pieces you barely use. For instance, do you have a giant stock pot but never made a soup in your life? Consider donating it with the intent of buying a new one if the day ever comes when you want to make chicken soup from scratch. Likewise, simplify your baking essentials and gadgets, including chopping boards, oven trays, and the like.
You can also use your cabinet's physical boundaries as your guide on how much cookware can be comfortably stored — and retain those only. If you're nervous about getting rid of them only to need them one day, consider packing them up into a box and putting them in storage. If a few months or a year pass by without you needing any of those pots or pans, you'll know they're not essential to your kitchen.
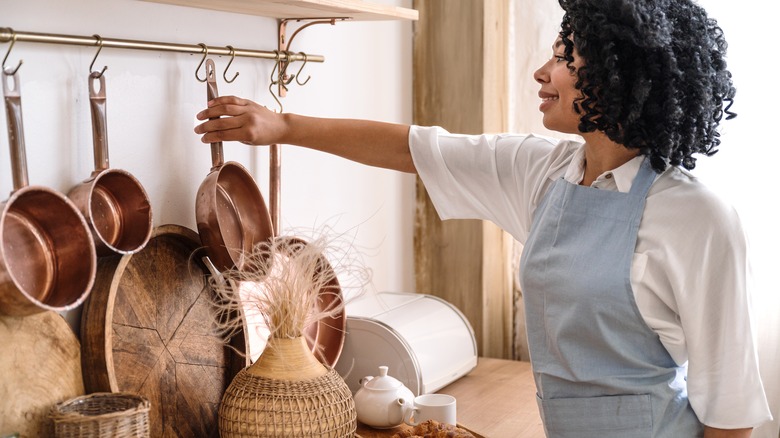
Going forward, adopt the policy of buying multi-purpose items to keep disorder at bay. Small kitchen owners can make do with adhesive hooks to hang lightweight cooking pots to keep things tidy. The heavy-duty ones can be arranged on side-by-side racks for greater visibility and ease of use. Trays and boards can be stowed vertically by size — dividers can help.
Remove any expired or duplicate spices
Most homeowners would agree that getting a handle on their spice cabinets is quite the task. Either you end up with duplicate purchases, as the previous spice box got pushed to the back, or you have a heap full of expired seasonings that may be potent enough for a potpourri, but not food. All things considered, doing a once-over of your spice rack is a good way to start decluttering the kitchen foodstuffs. Once you've finalized the spices that are safe to use and drawn a list of the ones you'll buy on your next grocery shopping trip, set about organizing them.
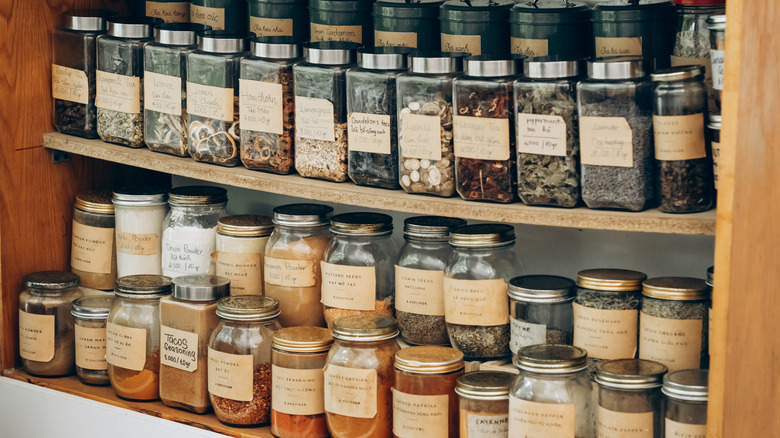
Harkening back to zoning, check whether your spice rack or cabinet's position is convenient, meaning is it close to your stove and provides ready access? You might want to change that if your answer is "no". To improve visibility and sort out the expiry problem, decant the spices in transparent bottles, stick clear labels on them with their expiration dates, and position them facing the front so you can read their labels without difficulty. Liberally use Lazy Susans so you can rotate them as you like while cooking. Alternatively, install shelf risers or racks near the stove to make your life easier. You can also upgrade your kitchen organization with DIY magnetic spice jars, which keep them close by while freeing up drawer space.
Cut back on your mugs and glasses
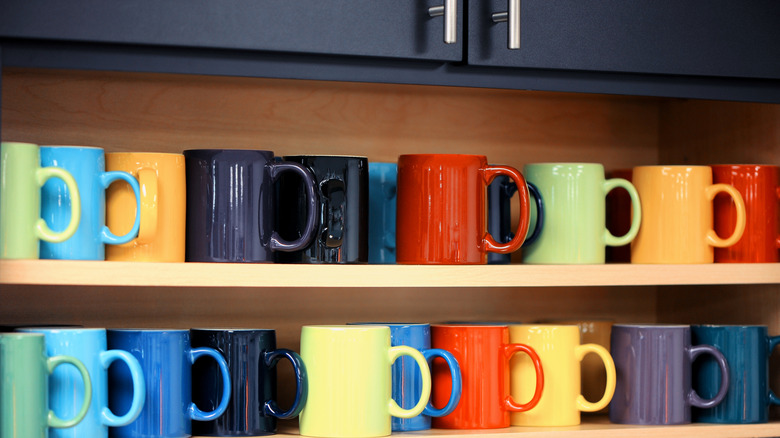
Let's be honest: We all have at least a shelf-full of glasses, cups, and travel mugs that we don't need. For example, you probably have a cheesy mug you picked up from a road trip and never reach for or a unicorn-shaped cup that unfortunately isn't comfortable to drink from. You might even have a few with faded prints, dented brims, leaky bottoms, or peeling-off insides, solely retained for the drummed-up scenarios where uninvited guests show up (with their families!) and you're out of washed cups. Do yourself and your kitchen a favor, and get rid of them — now! Also toss anything that you haven't used in the past year. (We're looking at those eight travel mugs left lonely in the cabinet while you rotate your two favorite Stanleys.) Travel bottles that don't fit the car's cup holders get nixed, too. Congratulations! You've found your heavy hitters.
Sure, pruning your collection so you're only left with your favorites frees up premium space, but don't grow complacent. You should systematize their placement as well. To make them as neat as possible, invest in things like shelf risers for mugs and stemware holders for wine glasses. This willdouble the storage space and give every item a home.
Declutter under the sink items
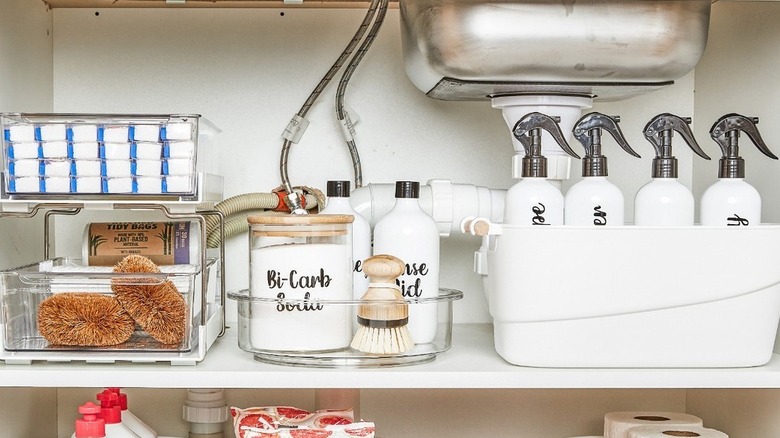
The adage "out of sight, out of mind" may lull you into thinking the mess underneath the sink doesn't need to be decluttered, but it's likely overrun with a mess of cleaning supplies that are hard to rummage through. To pare them down, remove all of your supplies and take stock of what you have. Are there old sponges and scrubbing brushes that have seen better days? Toss them. Next, remove any cleaning supplies that have since expired, as well as sprays that don't work well or you never use. Maybe you tried a viral scum-busting spray but you found that it was mediocre. Rather than keeping the bottle for years, permit yourself to throw it out. The same goes for products that you thought you needed but have ended up never using, such as the specialty countertop spray that you skip since you just use plain soap and water.
Once you're done decluttering, it's time to set up a system to store these items in an organized way. If you prefer to have only a few sprays and cleaning products on hand, it might be enough to corral them in a portable caddy, such as this plastic one from Amazon. However, if you have more products or would like to buy them in bulk on sale, a more robust shelving unit will need to be employed. For instance, the Merrylun two-tier shelf has plenty of room for spray bottles, and has a sliding drawer to make it easier to reach the items in the back.
Clear out things you don't use in your pantry
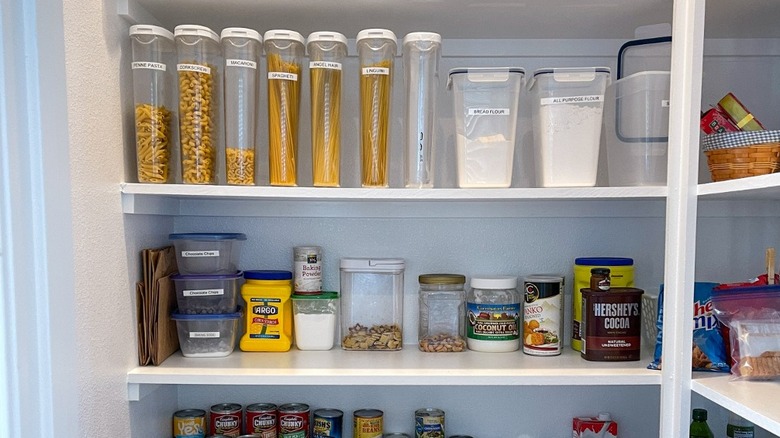
It seems that when it comes to pantries, no matter how painfully you clean and revamp their look, they'll be back to looking lawless and unruly in under a week. If your shelves are so stuffed that you find yourself shoving items haphazardly into whatever limited space they will fit, it's time to declutter. First, remove any expired items and compost them (or pitch them to the landfill). The products nearing expiration can be placed on an eye-level shelf for immediate consumption, or donated if there is too much to consume in a week. Next, declutter by tossing any ingredients or food items that you thought you would like to use, but have since avoided eating for months. Anything from that experimental jam to those kale chips can go. Lastly, make note of what items are worth buying in bulk and which have been gathering dust for months. Maybe you go through paper towels at a fast clip and it's worth buying that 20-pack, but getting a bulk-pack of canned corn lasts you over a year. Alter your shopping list with this new information so you don't add more clutter to your pantry after you've tidied it.
To keep things neat, get rid of product packaging. For instance, remove the cardboard off your fruit snacks, beverages, or energy bars and put them in matching bins or plastic boxes. Similarly, decant the bulk buys (think rice and pasta) in clear containers so that you remain on top of the things that are running out without sacrificing convenience. Tiny items can be placed in drawers after delineating the space with dividers.
Cut back on your saved grocery bags
Lastly, finish your decluttering project by taking care of the tangled mass of grocery bags on your pantry floor or under the sink cabinet. Although it's easy to give in to the urge to just ball them all up and stuff in the biggest bag at hand, rethink the strategy if you want a tidy kitchen. Instead, sift through the mound and purge the leaky, torn, muddy, or damaged bags — recycle or upcycle them as much as possible. Et voila, you've got a decent set of bags that are good to use as desired.
Next, employ any of the creative ways to store your reusable shopping bags, such as folding them along their natural creases and placing them in a tissue box, so you can pluck them out as you would the tissues. Alternatively, purchase specialized bins that dispense grocery bags and affix them inside your kitchen cabinets. Or, to keep things simpler, just stack the smaller bags in a basket while the heavy-duty bags can be half-folded and positioned vertically. Cooler bags, canvas totes, and other recyclables can be slung from a cabinet hook.
