12 IKEA Clothing Rack Hacks That Don't Involve Hanging Clothes
We may receive a commission on purchases made from links.
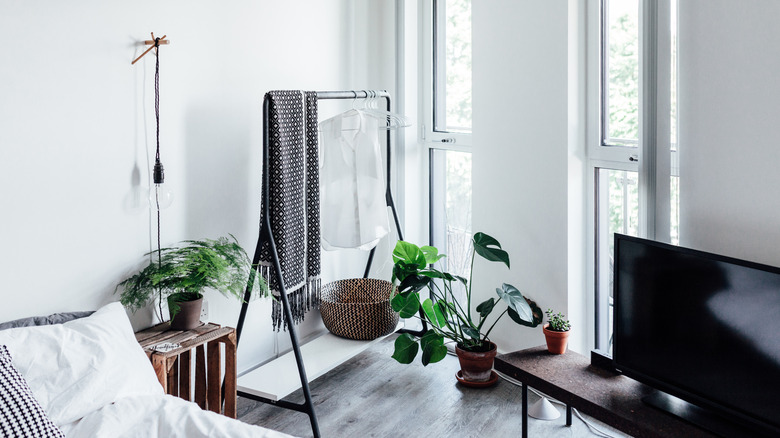
Versatility is a core attribute of a functional home. From flexible designs and layouts to portable furniture pieces and storage solutions, you want to create spaces that don't feel limiting. Things should be able to be used in different ways and in different spaces so they simplify your daily life. If you're into home improvement projects and love IKEA pieces, one of the best IKEA hacks that will change how you DIY is to research a piece before buying to see what else can be done with it. For instance, IKEA's clothing racks can be repurposed around the home should you ever need to use them for something else other than hanging clothes. They can hold accessories in the bedroom, pots and pans in the kitchen, and they can also be turned into a room divider, photoshoot backdrop, or a headboard.
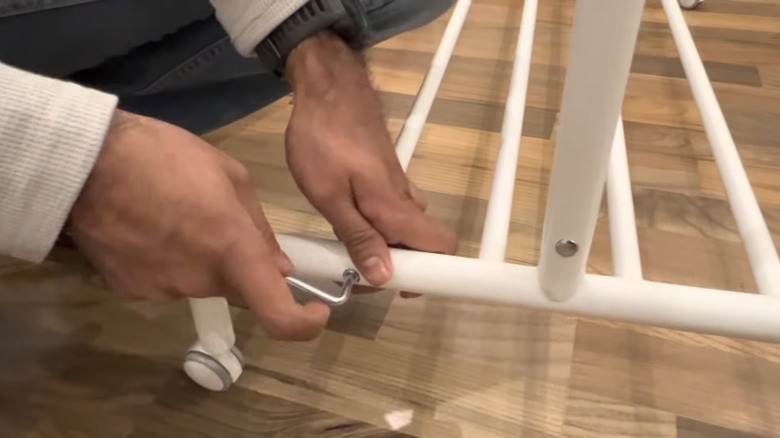
To repurpose these racks, there are certain tools and materials that you may need. Hooks are a biggie because they instantly allow those bare bars to hold up many things at once. You can also use rope to suspend items. Tape and glue might also be necessary to hold things in place. Once you have all the necessary materials, you'll be able to knock out these hacks in one go because they don't take that long. We think most of these can be done in roughly an hour.
Display your plants
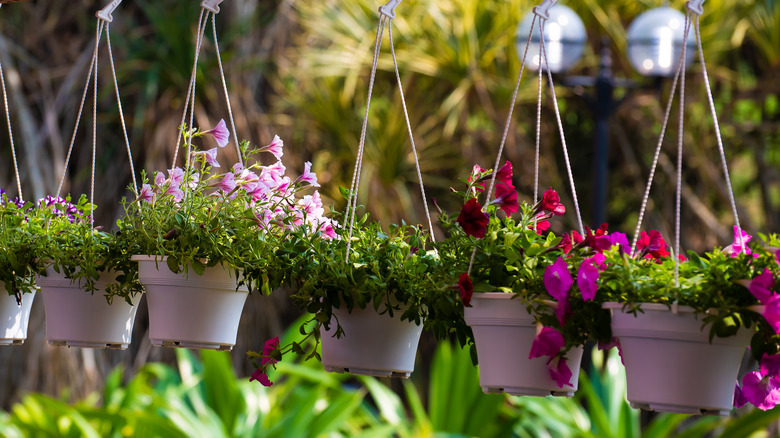
One thing you can do is turn an IKEA clothing rail into a plant rack. Get your potted plants (climbers will be great for this) and fasten them to the top of the rack with either hooks attached to the pots or a jute rope or string. You can also opt for hanging bucket planters. This will work well with the IKEA MACKAPÄR which has multiple areas to hang from, in-built hooks, and three racks where you can also keep the pots, but simpler racks like the MULIG and RIGGA will also work.
DIY room divider or privacy screen
You can also DIY a room divider or privacy screen. Get a rack like the MULIG or RIGGA because they're flat and won't take up a lot of horizontal space and drape over a curtain or a big sheet. With the RIGGA, you can take off the top bar, pass the fabric through, and then fix it onto the two vertical bars. You can do something similar with the MULIG although the bar is a bit lower. It will be easier to wrap the fabric around the top and then glue or staple it in place.
Make a balloon décor stand
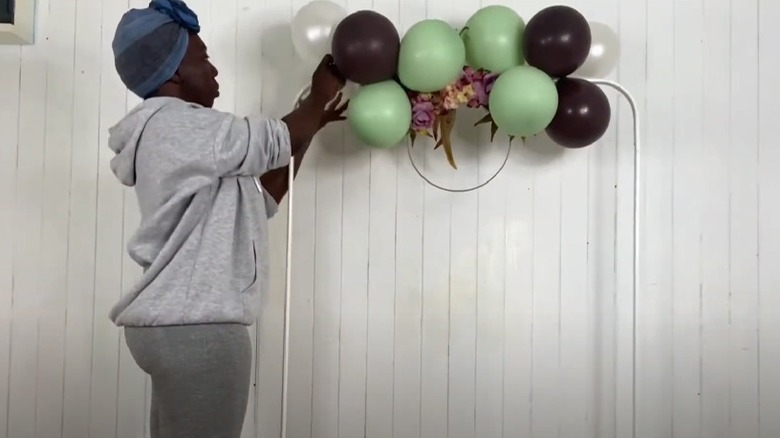
Need a nice balloon arrangement or photo backdrop for an event at home? An IKEA MULIG rack can serve as your stand to create a balloon arch. Make balloon bunches and twist them onto the rack, starting at the middle and going down the sides so you can arrange them as you go. Depending on the type of occasion, you can cover the whole rack, just the top bar, or just one side. This will be great for a birthday party or baby shower and can be used indoors or outdoors.
Display some flower arrangements
Fill hanging vases or plant pots with either cut flowers or live plants and hang them up on your IKEA clothing rack. This would be best with the PINNIG, MACKAPÄR, MULIG, or RIGGA. For a rack with hooks, you can use these galvanized metal wall planters/vases on Amazon. A 2-pack costs $20. If there are no hooks, you can get these iron hanging flower pots also from Amazon for $14 each. One essential tip to ensure your flowers thrive in a hanging basket situation like this is to put plants with similar watering needs together.
Show off your collectibles and décor
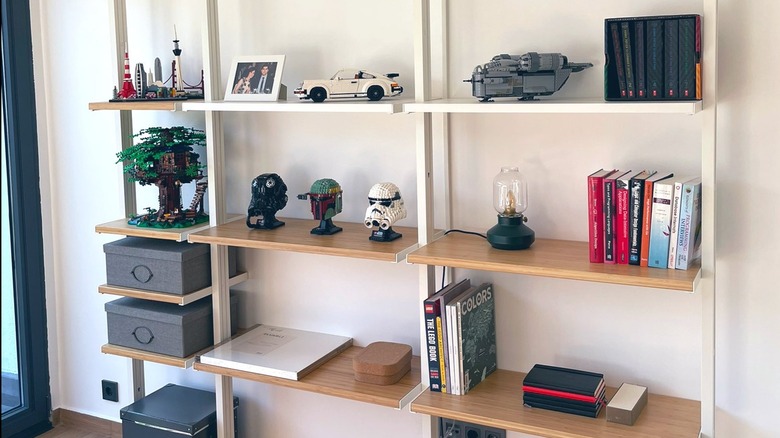
An IKEA rack with a flat surface or two can be used to display art pieces like sculptures, other décor, or items you collect like quirky mugs or completed Lego sets. Use the rod to work in some suspended elements like hanging plants, macramé art — or flower baskets if the rail is situated outside. The PINNIG coat rack could work in a pinch, but you can also get more control over the shelving placement by using components from one of IKEA's closet systems, such as the ELVARLI.
Create a stand for a hanging sign
If you want to make a stylish hanging sign, look no further than this IKEA clothing rack hack. Get a simple rack like the RIGGA or MULIG and hang a professionally printed or handwritten sign using either leather straps like in the video above (these purse straps for $15.99 from Amazon could work well), natural string, or ribbon. For a re-useable sign, you can also suspend a whiteboard or blackboard from the rack by making two holes in the top corners, passing some rope through, and tying it on the bar.
Hang up your accessories
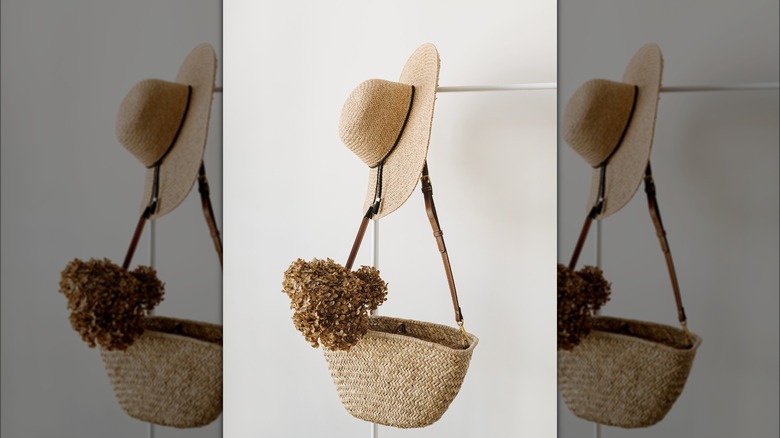
Need a place for accessories? Turn your clothing rail into an accessory rack for items like bags, purses, scarves, ties, and belts. Any of the basic IKEA clothing racks will do. If you want something that takes up less space you can also use a coat stand like the EKRAR. You'll need special kinds of hangers based on the things you have. We like these HangerSpace ring hangers because they can be used for any of the items mentioned. A set of five costs $13 on Amazon and you can choose them in gray or black.
Create a place to hold your pots and pans
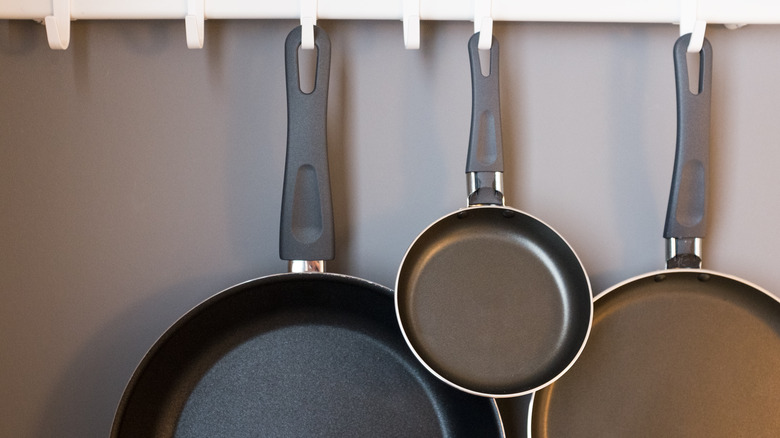
Another IKEA clothing rack hack is to use it as a rail in the kitchen for your pots and pans. A rack like the PINNIG or MACKAPÄR will be great for this since it already comes with hooks, but if the handles can't fit on the hooks then you'll need to buy separate ones to place on top of the existing hooks. Try this 30-pack of heavy-duty hanging hooks that Amazon offers for $9. Hang up the pots and pans you use the most and then stack the rest and keep them on the bottom racks.
Make a hall tree for your entryway
Add hooks or ring hangers to the rail (any of the simple IKEA racks like the MULIG, TURBO, or RIGGA will work ) and some small bins and baskets to the bottom part to create a home for the things you need to put down on entering the house. Having a place for everything is one of the best tips for keeping your entryway clean and organized. You can hang up accessories like umbrellas and scarves on the top and drop things like keys, wallet, sunglasses, mail, and shoes into the baskets.
DIY a headboard for the bedroom
Something else you can make with a clothes rack like the MULIG or RIGGA is a headboard. Note that you might need to attach two racks together to fit your bed. It's fine if the headboard is a bit oversized. Cut some polyester wadding or old bed foam to fit the shape of the rack and glue the wadding inside the frame. Cover it with your desired upholstery material (velvet is ideal for a luxe feel), pull it a bit so it looks neat instead of saggy, and staple it securely at the back.
Create an additional storage solution
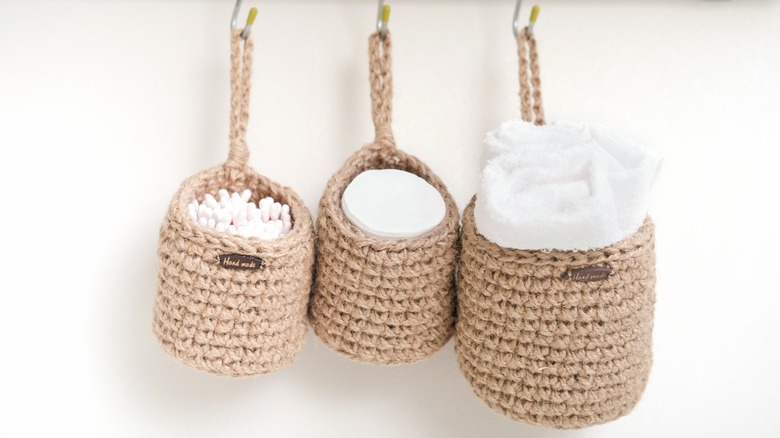
Transform your rack into a base for hanging baskets. You can use it on simple models like RIGGA racks, or pieces like the PANGET, and place them in an extra room like a home office or mudroom to create storage. Hanging wire baskets (like these from Amazon) can be sturdy enough for stationery and files in a home office while woven baskets can stylishly hold laundry or cleaning products in a utility room. Another idea is to add a SKUBB ($20 at IKEA) to your rack to give you six storage compartments.
DIY a photography backdrop
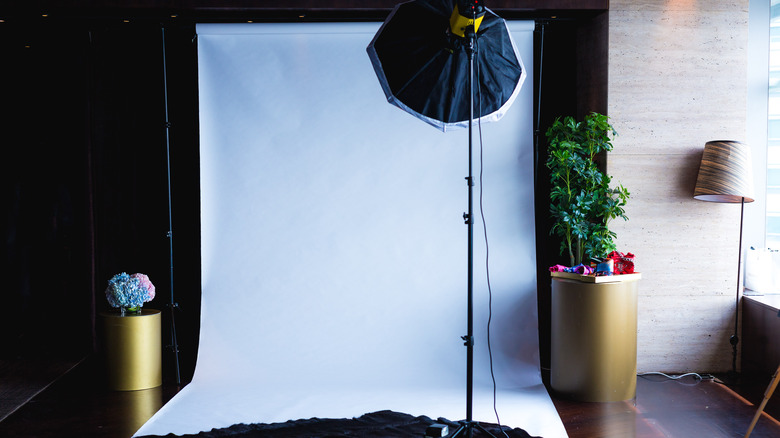
Another use for your IKEA rack is as a backdrop stand for photoshoots. Just get the background material of your choice, typically cloth or paper, and attach it to the rack. Buy a backdrop with pockets for the bar to go through (like this sparkling one on Amazon) or fix it on with an adhesive. A potential issue with this is that the rack might not be tall enough. Therefore, we'd recommend the RIGGA rack for this, as it has six height settings and can extend to 68 inches tall.
