Try This Wood Pallet DIY To Create A Rustic Bench For Your Backyard
We may receive a commission on purchases made from links.
If your backyard lacks sufficient seating, there's no need to go splurging on brand-new chairs, weatherproof sofas, or benches. If you have basic DIY skills, a few home woodworking tools, and some old pallets lying around the shed, you can build your own homemade bench and add a bit of rustic charm to the backyard in the process. Old pallets make the perfect material for bench construction since they're already designed to support heavy weight during freight, and as you'll see, fashioning them into a bench is a breeze.
Building a DIY wood pallet bench boils down to three basic steps. First, you must ensure that the pallets are safe to use. Many are constructed with chemically-treated wood, and you don't want to cut, sand, or eventually sit on these toxins. Second, you'll need to make sure the pallet wood is smooth enough to enjoy as furniture. Finally, cut the pallet in half, fasten the halves together, attach the legs, and finish the bench.
To perform these steps, you need a saw — one you'll be comfortable using to cut the pallet in half. You should also have some medium-grit sandpaper handy to prepare the wood, brushes to apply the finish, and the finish itself. And even though we'll show you how to choose a safe wood pallet, it's best to equip yourself with safety gear like goggles, a mask, and gloves, and take proper woodworking safety precautions.
How to choose a safe pallet and prepare the wood for your DIY project
There may be some wooden pallet DIY ideas that you can implement to upgrade your backyard seating, but using pallet wood comes with a few disadvantages. Firstly, some pallets are treated with chemicals to better withstand the effects of moisture and burrowing insects. To make sure yours isn't, check for stamps or other markings on the pallet's boards or stringers. If you find none, the wood should be safe. Likewise, pallets stamped with DB (debarked), HT (heat-treated), and EPAL (European Pallet Association Logo) are toxin-free and safe to use. However, it's best to avoid those with an MB marking, or pallets that have been painted.
Also, some old pallets may have visible stains on them. These could be chemicals, animal droppings, or mold. If you see stains on any of the pallet's components, discard the pallet. You don't want to handle or sit on possible contaminants.
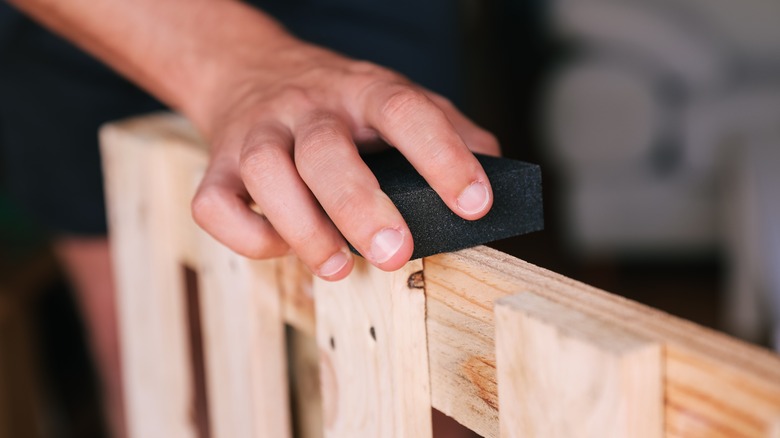
Finally, pallet wood is usually rough as it's never been sanded or finished. You'll have to make it smooth to avoid getting splinters in your hands during construction (or elsewhere in the body when you later use the DIY bench). To make the pallet wood smooth, start by sanding all the surfaces and edges down. Start with 80-grit sandpaper and continue sanding until the surface is smooth enough and no wood fibers are sticking out to create a possible splinter hazard. Don't sand against the grain, as doing so will leave scratches that will stand out quite a bit after finishing.
How to build the DIY pallet bench seat, backrest, and legs
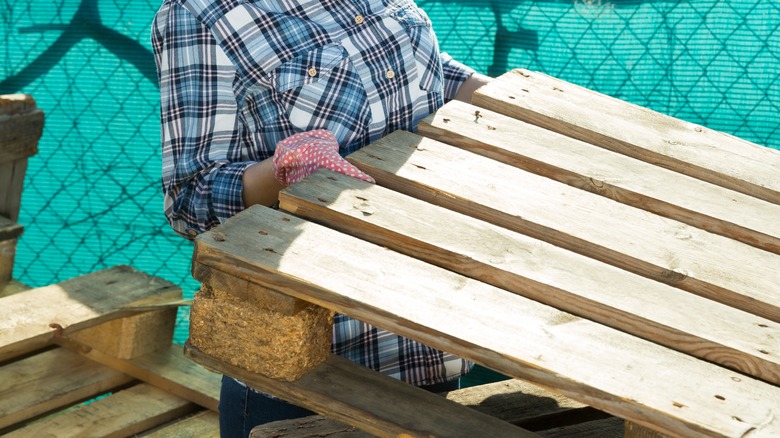
Pallets comprise deck boards that are fastened to either blocks or stringers. The latter run perpendicularly beneath the boards. If you cut the pallet in half precisely across the middle block or stringer, you'll have two rectangular sections — one for the backrest, and the other for the seat. Regardless of which type of saw you're using to make the cuts, be sure to keep the cut lines away from nail holes, crevices, or cracks in the boards. Otherwise, you risk inadvertently splitting the pallet wood.
With the two pieces ready, you can fasten them at the edges using tie plates like these ones from The Home Depot to make the connection between the seat and backrest. Alternatively, use other pallet deck boards as braces. Salvaged pallet boards (once properly sanded) can also serve as legs and armrests – just make sure they're sanded first.
To create the legs, cut four deck boards to a length of 50 inches or so. This dimension gives you enough height for the legs (35 to 40 inches) and extends another 8 to 9 inches above the seat to support the armrests. Secure the new legs to the corners of the bench with screws. Then, measure and cut the armrest pieces and mount them on top of the legs using angled braces like these from Home Depot. Finally, you can apply your finish of choice to the wood and that's it — the bench is ready.