Reuse An Old Window Shutter For This Rustic DIY Storage Idea
We may receive a commission on purchases made from links.
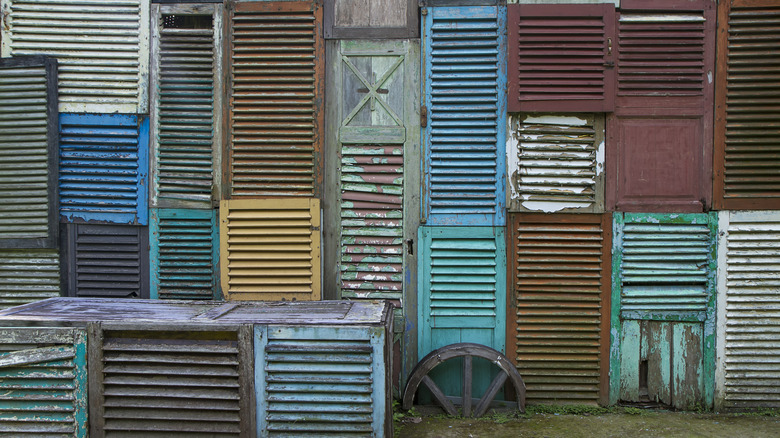
Are you about to toss an old shutter you found in the shed or garage? Or did one catch your eye at a garage sale, antique shop, or flea market? You may have a real find on your hands that you can easily repurpose in your home. There are plenty of intriguing ways to breathe new life into an old shutter. Thanks to its slats, which can act as a rack (or cleats, when used vertically), old wooden shutters can serve as effective storage solutions for use in the kitchen, entryway, home office, or elsewhere.
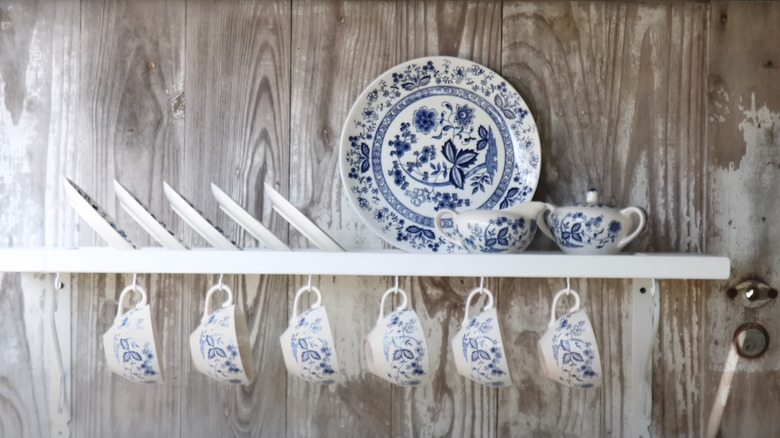
One of these ingenious DIY wood shutter projects involves turning a shutter into a dinnerware or fine china rack. In this new configuration, the shutter's slats are meant to hold your home's most ornate and treasured plates or saucers vertically, while also using the shelf to stack bowls. If you attach cup hooks to the underside of the shutter, you will be able to hang cups from it, too. To tackle this DIY project, you should need nothing more than a saw, some sandpaper, a sanding block, and your finish of choice — these items will equip you for refreshing and (possibly) refinishing the old shutter. Then, you'll want to get some mounting brackets, screws, and a screwdriver or drill to hang the DIY shelf on your kitchen wall. We'll walk you through this DIY repurposing procedure below.
Turn an old window shutter into an kitchen storage solution
Start by cutting the shutter down to the desired size. Cutting across one of the rails — the horizontal bars that enclose the slats — is easiest, since this approach keeps the slats looking neat and enclosed. If you cut across the slats instead of the top, bottom, or mid-rail, you'll need to find a matching plank to close off the open end. After fitting this plank between the two vertical pieces, fasten it to them with nails.
Next, decide what you want to do with the shutter's finish. If it's an antique shutter and you prefer to just clean it without refinishing it, establish what type of finish it has. If you rub a mineral spirit-soaked cotton swab on the surface and the finish dissolves, you're dealing with a shellac coating that will be difficult to clean — refinishing is the best next step. If the finish stays intact, you can clean the old shutter with an oil soap product like this spray from Murphy's. The manufacturer's instructions should spell out the best method for cleaning gunk off your wood shutter.
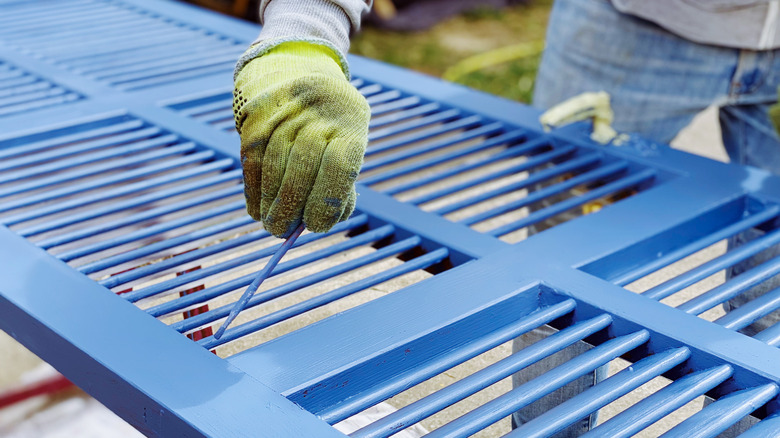
Now, if you determine that the old finish is not salvageable, or simply want to freshen up the shutter, remove the old coating with an 80-grit sandpaper. Then, smooth the surface further with a medium grit sandpaper (150 to 200) before painting or staining the shutter. Find out all the tips and tricks you need to use wood stain like a pro.
How to mount the DIY shutter shelf to the kitchen wall
Once the old shutter looks exactly the way you want, it's time to turn it into a shelf and mount it to the wall. In essence, the shutter becomes a floating shelf. You have several options for mounting it on the kitchen wall. The simplest is to use an L-shaped shelf bracket set, like this one from Lowe's. Make sure the brackets can support the shelf's intended loads and are long enough to span the width of the shutter. This is an attractive and cost-efficient option. The bracket itself costs less than $10, and installing it is a walk in the park. Locate the studs in your wall with a stud finder, then mark the holes for the bracket screws. Next, find the right screws for the job — they should sit at least ½-inches deep in the stud. Finally, fasten the brackets to the studs, then place the newly built shelf on top of the brackets, and fasten it to them with screws from underneath.
Now, if you want to give the shutter-turned-shelf a cleaner — but more rustic — look on the wall, you can opt for a pipe-style floating shelf bracket, like this example from Home Depot. This type of bracket holds the shelf in place securely, but makes it easy for you to take it off if needed. You can install these brackets following the same instructions we shared above, then place the shutter on top.