Turn A Dollar Tree Pool Noodle Into A Comfy Pet Bed With This Budget-Friendly DIY
As a pet owner, there is very little you won't do (or spend) to make your furry friends happy. This includes, but is not limited to, finding the plushiest, comfiest pet beds for them to sleep on. There are plenty of options on the market, but what if you could DIY your own, knowing that not only will it keep them cozy, but it might even add an element of reassurance and safety that can't always be found in store-bought beds, no matter how expensive or highly-rated they come. By cutting up a Dollar Tree pool noodle for this DIY, you can build your own pet bed, utilizing one of your shirts, to create a relaxing respite that they will love because its soft and smells like you!
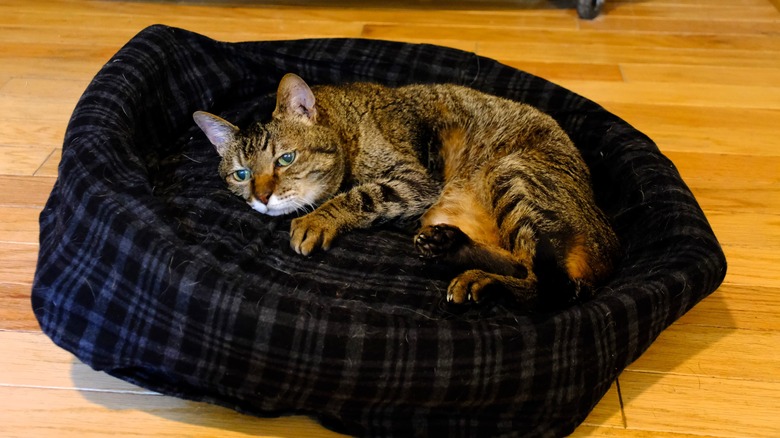
Pets, especially dogs, enjoy sleeping on your clothing because of the familiar scent. This acts a reassuring presence to them, whether you're home or gone. A dog's sense of smell is incredibly strong, and they associate your scent with their "pack" or family. They enjoy being surrounded by this as it makes them feel like they belong and are safe. This sweet sentiment is a great reason to make your pet a bed covered in an item of your clothing, so they can seek comfort in it whenever they need. While cats don't really seek out their humans scent the way dogs do, you might find this DIY appeals to them on some level, too.
Build the bed's bumpers with pool noodles
These foam toys have become the household go-to for DIYers and crafters, and this dog bed hack is one of the many pool noodle hacks you must try. Your supplies only consist of the clothing piece you want to use (preferably a long sleeve shirt, such as button down or a sweatshirt), a hot glue gun, one pool noodle from the Dollar Tree, and either an old pillow or soft cushioning to add inside the bed. If you have enough old pieces of clothing that are soft enough or even a bunch of old pillow cases to reuse, you can use these as the filling to strengthen your scent throughout the whole bed!
Once you've assembled your items, you can start by cutting up your pool noodle into sections, ending up with 10 to 12 pieces. These will go inside the shirt to act as bumpers, so keep that in mind when cutting them, as you might need fewer segments depending on the size of the material you're using and the size of your pet. Lay the shirt flat and use your glue gun to seal off the cuffs of the sleeves. If your shirt has buttons, you can flip it over so these will sit at the bottom of the bed. This will ensure your pet doesn't get uncomfortable when they lay down because of the hard clasps, snaps, or buttons.
Secure the shirt around and fill for a comfy respite!
Once the glue in the cuffs has dried, you can insert some of the pool noodles into the sleeves and tuck each sleeve against the torso portion of the shirt. Secure these with the glue gun. You should now have a rectangular shape with bumpers already resembling a bed. If you're using a shirt that buttons, you can wait to insert the pillow, cushions, or stuffing until you've finished the border of the bed. If you're using a long-sleeved shirt or a sweatshirt, you will need to add the filling in before finishing the top and bottom of the bed, as once you seal these you can't add anything to the middle.
Finish off the bed by adding pool noodles into the shoulders of the shirt after gluing the entire neckline shut. Lastly, add two more pool noodles at the bottom of the shirt and secure it with more glue so your entire piece has bumpers around the perimeter. If your shirt buttons down, you can add the stuffing now and button this up, using a little more glue to fill the gaps between. Otherwise, allow the shirt bed to dry fully, then place it down for your furry friend (or friends) to try! Not only will this keep them comfortable, but this budget-friendly DIY will also add a sense of security that can't be bought in any store!