What Is Seed Scarification And Why Should You Try It?
You might have heard about seed scarification, wondered what it actually means, and why it's important for successful seed germination. In simple terms, seed scarification is a process used to pre-treat seeds to break their dormancy. Many seeds have a tough or waxy outer coating that protects the embryo inside the seed while it's lying dormant, waiting for just the right conditions to germinate.
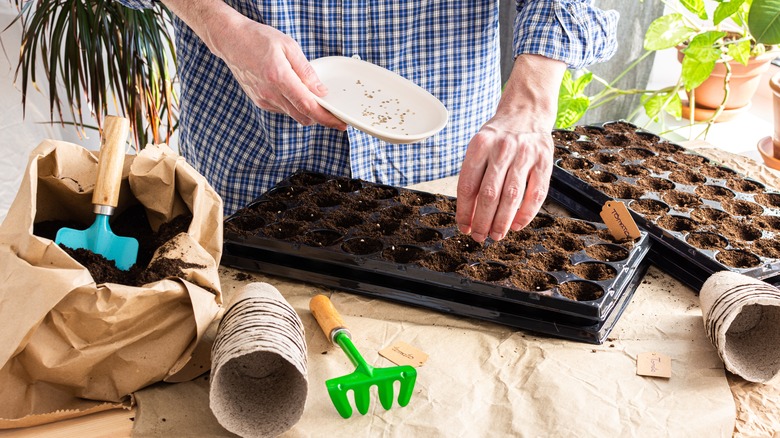
This is nature's way of ensuring the seed's survival during harsh winter conditions when it's buried under snow or in frozen soil. In order to break this dormancy, the seed needs to be scarified by creating a break in the tough outer coating. While some seeds will have their outer coating broken naturally due to changes in temperature and weather conditions, others need some additional intervention before they will germinate and grow. That's why you need to understand the different methods used for seed scarification so that you can apply them to the seeds you want to grow and ensure that they germinate successfully. As a general note, many seeds that you can buy commercially will already be pre-treated for successful germination. But, if you collect your own seeds from plants growing in the garden, here are the most common methods you can use to scarify them to increase their germination rate for a flourishing garden.
Soaking seeds in hot water
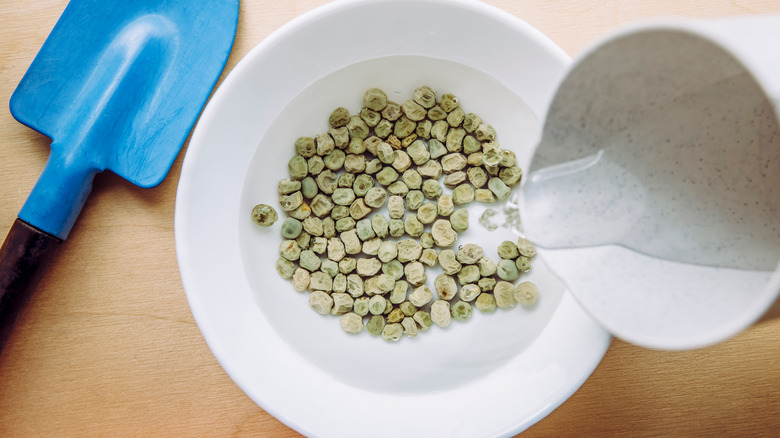
While commercial seed suppliers will soak hard-coated seeds in sulfuric acid, this is not recommended for home gardeners as the acid is quite dangerous if handled incorrectly. A safer alternative is to soak the seeds in hot water. The water temperature should be between 170 and 212 degrees Fahrenheit. The seeds are then placed in the water and left there for around 12 to 24 hours. This should be enough to soften the hard seed coats and allow for germination. Some gardeners have also used vinegar to get plants to germinate successfully. In this method, a teaspoon of vinegar is added to a cup of water, and the seeds are left to soak in the solution for 6 to 12 hours.
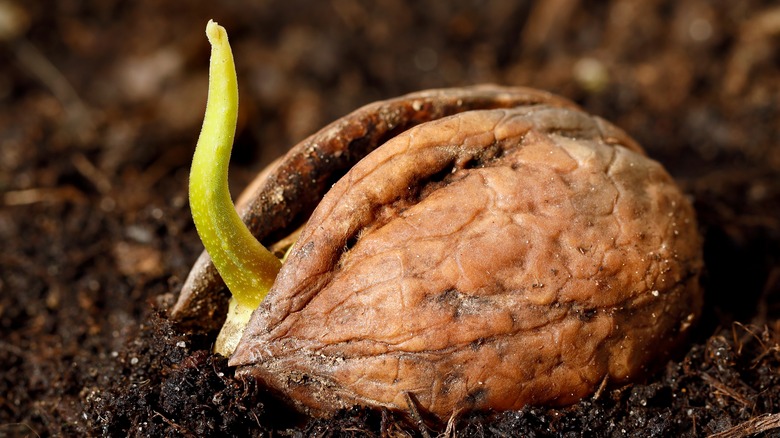
If you have plenty of time to scarify the seeds before you want to plant them, you could also just bury them in some warm, moist sand or soil. The medium should be unsterilized because its tiny microbes will help break down the tough seed coat. Keep them in a warm place and continue to moisten the soil or sand. It can take several months for the seeds to break their dormancy. Successfully scarified seeds should appear dull in color. Remember that these seeds need to be planted immediately after they've been scarified because they won't store well.
Using mechanical abrasion
Hard-coated seeds can also be scarified using abrasion to break a portion of the seed coat. Once a part of the seed coat has been removed, water can then enter the seed and initiate germination. To do this, you'll need either a metal file, some sandpaper, or a hammer. This method works best with seeds that aren't tiny because they'll be easier to handle.
If using a metal file, just rub this along a corner or an edge of the seed to file the outer coating. Try to wound a section of the seed coat that is opposite the eye. This is a small depression where the seed was initially connected to the plant and where the roots will grow from. You can do the same thing to the seed coat using sandpaper. This is one trick that you can use to speed up seed germination time, and it will work even with small seeds. Just rub the seed between two sheets of sandpaper to remove some of the hard coat. The surface of the seeds will change color once they're scarified. You could also crack hard seeds gently with a hammer, but you need to be careful not to damage the embryo. The method you use will vary depending on the size and type of seeds you have. You might have to experiment a little to see which method works best for the different types of seeds you want to grow.