Stop Paying A Handyman When You Can Recaulk Your Kitchen Faucet Yourself
Your first impulse is to pull the alarm — that is, if you had a water intrusion alarm of some sort. You'd break the glass the minute you see water dripping underneath your sink faucet, and a horde of plumbers and hazmat-suited mold remediation experts would parachute in and take care of things for you.
This might be why we don't have water intrusion alarms, because many times, the problem is no scarier or more complicated than a missing seal or broken caulk line under your kitchen faucet, allowing water from the countertop to run underneath the faucet and into the cabinet below. It's a quick fix, and however overpriced you think a $10 tube of caulk is, it's nothing compared to the expense of plumbers and mold remediation teams.
Kitchen faucet installation is often a DIY job, especially given the cost of having a faucet installed and especially when special tools aren't required to reach out-of-the-way recesses and the like. As part of the bargain, you will usually get a rubber seal to prevent precisely the sort of thing described above. If your seal is missing or damaged, your next line of defense is simply applying a little caulk and setting the faucet in place. Let's take a look at how it's done.
Choosing your caulk and prepping the surface
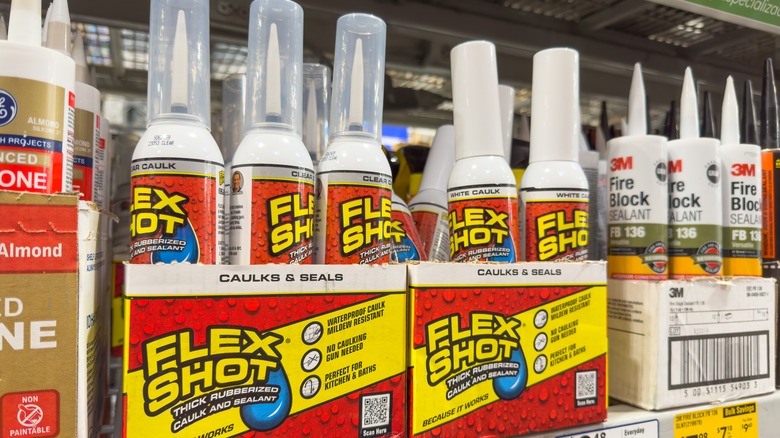
Although it might seem hard to parse the myriad choices you have, there's a perfect caulk for every job. For this sort of application, clear silicone caulk is usually sufficient. If you find that you have an unusually large space to fill for some reason, you might prefer a color-matched acrylic-latex caulk. However, the only compelling reason to avoid silicone for sealing around a kitchen faucet is if your countertop material happens to be acrylic, in which case silicone will not adhere to it properly. In that situation, it's best to use acrylic-latex caulk. If the area around your faucet base tends to stay constantly wet, you might consider a copolymer rubber sealant.
Clean and dry are the watchwords for the caulk application. You want your countertop and faucet as free from dirt, oils, and old caulk as possible to ensure that the new caulk will stick properly. Start by removing as much caulk, sealant, and rubber as you can with a scraper or a razor blade. Then use rubbing alcohol followed by mineral spirits to remove any remaining residue. Rinse with plain water and allow everything to dry thoroughly before caulking.
Caulking your kitchen sink faucet
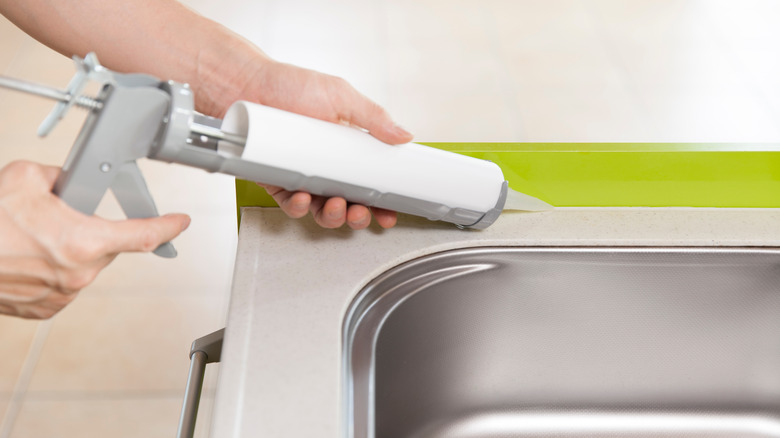
Always follow the directions on your caulk's packaging, but in general, a typical bead for sealing a faucet is ¼-inch wide. Put the faucet in place without attaching it, and use painter's tape to outline the base of the faucet, leaving about ⅛ inch between the tape and the faucet. Remove the faucet and apply a ¼-inch bead of caulk to the area marked by the tape and around any holes in the sink deck through which faucet supply lines, etc., will drop. Carefully replace the faucet and tighten it in place while moving it as little as possible to prevent disturbing your caulk beads. If you don't happen to have a caulk gun, your best course of action is to get one, but it is possible to caulk without the gun.
If necessary, shape your bead with a fingertip or the caulk-shaping tool of your choice. Remove the painter's tape by pulling it away from you at a 45-degree angle. Clean up any excess caulk according to package directions, usually with mineral spirits or (in the case of acrylic latex caulk, with water).