How To DIY A Murphy Bed To Add Room For Guests In Any Space

We may receive a commission on purchases made from links.
If you're tight on space, a Murphy bed is a great way to maximize your guest space so that the bed takes up floor space only when in use. Okay, sure, but where do you go from there? You can buy a Murphy bed that needs assembly in your home for an average of around $3,000, with more complex and luxury-oriented options pushing the price upwards of $10,000. But a DIY Murphy bed hardware kit will allow you to make your own wall bed relatively easily and at a much lower cost. The kits themselves cost around $200 to $300 — this queen-size Create-a-Bed kit from Amazon is $289 — plus a few hundred dollars for materials. Kits are available for horizontal and vertical bed storage. (And just in case you're wondering, no, IKEA doesn't sell Murphy beds.)
As always, it pays to read reviews and ask questions. Sometimes, these kits are exceptionally simple to use, but in some cases, skills and tools are required that might not fit your abilities. Woodworking everyman and YouTuber Steve Ramsey once assembled a kit, and everything seemed to go very well. But his kit required joining two sheets of plywood along an edge using a biscuit jointer — not necessarily something every DIYer has on hand.
Building a Murphy bed with a kit
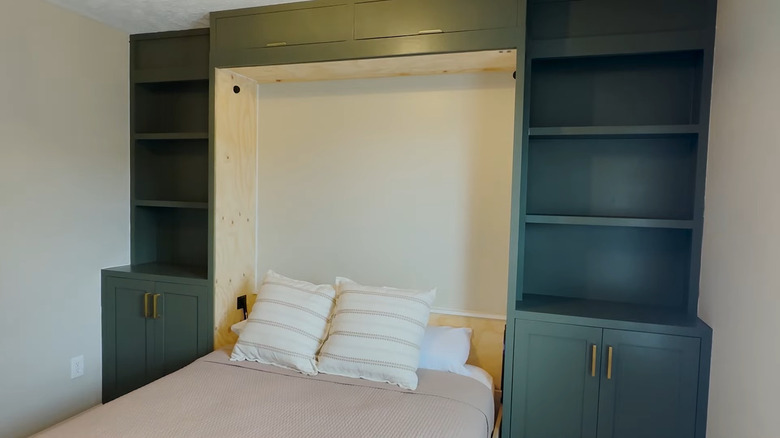
Generally speaking, a DIY Murphy bed kit will include a raising and lowering mechanism that uses either springs or a strut; hardware for attaching parts of the bed to one another; a swing-out leg mechanism; and instructions, including a cutlist that tells you what materials you need. Details vary by kit, of course, but in general, you'll build a bed frame and some form of cabinet and then attach everything together using the supplied hardware.
If there's one most important tip for building your Murphy bed, it's probably to keep everything perfectly aligned. Holes and hardware on the left and right should be perfectly mirrored, and when the hardware is attached, it must be perfectly square. Otherwise, the action of lowering the bed will cause the whole thing to rack unevenly, which can cause problems from noisiness to instability to simply not working. To accomplish this, remember that your speed square is your friend, so be sure to learn the speed square basics before getting started on this DIY. Also, it might be tempting to skip the hardware kit and make it a purely DIY project by just building a simple pivot. This is doable, but be careful. Your time is worth money, and don't forget the energy required to lower and raise a bed without the help of springs or a hydraulic mechanism. And you certainly don't want a bed falling on your head without the protection of those springs or hydraulics.