Hang Summer Pool Floats Out Of The Way To Dry With This Budget-Friendly DIY
We may receive a commission on purchases made from links.
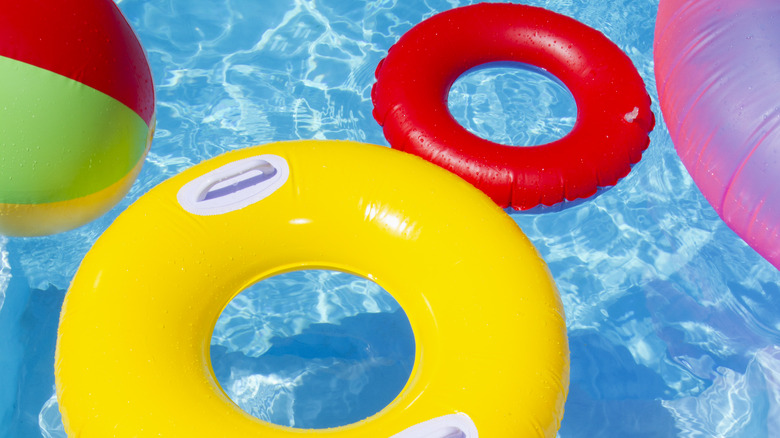
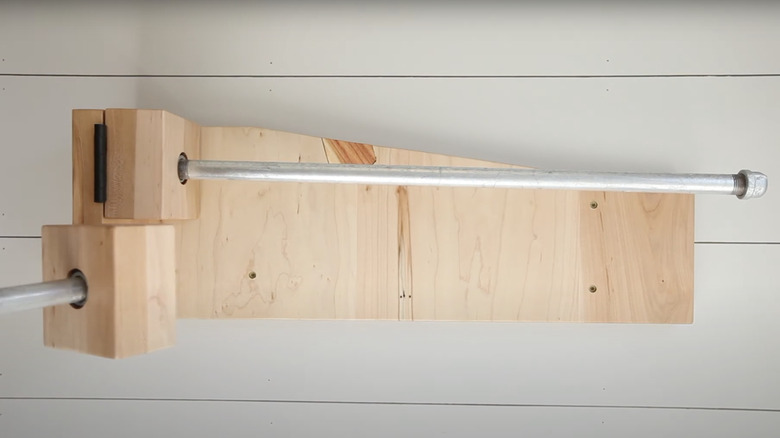
When pool floats sit out on your patio, they may not dry properly and could become an eyesore crowding your outdoor space. Luckily this hack makes storing pool floats a breeze and will allow them to hang and dry until you're ready to use them again. With some scrap wood, you can craft a towel rack where the bars swivel outward, allowing you to pull one out to hang up a float. Once you take the floats off or they're dry, the bars can simply fold in, saving space on your patio.
For this project, you'll need several pieces of scrap wood, a couple galvanized pipes (about $10 each at Home Depot) to act as the towel bars, and two hinges so that they can swivel. To keep these bars in place on your rack and to cover the open end, pipe cap fittings (about $3 at Home Depot) will work great. This DIY is a great option to use leftover pieces from other projects, but will also require tools, such as saws, sanders, and a drill, to assemble. Once it's finished, your budget-friendly float hanger can be mounted onto an exterior wall in your backyard, or on the side of a structure like a shed. You can reduce poolside clutter with this storage tip and ensure your floats fully dry after use.
Prepping your DIY pool float hanger
To create your nifty DIY towel drying rack for pool floats, start picking out pieces of scrap wood. You'll need one rectangular plank that is approximately the length of your pipes, as well as another that has the same width as your first, but is square. These two pieces will be joined perpendicularly, forming the base of your towel rack. This project is really versatile, and for those who are savvy with woodworking, you can play around with the shape of your rectangular base piece, like making it slanted for a different look. Depending on what kind of scrap wood you already have, you can evaluate what shape would best work for your float hanger.
Two small, square planks that fit on your smaller base plank are also necessary, as these pieces will allow the bars to move. They may need to be thicker than your other boards, as the pipes will fit into them. If you can't find a thicker piece of wood, try gluing two together to get the perfect size for you. Once you've cut your wood and ensure that the sizes line up well, sand all the pieces until they're smooth. You might also sand the edges so they become rounded, if you'd like. Applying a finish to your pool float hanger could help it last longer, and you might consider using a waterproof sealant or a paint that's designed for the outdoors.
Assembling your DIY swivel rack
After your finish is dry, you can begin putting your DIY swivel pool float hanger together. There are several ways to do this, depending on how much woodworking experience and what tools you have. For example, you may choose to cut a small section out of your smaller base piece so that it sits flush with the longer, rectangular piece. You might also bore holes into your wood where the screws will go so that they are less visible, though these steps are purely cosmetic.
Using screws or wood glue, attach your two base pieces, so that the smaller one sticks up from the larger plank. Bore a hole that will fit your pipe caps into the center of each small, square board and glue a cap inside each. Now, screw a hinge onto the other side of each of these pieces and attach the other half of the hinges to the edge of your smaller base board. Make sure that the openings for the caps face outward, toward your longer plank, when the hinges are folded in. If you'd like a smoother look, you can inlay your planks so the hinge sits flush with both boards. Finally, screw your pipes into the caps in the wood and place another cap on the exposed end of each bar. Your DIY pool float hanger can now be mounted wherever you like, but be sure it's high enough that the floats don't touch the ground.

