Important Tips To Consider Before You DIY A Desk For A Home Office
At its core, a desk is really just four legs and a flat surface, but it can be so much more, especially when you're working from a home office. Your desk should be a place that inspires creativity, minimizes distractions, and suits your home — in other words, a boring, basic desk simply won't do. Depending on your officing needs, you may want to customize your desk to have more storage, more writing space, or a more aesthetically pleasing design. Building your own desk is a great way to learn useful skills and express your creativity, and woodworking even has some mental and physical health benefits, according to Spero Recovery Center! If you've never built a piece of furniture before, it can be tricky to know where to start, but learning the essential tips will help you move forward with confidence. In short, you'll need to nail down a design plan, choose your materials wisely, and use the right finishes to ensure durability for your desk.
Building your own desk is a rewarding experience, and if you need inspiration, there are plenty of pre-existing designs for DIY desks that anyone can build. Although it might seem challenging, the process of building a desk can be a breeze if you plan carefully and follow the right steps. Here's what you need to know before DIYing a desk for your home office, tips about design and materials, and how to finish your project to ensure it will last for years to come.
Planning desk size, shape, and other space-saving details
When designing your dream DIY desk, the first factor you'll need to consider is its size. The size of your desk can impact its functionality, so it's important to build a desk that will be suited to your ideal needs. For example, a simple writing desk or a single computer monitor setup can get away with a more minimal look — a desk as small as 25 inches long can be sufficient! However, if you prefer a dual setup with two monitors side by side, your desk may need to be between 48 and 60 inches long. Having at least 6 inches of space on either side of your monitors is also nice for keeping a pencil cup, tissue box, speaker, or other small essentials.
We tend to think of desks as horizontal pieces of furniture, but remember to think vertical too! Assess the height of your chair to ensure that the keyboard height will be comfortable and your chair will be able to slide below the desk if desired. An elevated shelf or hutch above your monitor is great space saving furniture idea that can maximize your office space, perfect for displaying framed photos, plants, candles, or any other decorations you like to admire throughout the day. Hidden, functional storage is important too, and cabinets are much easier to DIY than drawers, so consider adding a side cabinet with shelves to store papers, pens, or other computer equipment.
Materials and finishing touches matter
Once you've settled on the perfect size and design for your DIY desk, choosing materials should be the next thing on your to-do list. Real wood is a good choice for building a desk. A hardwood such as maple, oak, or walnut is easy to work with and a good choice for strength and durability. While it can be susceptible to scratches, indentations, and water damage, wood can also be sanded and refinished to last for decades. Of course, wood isn't your only option; MDF can be a more affordable choice and works well for desks with a veneer or laminate surface, such as faux marble contact paper. Whatever material you choose, one of the best pieces of expert advice on how to keep your DIY wood projects from looking cheap is to invest in the right screws and brackets to ensure your final result is sturdy and stable.
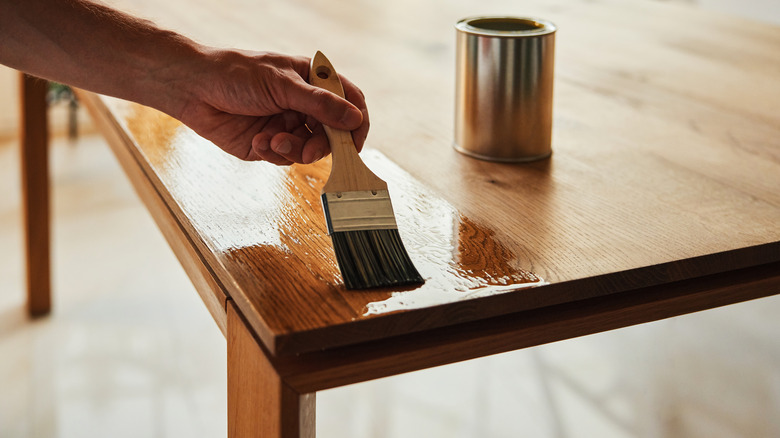
Finishing your DIY desk is equally important. If you choose to stain your wooden desk, and oil-based stain will ensure an even finish and deep, beautiful woodgrain. Painting the desk is another possibility, but be sure to use an interior latex or oil-based paint, and layer over a primer if needed for extra grip and durability. After staining or painting your new desk, sealing with a thin coat of polyurethane will prevent the paint from chipping and protect your wood from daily wear and tear.


