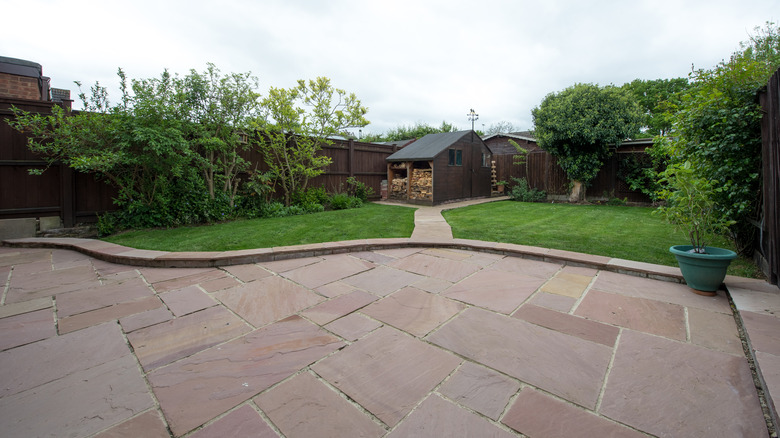
How To DIY Adirondack Chairs To Complete Your Patio Lounging Space
Are your fingers itching for a woodworking project, despite a daunting lack of experience? Even if you haven't done much or any carpentry in the past, you can jump right into the waters with this Adirondack chair plan designed by DIYer Ana White. With mainly 90-degree angle cuts and joins, and only two pieces cut at another angle, her directions are easy to follow and only require basic tools. With the help of directions and visuals, this will prove to be a woodworking project even beginners can do.
Equipped with a saw, a drill with a screwdriver bit, a level, and a speed square (a triangular tool for measuring straight edges and angles), you can cut and screw together the pieces in just an afternoon. Also have on hand some safety goggles, a pencil, exterior wood glue, and sandpaper. Ana White shares the plans and walks you through the steps of this build on her YouTube channel. She also brings up other pluses to this design: The chairs are sturdy and compact enough to cluster several of them together for outdoor entertaining.
Gather your materials and prep your pieces
Head to the lumberyard for three 2x4s at 8 feet long, one 12-foot 1x6, and some 1¾-inch and 2½-inch exterior wood screws. Make sure you have the right screw for your DIY project; White recommends self-tapping screws with star heads; you can drive these types of screws into wood without pre-drilling. Use the longer screws for all joins except the seat and back slats.
With your only 1x6, cut four 19-inch-long slats for the backrest and three 22-inch-long slats for the seat. From the 2x4s, cut two pieces at 33 ¾ inches for the seat sides (They also act as back legs), one 22-inch front apron (the vertical piece at the front of the seat), one 19-inch seat back support, and two 32-inch back supports. You will also need to cut two 18 ½ inch pieces measured from the long point to the short point. These leg pieces are cut at a 15-degree angle off square. Finish by cutting two 26 ¼ inch arm rests.
For the seat frame, stand the seat sides along their 2-inch-long edge. Screw the front apron vertically to the cut ends of the sides. Measure 22 inches from the apron to the open ends of the seat sides. With the longer screws, attach the 19-inch piece of 2x4 between the two sides. For the backrest frame, connect the two 32-inch 2x4s vertically with one 19-inch 2x4 at one end.
Assembling the sections
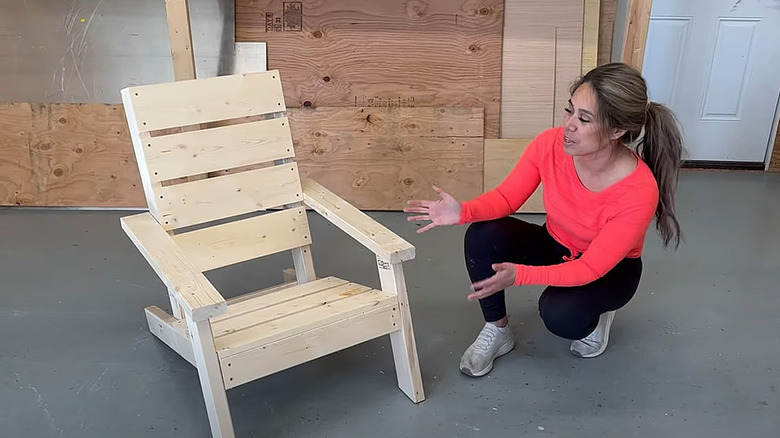
Lay out the slats for the back and the seat. Using the shorter screws, affix the three 22-inch 1x6 seat slats spaced 1 inch apart, starting at the apron. You can try this TikTok tip to avoid splitting wood as you sink in the screws. Repeat those steps for the backrest using the four 19-inch 1x6 cuts. Slide the two open ends of the backrest into the seat, in the opening between the last seat slat and the 19-inch support piece. Join them at a 90-degree angle.
Secure the front legs, the two angle-cut 2x4s, at 90 degrees to the front outside edges of the seat. Between the floor and the seat, leave 9 ½ inches, and make sure the longer end of the cuts touch the floor at the front of the chair.
Use a level to install the arm rests from the tops of the two front legs horizontally to the point on the backrest that makes the armrest parallel to the floor. You can also angle the armrests so that they follow the same or similar angle as the seat so your elbows will sit lower than your forearms, making it a bit more comfortable. Screw the back of the armrest to the backrest through the inside of the backrest's frame. Sand the wood smooth, and top it off with a few coats of weatherproof stain or paint. For an easy and fun finishing touch, try a spray primer followed by Rustoleum Ultra Cover Spray paint in a trendy summer color like taupe or a warm honey-hued beige.