Add A Charming Retaining Wall To Your Sloped Backyard With A Beginner-Friendly DIY
We may receive a commission on purchases made from links.
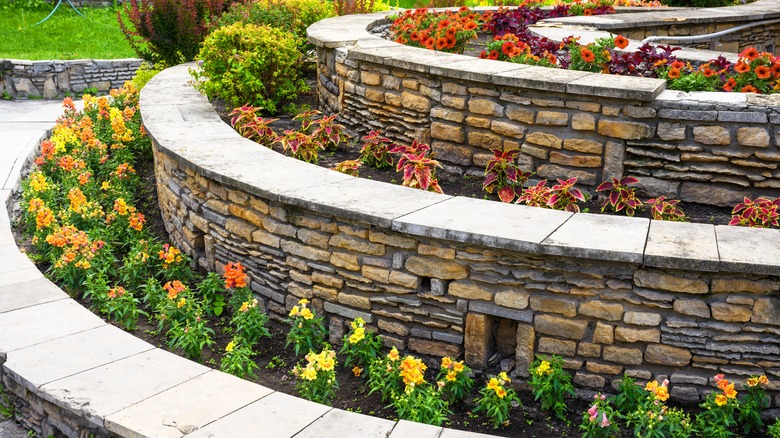
Does your backyard have a slope? If it does, you face an increased erosion risk, as rainwater slowly, subtly, but surely washes away the soil from the slope. This process floods surrounding areas with muddy, soil-laden water, clogs local sewers and waterways, bares tree roots, and washes precious nutrients out of your plants' growing medium. One way to control erosion is to build a retaining wall at the foot of the slope in your yard. The best part is that retaining walls are not solely utilitarian. They create a charming element of hardscaping in your yard, provide additional seating space, and make gardening on a slope a bit easier.
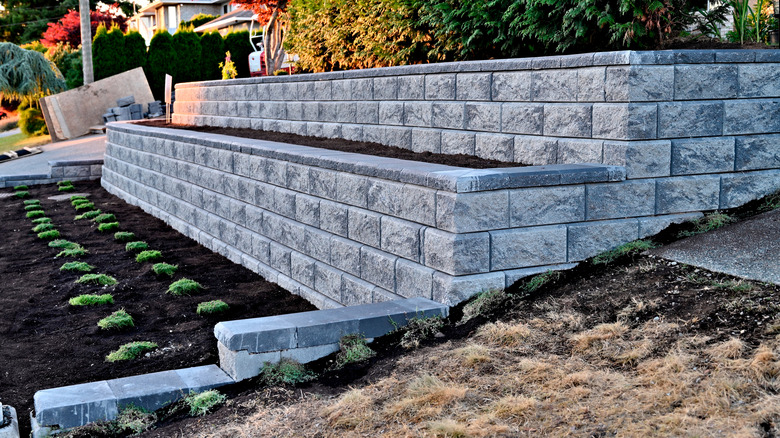
Building a retaining wall may sound intimidating, but you can easily make it into a fun DIY task. To facilitate construction, you'll need to make sure you use a beginner-friendly material, like concrete blocks. These blocks interlock, are relatively easy to lay down (although you may need a helper to help you lift), and add a clean, minimalistic charm to the landscape. Apart from selecting a suitable DIY material, you should also make sure that the retaining wall design is compliant with local codes. To make this project as easy as possible, you should design the wall in such a way that it doesn't need a permit. Below, we cover the design and construction regulations you should be aware of, and walk you through the basic steps for building a DIY retaining wall.
Design and permitting requirements you need to know before building a retaining wall
Before you build a wall, find out what design, construction, and permitting requirements the local building and planning authorities have for retaining walls. These regulations stem from building codes, which vary widely between states, cities, and counties. For example, in San Francisco, any retaining walls over 4 feet in height need a building permit. Meanwhile, New Jersey requires a permit for all retaining walls, but those over 4 feet in height also need structural calculations from an engineer licensed by the state. Some local codes may also demand permits for retaining walls that support a vertical load on top of the soil behind them (known as a "surcharge").
Whether or not a permit is needed, some locales impose height restrictions on retaining walls. These maximum allowable heights generally range from 3 feet to 10 feet in backyards, depending on the jurisdiction. If your retaining wall project requires a permit, you'll likely need to have it inspected by a building inspector during and after construction, too.
To make your retaining wall construction a truly simple DIY task, contact your building authorities and find out which walls do and don't need permits. Also, ask them if there are any basic mandatory code requirements you still need to follow. Then, opt for a wall design that meets the permit exemption height. This way, you won't have to pay for engineering calculations, deal with paperwork, or build a wall that's not safe.
How to build a DIY retaining wall in your sloped yard
With permitting headaches out of the way, you're ready to start building the wall. Well, almost. First, call your utility company and check to see whether gas, power, or water lines run in the soil where you want to situate the wall. Then adjust your design to avoid these utilities if needed.
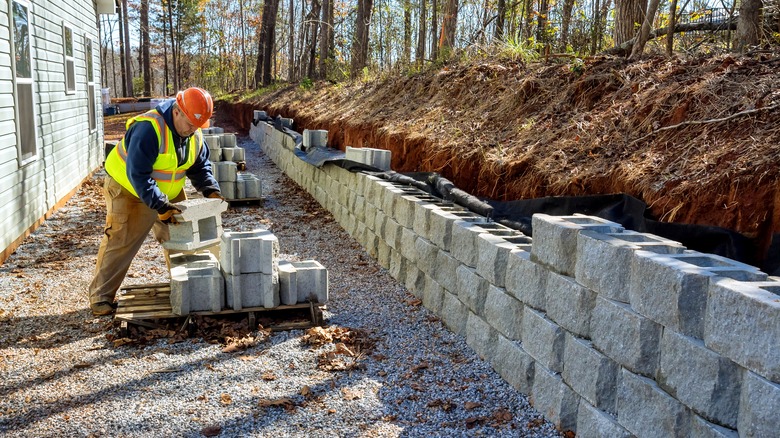
Next, mark off the length of the wall in your yard using marking paint, before digging a trench to span the wall's design length. The depth of the trench should account for a base comprising 3 inches of gravel, plus half the height of your concrete block. The width should equal twice the width of the block. Now, put down the gravel at the bottom of the trench, making sure that the stones are spread out evenly. Use a tamper tool to compact the granular level.
Now, start laying the blocks. Place the first one at one end of the trench, in the middle, and make sure that it's parallel to the ground with a level. Repeat this procedure for every block you lay in the first course to make sure the wall is level. Backfill this course with gravel on both sides, then proceed with subsequent courses, staggering the even ones (you'll need to cut some blocks). The last two rows should be bonded with a construction adhesive, like Quickcrete from HomeDepot. Finally, backfill the entire wall with a well-draining soil mix, and attach capstones to its top.