Install A Cabinet Door Lock In No Time With This Simple DIY
We may receive a commission on purchases made from links.
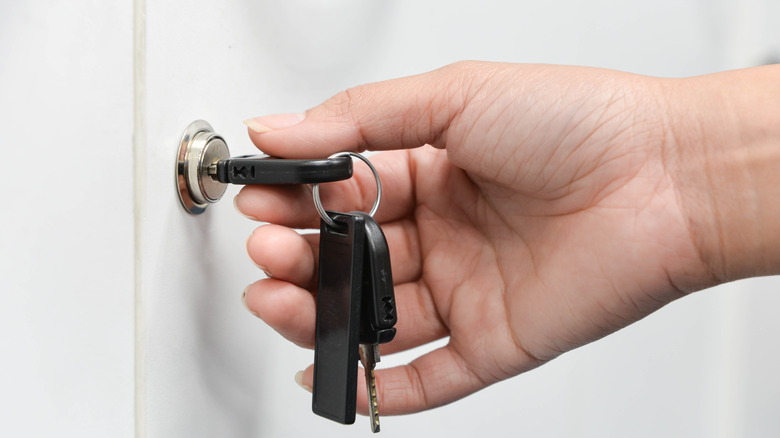
Do you use cabinets for storing valuable or hazardous items? Objects like important papers, jewelry, and family heirlooms should be locked up to prevent would-be thieves or even your kids from getting ahold of them. But, unfortunately, installing a typical barrel-type cabinet lock entails creating a mortise using a router with the correct bit, which is an advanced task that may be too complex for most people. If you're not experienced with a router, this type of installation presents an easy way to damage your cabinets. However, the good news is that you can install a cabinet lock with a straightforward DIY method involving drilling pilot holes and screwing the device on without any mortising. You just have to use a surface mount lock that does not sit inside the cabinet door's core.
As their name suggests, surface-mounted locks are installed on the door's surface. There are several different types of these locks, including keyed locking hasps, password locks, and traditional surface-mounted locks. All these types lend themselves to simple DIY installation thanks to their position on the surface of a cabinet door. To install one of these locks, all you typically need is a pencil, the right type of screws for the cabinet door material, a drill with threaded and driver bits, and basic personal protective equipment, like safety goggles and gloves. Below, we'll take you through all the nuances and DIY installation steps for surface-mounted cabinet locks.
DIY installation steps for keyed hasp locks and password locks
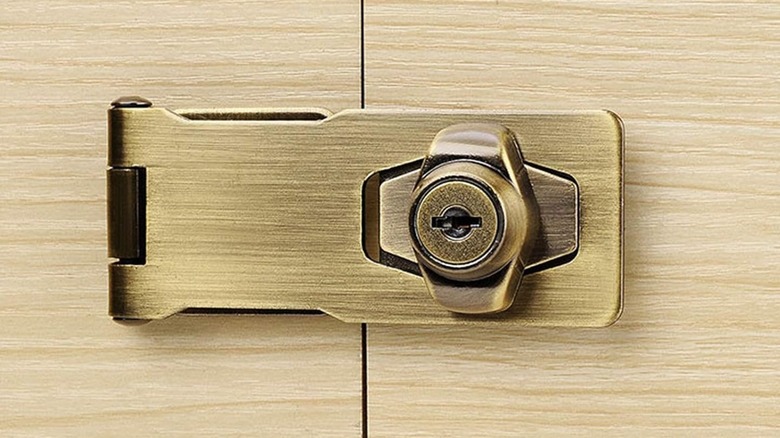
The best lock for a straightforward DIY installation is a keyed locking hasp, like this one on Amazon. This type of surface-mounted cabinet lock sits entirely on the front face of the cabinet door. It comprises a hasp, which is attached to one of the doors by a hinge, and the locking mechanism with the latch on the other. In the closed position, the hasp rests over the locking mechanism and the latch prevents it from opening. To install this type of lock, start by placing the hasp hinges on to the door, so that they line up with the edge. Using self-tapping screws, fasten the hasp to the door. Next, extend the hasp over to the other door, and mark the opening location. Finally, place the locking mechanism over the marked spot on the second door and secure it to the surface with screws.
If you don't want to worry about losing or forgetting the cabinet lock key, consider a surface-mounted password lock like this one available on Amazon. These locks resemble and work much like cabinet latches, with the locking mechanism, deadbolt, and strike all sitting on the door's exterior. However, instead of having a thumb turn that anyone can open, the locking mechanism comes with a passcode dial. Installing this DIY-friendly lock is as easy as lining up the locking mechanism and the strike on the two doors, then securing them to the surface with self-tapping screws (they should come with the lock).
How to install a traditional surface-mount cabinet lock
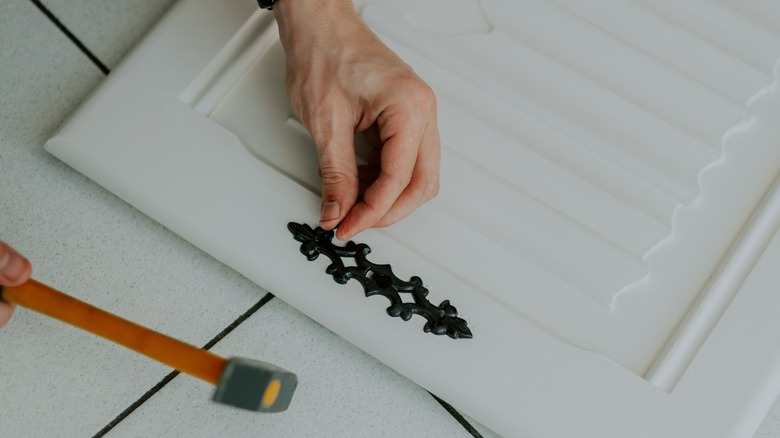
Traditional surface-mount cabinet locks were commonly used to lock cabinets in the late 1800s and early 1900s, although you can still find them today at specialty stores like Paxton Hardware. These devices resemble mortise locks in their operation, but most of the hardware sits on the inside face of the cabinet door, while the front door only houses the front plate and the keyhole. This configuration makes them a bit harder to install, since you need to make a keyhole in the door. However, the process is still within the DIY range.
To install a traditional surface-mounted lock, start by deciding on the preferred hardware location. For the lock to work, the latch should extend at least ¼-inch into the strike or behind the stile. Use a pencil to mark the spots where the screws will go, and drill small pilot holes there. Then, measure the distance between the edge of the lock body and the key barrel and transpose this measurement onto the door. Next, choose the right drill bit to use for drilling the hole by comparing the bits to the key. After drilling the hole, you can finish making the vertical cutout with a jab saw. Now, use a drill with driver bits to fasten the locking mechanism to the backside of the door with screws. Finally, install the faceplate on the front of the door and align the keyhole cover with the penetration you made earlier.


